How to Clean Water Stains on Ceiling: A Professional Guide to Removal, Repair, and Prevention

Water stains on a ceiling are more than a cosmetic nuisance. They are diagnostic indicators of underlying moisture intrusion, whether from a roof leak, plumbing failure, condensation, or HVAC overflow . Addressing the stain without resolving the source guarantees its return and risks structural deterioration or mold growth. This guide provides a structured, professional approach to identifying the cause, selecting the appropriate cleaning method, and executing a permanent repair.
1. Diagnostic Phase: Identify the Source Before Cleaning
The location, color, and timing of a water stain provide critical clues about its origin. Cleaning a stain without fixing the leak is a temporary measure that will fail .
Critical rule: Do not paint or prime until the moisture source is repaired and the ceiling substrate is fully dry. Trapped moisture will cause paint failure and stain bleed-through .
2. Cleaning Method Selection: Vinegar vs. Bleach
The choice of cleaning agent depends primarily on the age and severity of the stain, as well as the ceiling material. Both methods are effective when applied correctly, but they serve different purposes.
Surface-specific caution: On popcorn or textured ceilings, never wipe or scrub. Use a spray bottle on mist setting and blot gently with a clean cloth. Agitation will damage the acoustic texture .
Safety requirements for bleach: Wear gloves, safety glasses, and a mask. Ensure adequate ventilation. Never mix bleach with ammonia or other cleaners .
3. Step-by-Step Cleaning Protocol
For New or Light Stains (Vinegar Method)
- Protect the area. Place a drop cloth or plastic sheeting on the floor and cover furniture beneath the stain .
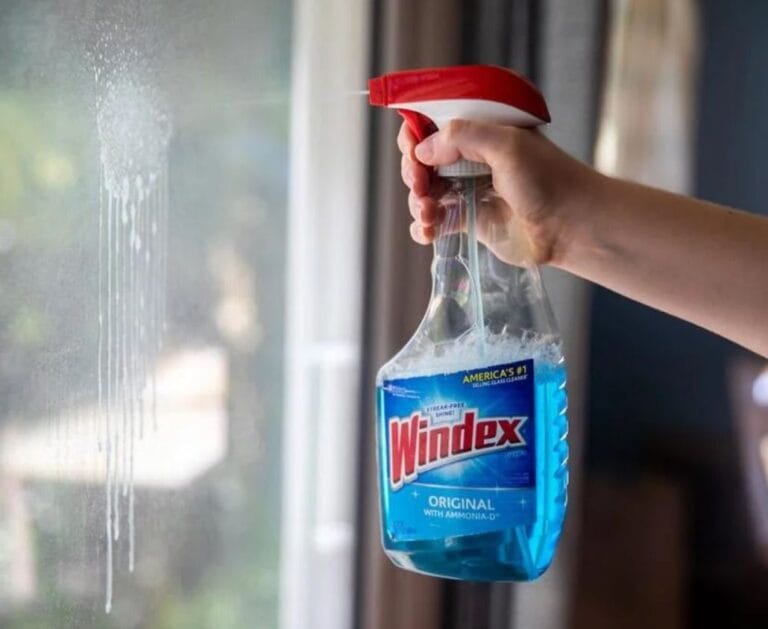
- Prepare the solution. Mix equal parts white vinegar and water in a spray bottle.
- Apply sparingly. Spray the stain lightly—do not oversaturate the drywall, as excess moisture can cause further damage .
- Allow dwell time. Let the solution sit for 10–15 minutes to penetrate the stain.
- Blot, do not scrub. Using a clean sponge or cloth, dab from the outer edges of the stain toward the center .
- Rinse and dry. Spray with clean water and blot dry with a fresh cloth. Allow the area to air-dry completely before assessing whether repeat treatment is needed.
For Old or Dark Stains (Bleach Method)
- Protect the area and yourself. Use drop cloths, gloves, eye protection, and a mask. Ventilate the room .
- Prepare the solution. Mix one part bleach with three parts water in a spray bottle.
- Apply on mist setting. Spray a light, even layer over the stain. Avoid runoff .
- Dwell for 10–15 minutes. Do not allow the solution to dry completely on the surface.
- Blot carefully. Use a clean cloth to dab the area. On textured ceilings, blot only—do not wipe .
- Rinse and dry. Spray with clean water and blot dry. Repeat if the stain persists, but allow the ceiling to dry between attempts.
Important: Bleach can lighten or discolor painted surfaces that are not white. Test in an inconspicuous area first. This method is not recommended for colored ceilings .
4. Sealing and Repainting: The Permanent Fix
Cleaning removes surface discoloration, but it does not seal the substrate. Without a stain-blocking primer, residual tannins and minerals will bleed through new paint within weeks .
Primer Selection
| Primer Type | Best For | Notes |
|---|---|---|
| Oil-based stain blocker | General water damage, tannin stains | Effective for most ceiling stains; requires adequate ventilation |
| Shellac-based primer | Severe stains, smoke, odor retention | Superior sealing; dries quickly; more expensive |
| Water-based stain-blocking primer | Light stains, low-VOC preference | Convenient cleanup; may require two coats for severe stains |
Application Sequence
- Confirm dryness. The ceiling must be completely dry before priming. Residual moisture compromises adhesion .
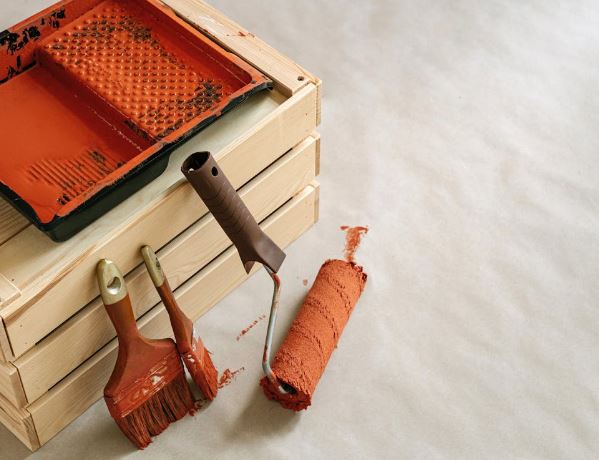
- Apply primer in thin, even coats. Use a brush or roller appropriate for the ceiling texture (20mm nap for popcorn, 10–15mm for smooth). Extend primer beyond the visible stain boundary .
- Allow full cure. Follow manufacturer instructions—typically 1–2 hours for recoating, but some shellac primers require less .
- Lightly sand if needed. Smooth any ridges left by the primer to ensure an even topcoat.
- Apply ceiling paint. Use an acrylic ceiling paint matching the existing color. For seamless results, repaint the entire ceiling rather than spot-painting, as new paint rarely matches aged surfaces .
5. When to Call a Professional
DIY remediation is appropriate for small, isolated stains on sound drywall. Professional intervention is indicated when:
- The stain recurs after treatment, indicating an unresolved leak .
- The ceiling is sagging, soft, or visibly deformed—signs of structural compromise .
- Mold covers an area larger than approximately 10 square feet (consult local guidelines; some jurisdictions specify smaller thresholds) .
- The source cannot be identified (e.g., hidden plumbing or roof ingress requiring specialized detection).
- The stain is widespread or accompanied by musty odors throughout the room.
Frequently Asked Questions (FAQ)
1. Can I just paint over a water stain without cleaning it first?
No. Standard paint does not block tannins and minerals from water damage. The stain will bleed through within weeks, and if moisture remains trapped, the paint will blister or peel. A stain-blocking primer is mandatory after the source is fixed and the area is clean and dry .
2. What is the difference between a new and an old water stain, and does it matter for cleaning?
Yes. New stains are typically lighter and respond well to a mild vinegar solution. Old stains have had time to penetrate and oxidize, appearing darker and more yellow-brown; they generally require bleach or a stronger commercial cleaner, followed by a shellac-based primer for sealing .
3. How do I clean a water stain on a popcorn ceiling without damaging the texture?
Never wipe or scrub a popcorn ceiling. Use a spray bottle on the finest mist setting, apply the cleaning solution lightly, allow it to dwell, and blot gently with a clean cloth. Avoid oversaturation, which can soften the acoustic material and cause it to detach .
4. Does a water stain always mean I have a roof leak?
Not necessarily. While roof leaks are common, stains can also result from plumbing leaks, HVAC condensation (especially in winter), poor bathroom ventilation, or overflowing appliances on upper floors. The location and timing of the stain are diagnostic: stains near vents that worsen when the heat runs suggest duct condensation, while stains that appear after rain point to roof ingress .
5. When is it safe to repaint after water damage?
Only after two conditions are met: (1) the moisture source has been repaired, and (2) the ceiling substrate is completely dry. Depending on the severity of the moisture exposure, drying can take several days. Painting over damp drywall traps moisture and guarantees adhesion failure and mold risk. A moisture meter can confirm readiness if uncertainty exists .