How to Clean a Propane Tank with Bleach: A Step-by-Step Guide
A clean propane tank is essential for safe operation, accurate gauge readings, and longevity. Over time, tanks can accumulate dirt, grime, and even mildew. While there are several cleaning methods, using a diluted bleach solution is a highly effective way to disinfect and remove organic stains and mildew. However, this process requires extreme caution.
This comprehensive guide will walk you through the safest and most effective way to clean your propane tank using bleach.
Safety Expert Quote: “Working with propane tanks and chemicals demands a respect for procedure. The number one rule is always to ensure the tank is completely disconnected, empty, and its valves are closed before any cleaning begins. Safety is not a step in the process; it is the foundation of the entire process.” – John Miller, Certified Safety Professional.
Critical Safety Precautions Before You Begin
Your safety is paramount. Never skip these steps.
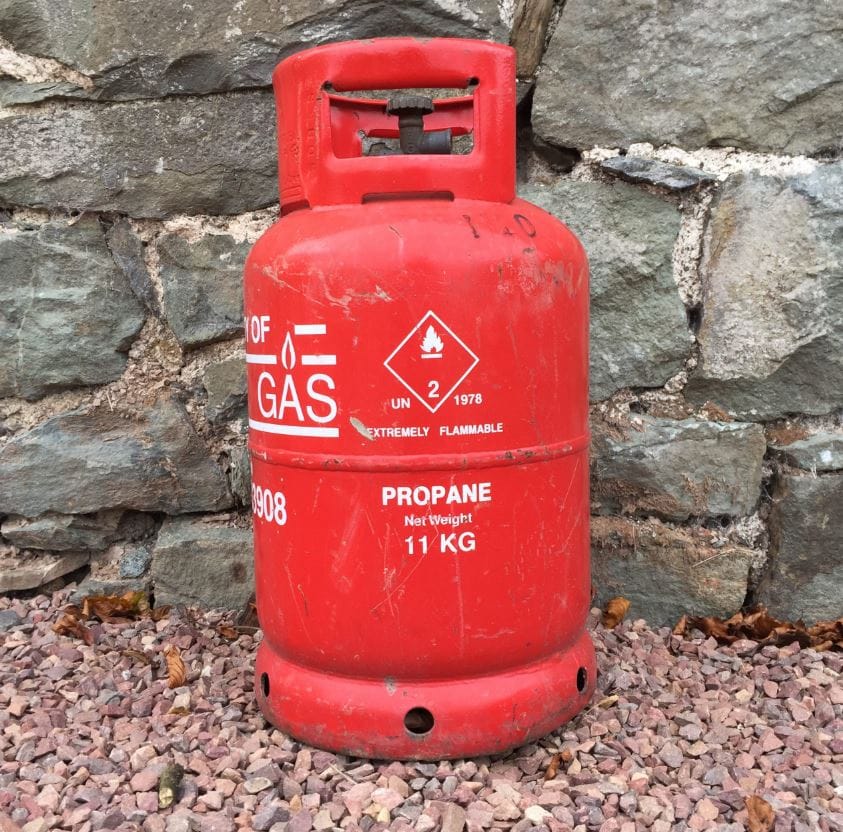
- Tank Must Be Empty: This is non-negotiable. You should only clean a tank that is completely empty of propane. Do not attempt to clean a full or partially full tank.
- Work in a Well-Ventilated Area: Perform this task outdoors. Fumes from bleach and any potential residual propane gas can be hazardous in an enclosed space.
- Wear Personal Protective Equipment (PPE): Always wear safety goggles and chemical-resistant gloves. Bleach is corrosive and can cause skin and eye damage.
- Disconnect All Equipment: Ensure the tank is disconnected from any grill, heater, or other appliance.
- Never Submerge the Valve: The tank valve is a precision component. Getting water or bleach solution inside can cause corrosion and malfunctions, rendering the tank unsafe. Only clean the exterior.
Materials You Will Need
Gather all your supplies before starting to ensure a smooth and safe process.
- Empty Propane Tank
- Household Bleach
- Large Bucket or Plastic Tub
- Warm Water
- Long-Handled Soft-Bristle Brush (non-metallic)
- Microfiber Cloths or Sponges
- Safety Goggles
- Chemical-Resistant Gloves
- Garden Hose with Spray Nozzle
- Mild Dish Soap (optional for greasy residue)
Step-by-Step Cleaning Instructions with Bleach
Follow these steps meticulously for a thorough and safe clean.
Step 1: Initial Rinse and Inspection
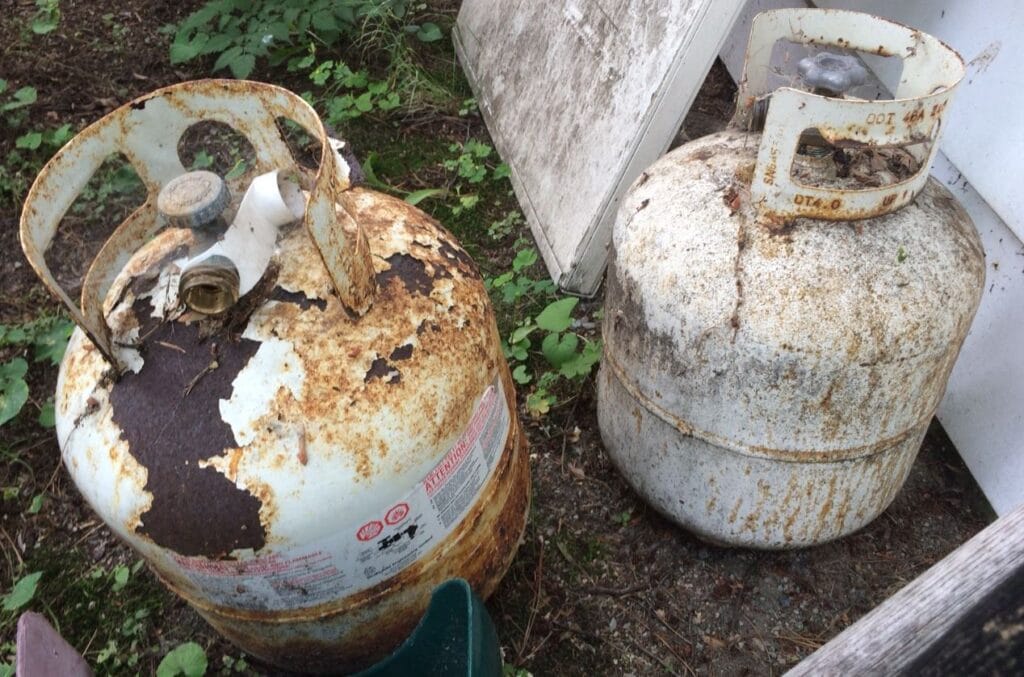
Take your empty tank outside and use the garden hose to thoroughly rinse off any loose dirt, dust, or debris. This prevents you from rubbing abrasive particles into the tank’s surface during scrubbing. Visually inspect the tank for any signs of significant rust, dents, or damage.
Step 2: Prepare the Bleach Cleaning Solution
In your large bucket, create a diluted bleach solution. A safe and effective ratio is:
- 1 part Household Bleach to 10 parts Warm Water
For example, mix one cup of bleach with ten cups of water. Warm water helps the solution work more effectively but avoid very hot water as it can cause harsh bleach fumes.
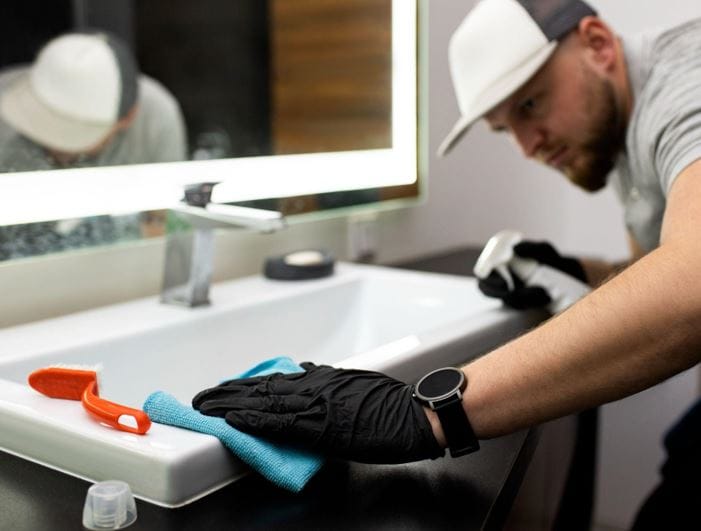
Step 3: Scrub the Tank Exterior
Dip your soft-bristle brush into the bleach solution. Gently scrub the entire exterior of the tank, paying special attention to areas with mildew, stains, or heavy grime.
- CRUCIAL: Avoid scrubbing the valve, pressure relief valve, and any labels or regulatory tags. You can wipe around these areas carefully with a cloth dampened with the solution, but do not pour or spray solution directly onto them.
Step 4: Let the Solution Sit
Allow the bleach solution to sit on the tank for 5-10 minutes. This dwell time is essential for the bleach to disinfect and break down stubborn mildew and organic stains. Do not let the solution dry on the tank.
Step 5: Thorough Rinsing
Using your garden hose, thoroughly rinse the entire tank until all traces of the bleach solution are washed away. Ensure you rinse all around the valve area (without forcing water into it) to remove any runoff.
Step 6: Dry Completely
Use clean, dry microfiber cloths to wipe the tank down completely. Allow it to air dry in the sun for an additional 30-60 minutes to ensure no moisture is trapped, especially around the valve connection.
Bleach vs. Alternative Cleaning Methods
While effective for mildew and disinfection, bleach is not always the best tool for the job. Here’s a quick comparison to help you choose the right method.
| Feature | Bleach Solution | Vinegar Solution | Soapy Water & Abrasive Pad |
|---|---|---|---|
| Best For | Killing mildew, mold, and disinfecting | General cleaning, light mineral stains | Grease, oil, and general dirt/grime |
| Cleaning Power | High (for organics) | Moderate | Moderate to High |
| Safety Concerns | Corrosive, fumes, can damage clothing | Low, but acidic smell | Risk of scratching tank surface |
| Environmental Impact | Higher | Lower | Varies with soap type |
| Key Advantage | Excellent disinfectant | Natural, non-toxic after rinse | Effective on grease without chemicals |
Important Post-Cleaning Considerations
- Storage: Once completely dry, store your propane tank in a cool, dry, well-ventilated place, away from direct sunlight and any heat sources.
- Inspection: After cleaning is an ideal time to check the tank’s expiry date and look for any damage that might require professional inspection before refilling.
- Refilling: Your clean, dry tank is now ready for a safe refill and use.
Frequently Asked Questions (FAQ)
Is it safe to use straight bleach on a propane tank?
No, absolutely not. Straight bleach is highly corrosive and can damage the tank’s surface and any metal fittings. It also poses a much greater safety risk to you. Always use a diluted solution.
Can I clean the inside of a propane tank with bleach?
Under no circumstances should you ever attempt to clean the inside of a propane tank yourself. This is an extremely dangerous procedure that must only be performed by trained professionals at a certified facility. Introducing any liquid into the tank can cause catastrophic failure.
What should I do if I get bleach on the valve?
If bleach solution splashes onto the valve, rinse it gently but thoroughly with water from the hose. Do not spray water directly into the valve opening. Dry it completely with a cloth. If you are concerned about the valve’s integrity, have it inspected by a propane supplier before use.