How to Clean Your Bathroom: Simple Steps for a Sparkling Space

Getting Started with Your Bathroom Cleaning
Cleaning your bathroom can feel like a big job, but getting started is easier than you think. Focus on gathering your supplies and clearing the space before diving into the actual cleaning.
Assemble Your Cleaning Supplies
Before you start, gather everything you need. Here’s a list of essential cleaning supplies:
- Microfiber cloths: These are great for dusting and wiping down surfaces.
- Duster: Use this for hard-to-reach spots like light fixtures or high shelves.
- Cleaning solutions: Have a bathroom cleaner and disinfectant ready.
- Vacuum or broom: This helps you remove dust and debris from the floor.
- Bucket: Useful for mixing cleaning solutions or rinsing.
Having everything in one place will save you time and keep you organized. You can feel confident as you go through your cleaning routine.
Start with Decluttering and Dusting
Begin by removing all items from surfaces, like towels and toiletries. Put them in a hamper or on the counter in a different room. This step makes the rest of the cleaning easier.
Next, dust any light fixtures, cabinets, and corners using your duster. These areas often collect dust and bacteria, so it’s important to address them first. After dusting, use a microfiber cloth to wipe down surfaces. Work from the top down, so any dust that falls lands on areas that will be cleaned later.
By decluttering and dusting, you prepare your bathroom for deeper cleaning. Just a little organization at the start can make all the difference.
The Deep Clean: Tackling Bathroom Surfaces
Cleaning your bathroom surfaces is key to creating a fresh and inviting space. Focus on the mirrors, glass surfaces, countertops, and sinks to remove germs and stubborn stains.
Mirrors and Glass Surfaces
Start by gathering your supplies: an all-purpose cleaner or a mixture of equal parts vinegar and water works well. Spray the solution onto the mirror and glass surfaces. Use a microfiber cloth for a streak-free shine.
For tough stains or water spots, sprinkle a bit of baking soda on a damp cloth and gently rub the area. Avoid abrasive materials that could scratch the glass. Clean the edges and corners to capture any hidden dirt or mold.
Regular upkeep will help to prevent mildew from forming around the edges. A clean mirror not only looks great, but it also helps you see better when getting ready.
Countertops and Sink Areas
Next, focus on your bathroom countertops and sink. Clear off all items from the surface. Using your all-purpose cleaner, spray it generously on the countertops. Wipe them down with a microfiber cloth, paying special attention to areas where soap scum can build up.
For the sink, sprinkle some baking soda inside to tackle tough stains. Use an old toothbrush to scrub around the faucet and drain holes. This method helps dislodge any grime that hides in tight spaces.
Don’t forget to check the walls for any splashes or stains. Wipe them with your cleaning solution too. This approach maintains a clean and tidy appearance for your bathroom, keeping germs and mold at bay.
Focus on the Toilet
Cleaning the toilet is a crucial part of bathroom upkeep. A clean toilet not only looks good but also helps eliminate bacteria and unpleasant odors. Here’s how to effectively clean and sanitize the toilet bowl and other frequently touched surfaces.
Effective Toilet Bowl Cleaning
To clean the toilet bowl, gather your supplies first. You will need toilet bowl cleaner, a toilet brush, and rubber gloves for protection.
- Apply Cleaner: Start by applying toilet bowl cleaner inside the bowl. Make sure to cover under the rim and let it sit for at least 10-15 minutes.
- Scrub: After the cleaner has worked, use the toilet brush to scrub the bowl. Focus on any stains and mineral deposits.
- Flush: Once scrubbed, flush the toilet to rinse away the cleaner and any debris.
- Regular Maintenance: To keep the toilet fresh, it’s ideal to clean it at least once a week. You can also use baking soda and vinegar for tough stains, as they are effective and natural alternatives.
Sanitizing the Frequently Touched Surfaces
In addition to the bowl, you should also sanitize the surfaces you touch the most. These include the toilet handle, seat, and any nearby fixtures. Here’s how to do it:
- Choose Cleaning Products: Use disinfectant wipes or a spray disinfectant. Make sure it’s effective against bacteria.
- Wipe Down: Start with the toilet handle. Wipe it thoroughly, as it can harbor germs. Continue with the seat and rim, ensuring every surface is covered.
- Allow to Dry: Let the surfaces air dry after wiping. This ensures the disinfectant kills any remaining bacteria.
- Repeat Regularly: Aim to disinfect these surfaces daily or every other day, especially if you have a busy household.
By following these steps, you can maintain a clean and safe bathroom environment.
Shower and Tub: Removing Water Stains and Buildup
Keeping your shower and tub clean helps maintain a fresh bathroom. Proper cleaning techniques can prevent mold and mildew while tackling hard water stains effectively.
Managing Mold and Mildew
Mold and mildew thrive in damp places, making your shower a prime spot. To keep them at bay, start by ensuring your bathroom has good ventilation. Use your bathroom vent during and after showers to reduce humidity.
After each use, grab a squeegee and wipe down the walls and tiles. This simple step removes excess water, stopping mildew growth before it starts.
Use a mixture of equal parts vinegar and water in a spray bottle. Focus on corners and grout lines, where mold loves to hide. Let it sit for a few minutes, then wipe with a microfiber cloth. This method helps keep surfaces clean and reduces the risk of mold returning.
Caring for Shower Curtains and Doors
Shower curtains and doors often accumulate soap scum and hard water stains. For curtains, check the care label. Most can go in the washing machine. Use cold water and a gentle detergent to tackle dirt.
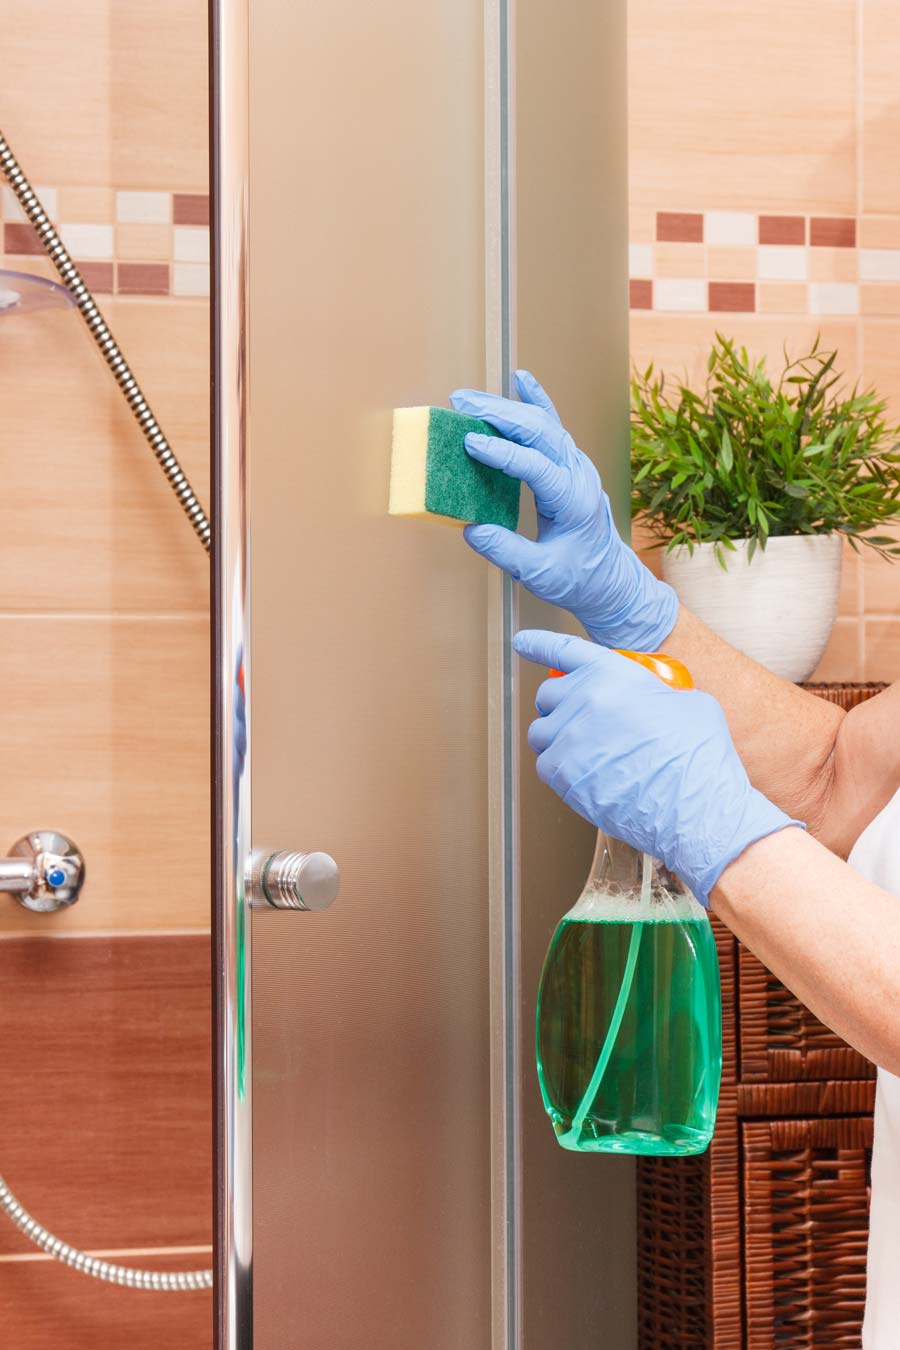
For glass shower doors, spray them with a glass cleaner. You can make your own by mixing vinegar with water. Wipe with a soft cloth or a microfiber cloth for a streak-free finish.
If you notice hard water buildup, create a paste using baking soda and water. Apply it to the stained areas. Let it sit for about 10 minutes, then scrub with a non-abrasive sponge. This helps remove tough stains without scratching your surfaces.
Floors and Finishing Touches
Keeping your bathroom floor clean is essential for a fresh environment. After addressing the floors, focusing on fixtures and final details will help you create a polished look.
Sweeping and Mopping Floors
Start by removing any items from the floor, including bath mats and rugs. This will give you a clear space to work. Use a broom or vacuum to sweep up dirt and grime. Pay attention to corners and under fixtures.
Next, prepare a cleaning solution. You can mix 1/4 cup of vinegar and 1 tablespoon of dish soap in a spray bottle with 2 gallons of warm water. This mixture works well on most bathroom floors.
Using a microfiber mop, apply the solution to the floor. Mop in a back-and-forth motion to cover all areas and break down any residue.
For stubborn stains, you might need to use a pumice stone gently. Remember to let the floor dry, and use ventilation to speed up the process.
Cleaning Fixtures and Final Details
Once the floors are clean, turn your attention to the fixtures. Use paper towels and a suitable cleaner to wipe down faucet handles, light fixtures, and other surfaces. A disinfectant wipe can help you tackle surfaces like doorknobs and light switches.
Don’t forget to clean your mirrors! They should shine without streaks, so use vinegar or glass cleaner on a microfiber cloth for best results.
Lastly, put back your bath mats and fresh towels. This makes the space inviting and complete. With these finishing touches, your bathroom will feel like a clean oasis.
Maintaining a Consistent Cleaning Schedule
Keeping your bathroom clean and fresh is easy when you stick to a consistent schedule. This helps prevent dirt and germs from building up. You can achieve this with the right tools and tips.
Creating a Cleaning Caddy for Efficiency
A cleaning caddy is essential for an effective cleaning routine. Start with a sturdy container that you can carry easily. Fill it with all your bathroom cleaning supplies. Essential items to include are:
- Disinfectant spray: Look for one that works against germs.
- Scrubbing brush: Great for tough stains.
- Microfiber cloths: Perfect for wiping surfaces.
- Rubber gloves: Protect your hands when using chemicals.
Having everything in one place makes the process faster and more organized. You won’t waste time searching for cleaning products, which keeps you on track with your schedule.
Regular Upkeep Tips and Tricks
To maintain cleanliness, create a simple weekly and monthly cleaning plan. A weekly checklist should include:
- Wiping down surfaces: Focus on counters and sinks.
- Cleaning the toilet: Use a dedicated toilet cleaner.
- Mopping the floor: Don’t forget to reach under cabinets.
For deeper cleaning, set aside time monthly. This can include scrubbing grout and cleaning out the bathroom fan to improve air quality.
Using a spray bottle for cleaners can help save time. Just spray, wipe, and rinse. Tidy as you go to prevent mess from piling up. Finally, be mindful of electrical outlets and circuit breakers to ensure safety while cleaning.


