Why is My Floor Sticky After Mopping? The Science, Causes, and Professional Solutions
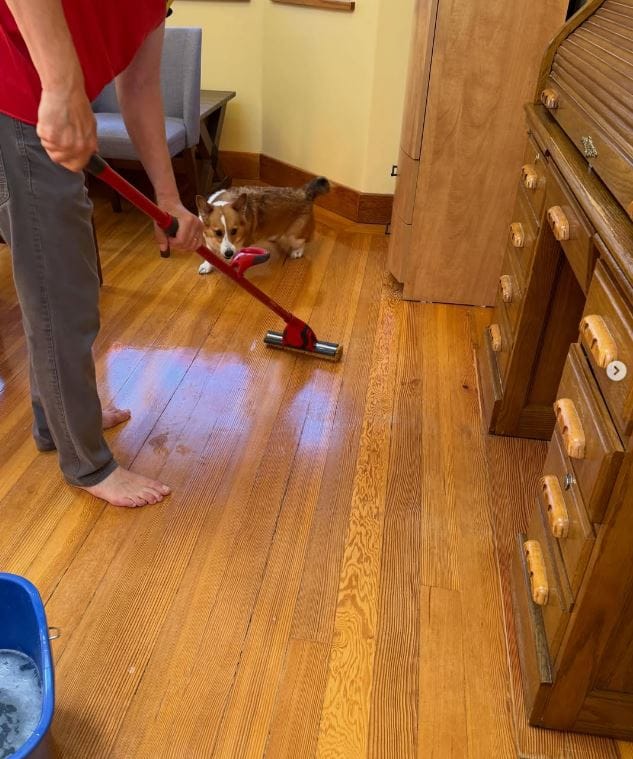
There is perhaps no household chore more disheartening than spending time and effort mopping your floors, only to find them feeling tacky and unpleasant underfoot once they dry. You scrubbed, you cleaned, but the surface feels dirtier than before. This counterintuitive problem is remarkably common, but the solution isn’t to scrub harder—it’s to understand the underlying causes and correct the cleaning process itself .
This comprehensive guide explains the science behind sticky floors, breaks down the primary causes, and provides professional-grade solutions to ensure your floors are genuinely clean and residue-free.
The Core Culprits: Why Residue Forms
In nearly every case of post-mopping stickiness, the problem comes down to residue. This residue is a microscopic film left on the floor surface that is inherently tacky and acts as a magnet for new dust, dirt, and grime . Understanding the specific sources of this residue is the first step to eliminating it.
1. Surfactant Residue from Cleaning Products
Most floor cleaners contain chemical compounds called surfactants. Their primary job is to lift dirt from the floor surface and hold it in suspension so it can be wiped away . However, many of these cleaners are designed to leave a microscopic film behind. This leftover chemical layer is a major source of stickiness.
According to cleaning experts, this is the most common mistake. When too much cleaning solution is used and not properly rinsed away, the surfactants remain on the floor after the water evaporates, creating a tacky, dirt-attracting surface . This is why a floor can feel like it gets dirty again almost immediately after cleaning.
2. Incorrect Dilution and “Over-Soaping”
A pervasive misconception is that “more soap equals more clean.” This could not be further from the truth. Every concentrated floor cleaner has a recommended dilution rate—the precise mix of cleaner and water for optimal performance . When you use too much product, the water cannot rinse it all away, guaranteeing a sticky, soapy residue is left behind on the floor .
3. The Dirty Water and Mop Problem
If you mop your entire floor with a single bucket of water, you are not really cleaning. After the first few passes, the water becomes a dirty, soapy slurry. By continuing to use this water, you are simply redistributing a thin film of grime across the entire surface, which dries into a tacky layer . As cleaning influencer Lynsey Crombie notes, “Using a dirty mop or not changing the cleaning water frequently enough can spread dirt and grime around, causing stickiness” .
4. The Wrong Cleaner for the Floor Type
Different flooring materials require different cleaning chemistries. Using a cleaner formulated for a different surface can lead to chemical incompatibility and residue. For example, an acidic cleaner can etch natural stone , while oil-based soaps can build up on vinyl or tile . “Using a cleaner that is not suitable for your floor type can cause a sticky residue,” warns the Queen of Clean, Lynsey Crombie .
5. Skipping the Rinse
Many cleaning routines stop after the first wash with a cleaning product, neglecting a critical step: the clean water rinse . Failing to rinse the floor properly leaves behind a film of detergent and dissolved dirt that dries into a tacky, hazy layer .
6. Hard Water and Mineral Buildup
In areas with hard water, minerals like calcium and magnesium can interact with cleaning solutions to create a slimy, sticky film on the floor . This mineral residue can also trap dirt and bacteria, exacerbating the problem . If water spots appear after mopping, it may be an indicator of hard water .
Comparative Analysis of Sticky Floor Causes
The following table summarizes the primary causes of sticky floors, their symptoms, and a quick reference for how to prevent them.
The Professional Approach: Solutions and Best Practices
Fixing sticky floors requires a systematic approach that addresses the root cause of the residue. The following methods are recommended by professionals to strip old buildup and maintain a clean, non-tacky surface.
Step 1: The “Reset” Rinse with Vinegar
For most floor types (excluding natural stone like marble or limestone), the most effective DIY solution to strip old residue is a white vinegar and water mixture . The acetic acid in vinegar neutralizes and breaks down the alkaline soap residue left behind by old cleaners .
- Procedure: Mix one cup of white vinegar per gallon of warm water. Mop your entire floor with this solution and allow it to sit for a few minutes to cut through the buildup . For heavy buildup, you may need to repeat this step.
- Caution: Do not use vinegar on natural stone floors (marble, granite, travertine). Acidic solutions can etch and permanently damage these surfaces . For stone, use a dedicated pH-neutral stone cleaner .
- Alternative: A paste of baking soda and water can be applied to particularly stubborn sticky spots on tile or vinyl. Let it sit for 15 minutes before scrubbing and rinsing .
Step 2: Adopt the Two-Bucket System
This is the undisputed professional secret to preventing stickiness and ensuring a genuinely clean floor . It stops you from re-contaminating your floor with dirty water.
- Bucket One (Solution): Contains your properly diluted cleaning solution (e.g., the vinegar/water mix).
- Bucket Two (Rinse): Contains clean, plain water.
Procedure:
- Dip your clean mop in Bucket One and wring it out.
- Mop a small section (a few square feet).
- Before getting more cleaning solution, thoroughly rinse the dirty mop head in Bucket Two.
- Wring the mop out completely.
- Dip it back into Bucket One for a fresh solution and move to the next section .
Step 3: Optimize Your Tools and Technique
- Sweep/Vacuum First: Always remove loose debris before mopping. “Crumbs and pet hair don’t magically disappear with a wet mop,” says cleaning expert Rosa Picosa. “You’ll just be dragging them along for the ride” .
- Use Microfiber: Microfiber mops are far more effective at trapping and lifting dirt and residue than traditional cotton or sponge mops .
- Mop in Sections: Work in manageable sections and change your water as soon as it starts to look “swampy” .
- Wring Properly: A mop should be damp, not soaking wet. Excess water, especially on wood and laminate, can damage the floor and leave more residue .
- Let Floors Air Dry: For the best finish, allow the floor to air dry. As Rhonda Wilson, a quality lead cleaner, notes, this prevents you from wiping drying residues back onto the floor .
Step 4: Professional Stripping for Severe Buildup
If over months or years, layers of wax, polish, or cleaner have been allowed to accumulate, home remedies may not suffice . In these cases, a professional chemical residue removal process may be necessary. This involves neutralizing the buildup, restoring proper pH balance, and mechanically removing layers that daily mopping can’t touch . This service is often provided by professional cleaning companies and can restore the floor to its original, non-tacky state .
Floor-Specific Considerations
Conclusion: Breaking the Sticky Cycle
A sticky floor after mopping is a clear sign that the cleaning process itself is the problem. The feeling is almost always caused by residue: leftover cleaning products, dirt redistributed by dirty water, or an incompatible cleaner. By understanding the science of how cleaners interact with your floor and changing your technique—particularly by using a vinegar “reset” rinse, adopting the two-bucket system, and choosing the right tools and products for your floor type—you can break the sticky cycle and achieve the clean, pleasant, and safe floors you deserve.