Does Masking Tape Leave Residue? The Science, the Mess, and the Solutions
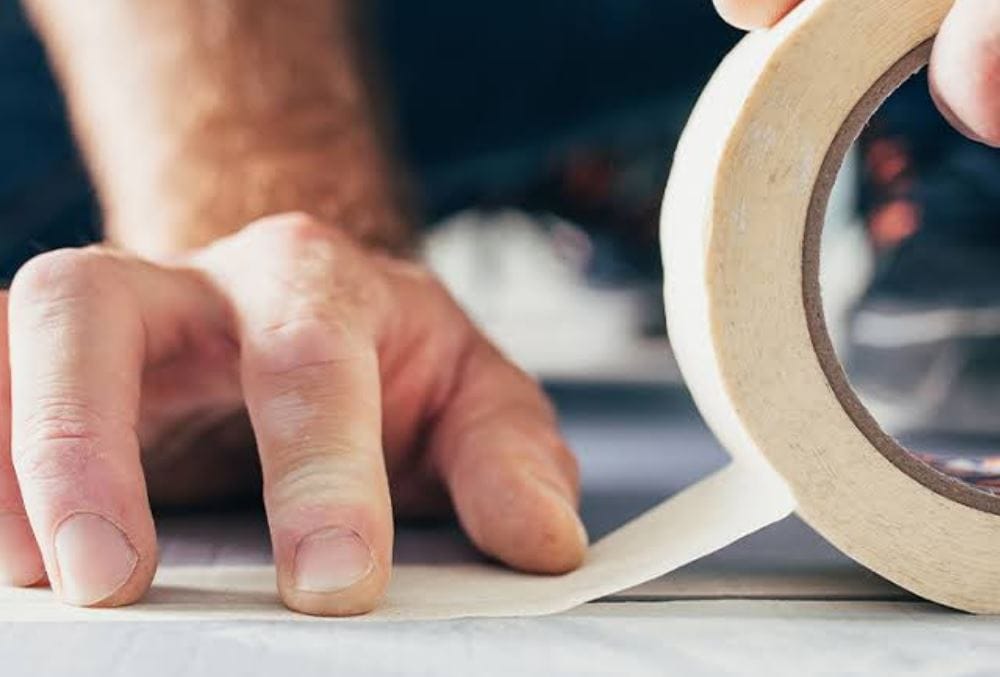
Masking tape is the unsung hero of clean paint lines and DIY projects, but its reputation often hinges on a single, frustrating question: Does masking tape leave residue?
The short answer is yes, it absolutely can. However, residue is not a design flaw of the tape itself; it is a chemical reaction to time, heat, and surface incompatibility. Understanding the distinction between a clean removal and a gummy disaster is critical for professionals in painting, automotive detailing, and crafting.
This article dissects the adhesive chemistry behind tape residue, provides a data-driven comparison of tape grades, and offers actionable restoration techniques.
The Chemistry of Sticky Failure
To understand why residue forms, you must abandon the idea that tape adhesive is a permanent solid. Adhesive is a viscoelastic substance—it behaves like a very thick liquid. Masking tape typically uses a rubber-based or acrylic adhesive system.
1. Adhesive Cohesive Failure vs. Adhesive Failure
When you peel tape, physics dictates one of three outcomes:
- Ideal (Adhesive Failure): The entire adhesive mass separates cleanly from the surface. This happens only if the bond to the surface is weaker than the internal strength of the glue.
- Residue (Cohesive Failure): The glue splits down the middle. Half stays on the tape, half stays on your wall. This occurs when the adhesive has degraded chemically.
- Substrate Failure: The paint or surface tears away. This is the worst-case scenario, usually caused by stronger adhesive bonds than the substrate’s internal strength.
2. The Role of Plasticizer Migration
Most residue issues stem from plasticizer migration. The adhesives in general-purpose masking tapes contain plasticizers to keep them flexible. When tape is left on a surface, these oily plasticizers migrate into the porous paint layer. When you peel the tape, the adhesive skeleton remains trapped in the paint’s microscopic pores. What you see as “residue” is essentially dehydrated, oxidized glue left behind.
The Critical Timeline: How Long is Too Long?
The most common search query related to this topic is typically paired with a timeframe. Here is the industry standard for “clean removal” timelines, broken down by tape grade.
| Tape Grade | Adhesive Type | Clean Removal Window | Risk Factor After Window |
|---|---|---|---|
| General Purpose (Beige) | Rubber-based | 24 Hours | Extreme. Hardens, becomes brittle, binds to porous surfaces. Almost guaranteed residue. |
| Multi-Surface (Blue) | Acrylic Emulsion | 14 Days | Moderate. UV exposure accelerates degradation. Residue appears as white, crusty dust. |
| Delicate Surface (Purple/Lilac) | Low-Tack Acrylic | 60 Days | Low. Designed for wallboard and fresh paint, but humidity can trigger edge-lift and ooze. |
| High-Temp Automotive (Green/Lime) | Cross-linked Rubber | 1–3 Days (Pre-Bake) | High (Post-Bake). Designed to chemically set during paint baking. Removal after the cure cycle causes shattering. |
| Contractor Grade (Red/Brown) | Synthetic Rubber | 3 Days | Severe. Designed for temporary floor/carpet protection. The bond increases exponentially under foot traffic weight. |
The Golden Rule: The beige, general-purpose tape should rarely be used for decorating. It is an industrial packaging tape masquerading as a painting supply.
Environmental Accelerators: What Turns Tape into Goo?
Even within the safe removal window, environmental conditions can “bake” the adhesive onto the surface prematurely.
- Ultraviolet (UV) Radiation: Sunlight hardens rubber-based adhesives instantly. Like an old rubber band left in the sun, the adhesive loses its elasticity and snaps upon removal, leaving a powder behind.
- Thermal Cycling: If a surface gets hot (sunlight through a window) and then cold at night, the tape expands and contracts at a different rate than the wall. This pumps air into the adhesive interface, oxidizing the glue into a gummy varnish.
- Humidity: Water acts as a carrier for surfactants in acrylic tapes. In high humidity, the edge of the tape can absorb moisture, causing “adhesive bleeding,” where a clear, sticky tide-mark leaches out beyond the tape’s edge.
Surface Compatibility Matrix
Not all surfaces react equally. A professional understands that the substrate is half the equation.
| Surface Type | Residue Propensity | Explanation |
|---|---|---|
| Freshly Painted Walls (<30 days) | Very High | The paint is still curing and outgassing. Adhesive forms a mechanical lock with the soft film. |
| Glass | Low | Non-porous, but high heat can cause “ghosting”—a thin film of surfactant residue invisible until steam hits. |
| Polyurethane Hardwood | Low | Resistant, but specific acrylic adhesives can etch the gloss finish if left for weeks. |
| Flat/Matte Paint | High | The microscopic “mountains and valleys” of flat paint give the adhesive massive surface area to grip. |
| Lacquered Wood | Medium-High | Plasticizers in the tape can dissolve the lacquer, creating a permanent chemical bond. |
| Old, Chalky Paint | Catastrophic | The adhesive is stronger than the degraded binder holding the pigment together. The tape will lift the paint layer entirely. |
Mechanical vs. Chemical Removal: A Tactical Guide
When prevention fails and you’re staring at a sticky, grayish smear, your response must be staged.
Stage 1: The “Tape Lift” Method
Never scrape residue immediately. Use a piece of fresh, strong tape (like duct tape, used delicately) or the balled-up remnant of the removed masking tape. Press it onto the residue and rip it off quickly. The fresh adhesive often acts as a solvent-free eraser, pulling the soft residual glue off the hard surface.
Stage 2: Solvent Selection Table
If mechanical lifting fails, you must chemically break the polymer chains. Use this table to avoid destroying your surface.
| Remedy | Best For (Residue Type) | Safe On | Never Use On |
|---|---|---|---|
| Isopropyl Alcohol (70-90%) | Light dusting, acrylic ghosting | Glass, sealed metal, most painted walls | Shellac, varnished wood (may cause blush) |
| Mineral Spirits (Odorless) | Stubborn rubber residue | Cured oil paint, automotive clear coat | Vinyl, plastic (causes cracking), latex paint |
| WD-40 | Oily, sticky migration residue | Glossy automotive paint, glass, metal | Unsealed wood (soaks in), walls you plan to re-paint soon |
| Citrus-Based Adhesive Removers | Industrial heavy residue | Hard surfaces, tile | Plastic (can melt it), porous stone (stains) |
| Heat Gun / Hair Dryer | Brittle, hardened residue | Wood, metal | Glass (thermal shock risk), plastic, flammable dust areas |
| Eraser Wheel (Rubber disc) | Automotive decal adhesive | Automotive clear coat (use low speed) | Matte paint, drywall, single-stage paint |
Stage 3: The Eraser Wheel Technique (Pro Level)
For large areas of crystallized residue (common on old bus windows or metal beams), a natural rubber eraser wheel on a low-speed drill is the gold standard. The friction heat softens the adhesive, and the crumbly rubber absorbs it. Crucial warning: Do not exceed 3,000 RPM. High speed generates frictional heat that can burn clear coat paint or shatter tempered glass.
The Verdict: Prevention Architecture
To guarantee zero residue, a professional does not rely on a single tape. They architect a solution.
- The 72-Hour Rule: Treat the “clean removal” label as half the story. For delicate or sun-lit surfaces, remove the tape within 72 hours regardless of what the packaging states.
- The Angle of the Peel: Always pull tape back over itself at a 135-degree angle. A 90-degree angle (pulling straight out from the wall) requires more force, increasing the likelihood of cohesive failure (residue left behind).
- De-Tack for Safety: If you must use high-tack contractor tape on a delicate surface, stick it to your jeans or a clean cloth first to pick up a bit of lint. This slightly reduces the initial tack without destroying the shear strength needed to hold the tape up.
Bottom Line: Masking tape residue is a symptom of a mismatch between the adhesive technology, the environment, and time. By selecting a high-grade acrylic tape and observing strict removal windows, sticky messes become entirely avoidable.