Does Gaffers Tape Leave Residue? The Comprehensive Guide for Professionals
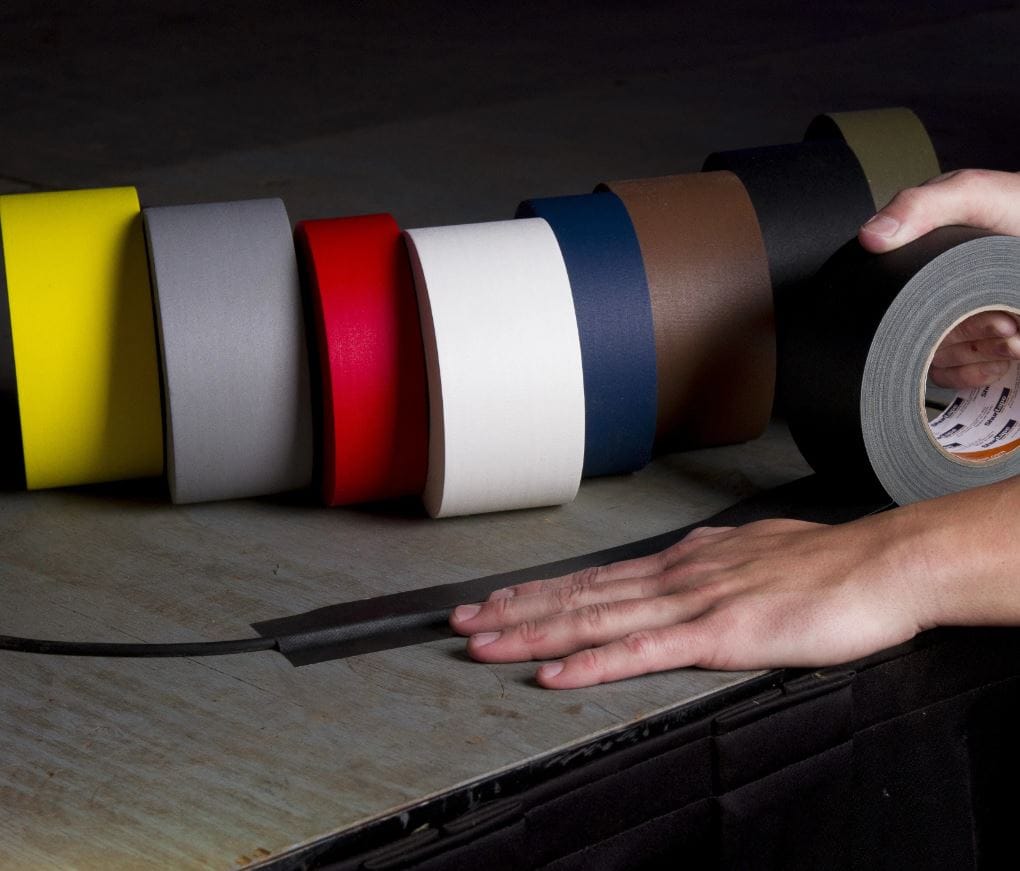
For anyone working in film, theater, or event production, gaffer tape is an indispensable tool. Its unique ability to secure cables and equipment temporarily, coupled with a promise of clean removal, sets it apart from other adhesive tapes. However, the question of whether it lives up to this promise is a common concern: does gaffers tape leave residue?
In short, the answer is generally no, high-quality gaffer tape is specifically engineered to be removed without leaving adhesive residue behind . However, this is not a universal guarantee. Various factors can cause it to fail, and a deeper understanding of its construction and proper usage is crucial for professionals . This guide provides an authoritative, detailed analysis of gaffers tape and its residue behavior, ensuring you can use it with confidence.
The Engineering Behind a Residue-Free Gaffer Tape
To understand why gaffer tape is designed for clean removal, one must look at its composition. Unlike duct tape, which is made for permanent, durable bonds, gaffer tape is a temporary adhesive solution made of three primary components: a backing, an adhesive, and a release agent.
Backing Material and Its Role
Gaffer tape typically features a heavy, cotton cloth backing, often coated with polyethylene (PE) for enhanced durability and conformability . This provides the flexibility needed to conform to irregular surfaces like cables, equipment, and uneven floors. Crucially, the cloth backing is designed to be hand-tearable, allowing for quick application in high-pressure environments without needing scissors .
The matte, non-reflective finish of this backing is also a signature feature. In film and stage production, it prevents unwanted glare from lighting equipment and camera flashes .
The Adhesive: Natural Rubber vs. Synthetic Rubber
The type of adhesive is the most critical factor in determining whether a tape will leave residue. Gaffer tape relies on a pressure-sensitive adhesive (PSA) , but the formulation is key.
Natural Rubber Adhesive
This is the gold standard for professional gaffer tape. Natural rubber adhesives are characterized by long polymer chains that provide excellent flexibility and initial tack. Their primary benefit is that they are formulated for “quick-stick” and easy release, which significantly minimizes the risk of residue, even in low temperatures . This makes them the preferred choice for delicate or expensive equipment.
Synthetic Rubber Adhesive (Hot Melt)
Often found in cheaper tape variants, these adhesives are referred to as “Hot Melt” or SBS/SIS. While they can offer strong adhesion, they are often less stable in changing environments. They frequently struggle to maintain adhesion in cold weather and, crucially, are significantly more likely to leave behind a sticky, difficult-to-remove residue . The long-term performance of these tapes is generally inferior.
Why Even Gaffer Tape Sometimes Fails: The Residue Factors
Despite its design, gaffer tape can leave residue under certain conditions. Understanding these factors is vital for prevention.
Duration of Application: The primary factor in residue formation is time. Gaffer tape is designed for temporary use, often within a single event. If left on a surface for weeks, months, or longer, the adhesive can “set,” forming a stronger bond with the surface, which leads to residue upon removal .
Environmental Conditions: Temperature and humidity are major variables. Extreme heat, such as that from stage lighting or direct sunlight, can cause the adhesive to soften and “flow” into the pores of a surface. High humidity can degrade the adhesive’s chemical structure, leaving a “gooey” mess . Most quality gaffer tapes are rated to withstand temperatures up to 200°F (approx. 93°C), but exceeding this range can cause failure .
Surface Type: Gaffer tape is designed for clean removal from smooth, non-porous surfaces. Porous materials, such as raw wood, unsealed concrete, or certain fabrics, can allow the adhesive to seep into the material’s structure, making it difficult to remove cleanly without leaving a residue or damaging the surface itself .
Tape Quality: As noted, the cost of the tape is often a reflection of its quality. Higher-end tapes that use natural rubber adhesives and a robust cloth backing are far less likely to cause problems than cheaper alternatives using synthetic “hot melt” adhesives . Using a reputable brand is a foundational step in preventing residue.
Gaffer Tape vs. The Competition: A Comparative Analysis
To appreciate the residue-free nature of gaffer tape, it is helpful to see how it stacks up against its close competitors.
How to Remove Gaffer Tape Residue: A Step-by-Step Guide
If you find yourself needing to remove gaffer tape residue, prompt action is recommended. Here are professional methods to clean surfaces safely, adapted from industry best practices .
- The “Dab” Method: For light residue, take a fresh piece of gaffer tape and use it to “dab” the sticky area. The adhesive on the new tape will often pull the residue off the surface cleanly. This is the gentlest and most surface-safe method .
- Warm Soapy Water: Ideal for light residue on a variety of surfaces. Use a soft cloth and mild detergent; this method is gentle and effective .
- Isopropyl Alcohol: Highly effective on non-porous surfaces like metal, glass, and some plastics. It dissolves the adhesive quickly. Always test on an inconspicuous area first .
- The Heat Method: Use a hairdryer to gently warm the adhesive residue. This softens it, making it easier to wipe away with a clean cloth .
- Oil-Based Solutions: Cooking oil or citrus-based cleaners can break down stubborn glue residue. Apply, let it soak for a few minutes, then wipe clean. Always degrease the surface afterward .
- Commercial Adhesive Removers: Designed for heavy-duty cleanup on industrial surfaces, these can dissolve even the most stubborn residue. Follow the manufacturer’s safety guidelines .
Key Safety and Best Practice Reminders
- Always Test First: Before applying any solvent or cleaning method to a surface, especially painted or delicate ones, test it on a small, hidden area to ensure it doesn’t cause discoloration or damage .
- Remove Tape Promptly: For best results, remove the tape immediately after your job is complete to prevent the adhesive from setting .
- Peel Slowly and at an Angle: Rapidly yanking the tape can cause the adhesive to “shock” and separate from the cloth backing, leaving residue behind. A slow, deliberate peel at a 180° angle is safer .
Conclusion: Trust the Professional’s Choice
High-quality gaffer tape remains the professional standard for a reason. When used correctly—with high-quality products, on appropriate surfaces, and removed promptly—it is a remarkably reliable tool that will not leave residue. By understanding the science behind the tape and the conditions that can cause failure, you can confidently deploy it in the most demanding environments without fear of damaging costly equipment or surfaces. For any application where clean removal is non-negotiable, gaffer tape is the superior and definitive choice.