The Complete Guide to Cleaning a Kegerator Line: Protect Flavor, Extend Equipment Life
Meta Description: Learn how to clean a kegerator line properly with our step-by-step guide. Discover the right chemicals, cleaning frequency, and tools to eliminate beer stone and biofilm for perfect pours.
A kegerator is only as good as the line that delivers the beer. Even if you pour the freshest craft keg, a dirty draft line will instantly introduce off-flavors, diacetyl (buttery notes), and potential health hazards into every glass. Cleaning your kegerator line is not merely a suggestion for home enthusiasts; it is a mandatory maintenance task for anyone serving draft beer.
This guide provides a professional, structural walkthrough of the cleaning process, compares the available methods, and answers the most common questions to ensure your system pours brewery-fresh beer every time.
Why Cleaning Your Kegerator Line is Non-Negotiable
Beer is an organic product containing yeast, proteins, sugars, and minerals. Even if the keg is refrigerated, these components settle and adhere to the inner walls of the beer line. Over time, wild yeast and bacteria form a biofilm—a slimy, protective layer that harbors spoilage organisms . If left untreated, this buildup leads to:
- Flavor Ghosting: A heavy stout or IPA will leave residual oils that taint the next lighter beer you tap .
- Diacetyl Off-Flavors: A slick, buttery taste caused by bacterial infection in the lines .
- Beer Stone: A hard, calcium oxalate deposit that restricts flow and harbors bacteria, requiring acid cleaners to dissolve .
- Foaming Issues: Buildup creates nucleation points that cause excessive foam and flat beer .
Frequency: How Often Should You Clean?
The industry standard varies based on usage, but the Brewers Association recommends cleaning beer lines with a caustic solution every 14 days to maintain optimal quality . For home kegerators, the general rule is to clean at minimum every time you switch a keg or every two weeks if a keg lasts longer .
| Usage Level | Recommended Cleaning Frequency |
|---|---|
| Commercial/High Volume | Every 14 days (Caustic) + Quarterly (Acid) |
| Home/Regular Use | Every 2 weeks or at every keg change |
| Occasional/Seasonal Use | Before storage and before tapping a new keg |
Comparison of Cleaning Methods
Choosing the right equipment depends on your line length and budget. For most home kegerators (lines under 10 feet), a hand-pump or pressurized bottle kit is sufficient. For longer runs or commercial setups, recirculating pumps are required.
Step-by-Step Cleaning Procedure
Step 1: Preparation and Safety
Before beginning, shut off the CO2 supply at the regulator and disconnect the keg coupler from the keg . You must relieve all pressure from the line. Ensure you have a bucket ready to catch the runoff. Wear gloves and eye protection if using caustic chemicals .
Note: Always use food-grade cleaners specifically designed for draft systems. Never use household bleach or dish soap, as these can damage the lines and leave harmful residues .
Step 2: Disassemble the Faucet
Use a faucet wrench to remove the faucet from the tower shank. Disassemble the faucet completely (removing the handle, bonnet, and lever). Place the small parts in a bucket of cleaning solution to soak. This is critical because the faucet is where mold and yeast buildup are most visible .
Step 3: Flush with Water
Before applying chemicals, flush the remaining beer out of the line with warm water. This removes loose sediment and prevents the cleaner from being neutralized by residual beer . If using a cleaning kit, fill the reservoir with warm water, connect it to the coupler, and open the tap until clear water runs out.
Step 4: Apply the Cleaning Solution
Mix your alkaline beer line cleaner according to the manufacturer’s instructions (typically using warm water between 35°C–45°C for optimal effectiveness) .
- Connect the cleaning kit to the beer line (either at the coupler or the faucet shank, depending on your kit).
- Pump the solution through the line until it reaches the tap.
- Allow contact time: Let the solution sit in the line for 10–20 minutes to break down proteins and biofilm . For heavily neglected lines, this can be extended.
Step 5: Scrub the Components
While the line is soaking, use a faucet brush to scrub the disassembled faucet parts, the coupler probe, and the shank threads. Pay special attention to the crevices where the faucet lever seals .
Step 6: Rinse Thoroughly
This is the most critical step for flavor. Flush the line with clean, cold water until no foam or suds remain. You should run at least two to three times the volume of the line in water to ensure all chemical residue is removed . Any leftover cleaner will ruin the taste of your next beer.
Step 7: Reassembly and Test
Reassemble the faucet and reconnect the line to the keg. Turn the CO2 back on and tap the keg. Pour the first glass and discard it—this ensures any remaining rinse water or sanitizer is cleared from the faucet .
Advanced Maintenance: Beer Stone Removal
If you notice a chalky, white buildup inside the lines or if your beer tastes slightly metallic, you likely have beer stone. Alkaline cleaners alone will not remove this. Once a quarter, substitute the alkaline cleaner with an acidic beer line cleaner (following the same process) to dissolve mineral deposits .
Frequently Asked Questions (FAQ)
1. Can I use vinegar or bleach to clean my kegerator lines?
No. Household bleach is corrosive to stainless steel and can leave toxic residues that are difficult to rinse. Vinegar is not strong enough to break down the organic biofilm and proteins found in beer lines. You must use food-grade alkaline and acid cleaners specifically formulated for draft systems .
2. How do I know if my beer line needs cleaning?
The most obvious sign is an off-flavor in the beer. If you taste butter, sourness, or a metallic/iron-like flavor (like sucking on a penny), the line is contaminated . Visually, if you remove the faucet and see a brown or black slimy film on the inside of the shank, it is overdue for a cleaning.
3. How long does the cleaning process take?
The active labor time is about 15 to 20 minutes. However, you must factor in the 10–20 minute soak time for the cleaning solution to work. The entire process, from setup to reassembly, typically takes 30 to 45 minutes for a standard single-tap kegerator .
4. Do I need to clean the CO2 gas line?
Generally, no. The gas line only carries CO2 (or nitrogen) and does not come into contact with the beer. However, it is good practice to periodically check the gas line for beer backflow. If beer has accidentally backed up into the gas line (which can happen if the keg is overfilled or the pressure is incorrect), the line must be replaced, as cleaning it is difficult and risky .
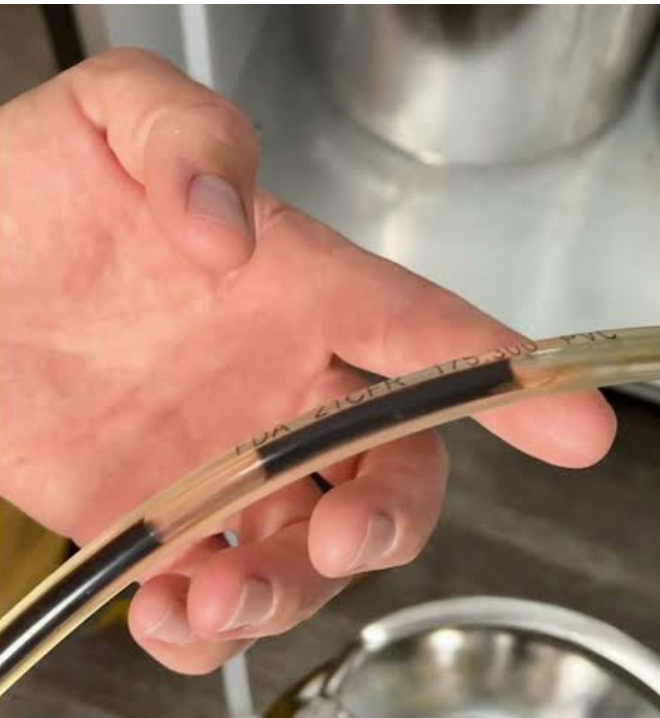
5. When should I replace the beer line instead of cleaning it?
Beer lines are inexpensive and should be considered a wear item. Replace the line if it is deeply discolored (brown/yellow), feels stiff and brittle, or if a persistent odor remains after a thorough chemical soak . Additionally, if you have had a bacterial contamination in the system (e.g., a soured keg), replacing the line is the safest way to prevent reinfection. For standard vinyl lines, replacement every 1 to 2 years is recommended .