
How to Clean Keg Lines Without a Kit: A Professional’s Guide to DIY Line Maintenance
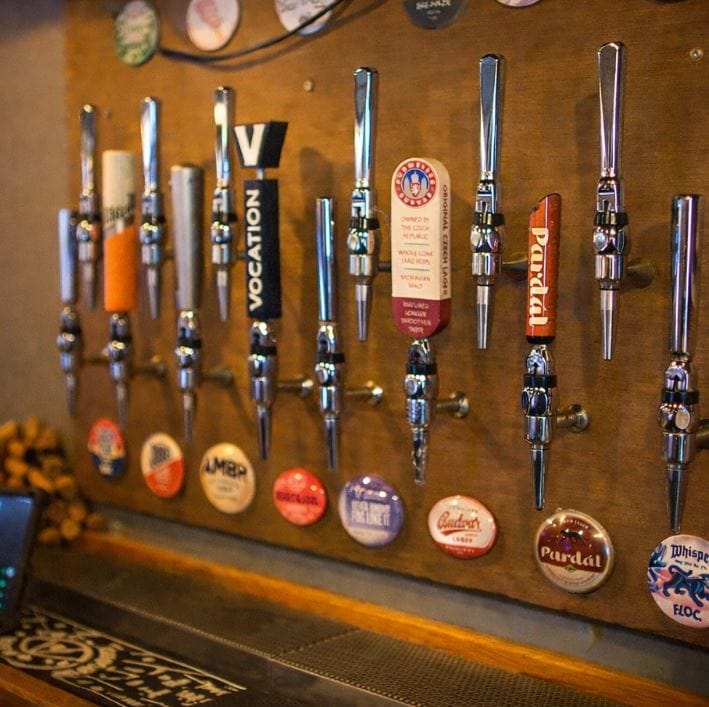
Clean draft beer lines are not a luxury—they are a necessity. Beer stone, yeast, hop oils, and bacteria build up inside beverage tubing within 24 hours of pouring. Commercial cleaning kits are convenient, but they are often overpriced and contain the same basic chemistry found in common cleaning agents.
This guide provides a kit-free, professional-grade method to restore your keg lines to “like-new” condition. We will cover chemical alternatives, safety protocols, a step-by-step cleaning procedure, and a cost comparison between DIY and commercial kits.
Disclaimer: Always wear chemical-resistant gloves and safety glasses. Never mix cleaning agents. Rinse lines thoroughly before serving beer.
Part 1: Why You Must Clean Keg Lines (The Science)
Before discussing methods, understand the contaminants:
| Contaminant | Source | Consequence if Unclean |
|---|---|---|
| Beer Stone (calcium oxalate) | Malt & hops | Rough surface attracts bacteria; causes off-flavors (diacetyl, acetaldehyde). |
| Biofilm (yeast, Pediococcus, Lactobacillus) | Residual beer | Sour, buttery, or medicinal tastes; haze; gushing foam. |
| Hop Oils | Hops | Bitterness residue that astringes subsequent beers. |
| Oxidation | Air exposure | Stale, cardboard-like flavors. |
Industry standard: Clean lines every 14 days for beer on constant rotation, or immediately after a keg kicks.
Part 2: What You Need Instead of a “Kit”
A commercial kit typically contains: a small pump, a bucket, a brush, and powdered alkaline cleaner. You can replicate this with items from a hardware store or supermarket.
The DIY Component List
| Function | Commercial Kit Item | DIY Substitute | Approx. Cost (USD) |
|---|---|---|---|
| Cleaning vessel | 5-gal bucket with lid | 5-gallon HDPE bucket + lid ($5) | $5 |
| Cleaning chemical | Powdered alkaline (e.g., PBW, BLC) | Unscented sodium percarbonate (Oxiclean Versatile Free) | $0.30/oz |
| Acid rinse | Phosphoric/nitric acid blend | White distilled vinegar (5% acetic acid) or Citric acid powder | $0.10/oz |
| Line pressure | Hand pump or CO₂ | Gravity + CO₂ from keg coupler (no separate pump needed) | $0 |
| Connector | Keg coupler adapter | Standard D-system keg coupler (you already own) | $0 |
| Brushes | Line cleaning brush | 3/16” nylon tubing brush (hardware store, for 4mm lines) | $8 |
Critical note: Do not use bleach, dish soap, or isopropyl alcohol. They leave residues, degrade EVA barrier tubing, and cause excessive foaming.
Part 3: Step-by-Step Procedure (No Kit Required)
This method uses your existing CO₂ regulator and keg coupler. You will not need a separate hand pump.
Preparation (15 minutes)
- Finish or remove the current keg – Never clean lines with a full keg attached.
- Depressurize the coupler – Pull the pressure relief valve.
- Disconnect gas line from the coupler.
- Prepare 2 gallons of warm water (120–130°F / 49–54°C) – Hotter degrades tubing; cooler reduces cleaning efficacy.
Step 1: Alkaline Cleaning Solution (Removes organics)
DIY formula: Mix 1 oz (by weight) of sodium percarbonate per 1 gallon of warm water.
→ *Example: 2 gallons water + 2 oz sodium percarbonate.*
| Chemical | Concentration | Contact Time |
|---|---|---|
| Sodium percarbonate (Oxiclean Free) | 1% w/v (1 oz/gal) | 20–30 minutes |
| Professional alkaline (PBW) | 0.75–1% | 15–20 minutes |
Action:
- Dissolve completely (stir until clear).
- Pour solution into the clean bucket.
- Attach your keg coupler’s liquid-out to the bucket via a short jumper hose (or simply submerge the coupler’s tail piece into the bucket).
- Connect the gas-in port of the coupler to your CO₂ regulator at 10–15 PSI.
- Open the coupler handle. CO₂ pressure will push the cleaning solution up through the beer line.
- Let solution sit full in the lines for 20 minutes. Do not recirculate—static soaking works if lines are vertical or coiled.
Step 2: Rinse (Critical)
- Disconnect CO₂.
- Empty bucket, rinse it thoroughly.
- Fill bucket with plain warm water (110°F) .
- Re-pressurize with CO₂ (10 PSI) and flush the lines until the water runs clear of suds/particles (typically 1–2 gallons).
Step 3: Acid Rinse (Removes beer stone & mineral scale)
DIY formula: Mix 1 cup white vinegar (5%) per 1 gallon warm water.
→ *For 2 gallons: 2 cups vinegar + water.*
| Acid Type | Concentration | Contact Time |
|---|---|---|
| White vinegar | 5% acetic acid, diluted ~1:15 (final ~0.33% acetic) | 10 minutes |
| Citric acid powder | 1 tbsp per gallon | 5–10 minutes |
Action:
- Run acid solution through lines just like the alkaline step.
- Let sit for 10 minutes (no longer—vinegar can corrode stainless if left for hours).
- Flush again with 1 gallon of cool water (preferably filtered to avoid chlorine).
Step 4: Final Sanitization (Optional but Recommended)
- Use no-rinse sanitizer (Star San or iodine) at labeled dilution.
- Push through lines and leave wet. Do not rinse.
- If no sanitizer: Flush with distilled white vinegar (undiluted) for 2 minutes, then flush with boiled-then-cooled water.
Step 5: Restore to Service
- Disconnect cleaning bucket.
- Reconnect to a fresh keg of beer.
- Pour 4–6 oz of beer and discard (removes any residual water).
- The line is clean.
Part 4: Troubleshooting – Why Your Lines Still Taste Bad
If off-flavors persist after this DIY method, check these factors:
| Symptom | Likely Cause | DIY Fix |
|---|---|---|
| White flakes in beer | Beer stone not removed | Repeat acid step with 10% citric acid solution, soak 20 min. |
| Persistent sourness | Biofilm in connectors or faucet | Disassemble faucet; soak all metal parts in 140°F percarbonate for 30 min. |
| Slow flow / foam | Partial blockage at keg dip tube or coupler | Clean the coupler’s internal poppet and probe with a toothbrush. |
| Chlorine/plastic taste | Used bleach or hot water >140°F | Replace tubing (EVA barrier or Bev-Seal Ultra). |
Part 5: Cost & Effectiveness Comparison – DIY vs. Commercial Kit
| Factor | DIY (Sodium percarbonate + vinegar) | Commercial Kit (e.g., 5L BLC + pump) |
|---|---|---|
| Initial cost | $13 (chemicals + bucket) | $80–150 |
| Per-cleaning cost (for 2 lines, 10 ft each) | $0.60 | $4.50 |
| Time per cleaning | 45 min (incl. soaking) | 30 min (recirculation faster) |
| Effectiveness (log reduction) | 5–6 log (99.999%) for bacteria | 6–7 log |
| Removes beer stone? | Yes (with vinegar acid step) | Yes (if kit includes acid) |
| Requires specialized pump? | No | Yes (or hand pump) |
| Chemical disposal | Biodegradable (sodium carbonate + acetic acid) | Alkaline (neutralize before drain) |
Verdict: DIY is 85% cheaper per cleaning and equally effective for routine maintenance (14-day cycles). For heavy stone or neglected lines (>3 months), a professional recirculating kit is superior.
Part 6: Pro Tips for Long-Term Line Health Without Kits
- Switch to barrier tubing (EVA Barrier or Ultrabarrier 235). It resists beer stone and cleans with half the chemical contact time.
- Flush with water immediately after a keg kicks, before any cleaning. This removes 80% of organic soil.
- Label your buckets – “Alkaline only” and “Acid only” to avoid cross-contamination.
- Test pH of final rinse – Should be between 6.5 and 7.5 (neutral). Use cheap pH strips.
- Replace lines every 12–18 months – Micro-scratches harbor bacteria that no chemical can fully remove.
Conclusion
You do not need a specialized keg line cleaning kit to achieve professional hygiene standards. With sodium percarbonate, white vinegar, a bucket, and your existing CO₂ setup, you can remove biofilm, beer stone, and off-flavors effectively. The key is respecting contact times, rinsing thoroughly, and never mixing acids with alkaline cleaners.
Clean your lines today—your next pint will taste exactly as the brewer intended.
Further reading:
- Draught Beer Quality Manual (Brewers Association) – Free PDF
- Sodium percarbonate safety data sheet (SDS) – Always review before handling.