How to Wash Blackout Curtains Without Ruining the Lining: A Complete Guide
Blackout curtains are an investment in sleep quality, energy efficiency, and privacy. However, the very feature that makes them effective—the light-blocking backing or tightly woven construction—is also what makes them vulnerable to damage during cleaning. Unlike standard decorative curtains, blackout panels require a targeted approach that prioritizes the integrity of the coating or liner over aggressive stain removal.
This guide provides a professional, step-by-step methodology for cleaning blackout curtains safely, covering identification, preparation, washing, drying, and long-term maintenance.
1. Identify Your Blackout Curtain Type First
Before any water touches the fabric, you must determine how the curtain achieves its blackout effect. The construction dictates the cleaning method more than the visible fabric does. Using the wrong method on a coated panel can cause irreversible cracking, peeling, or delamination, which permanently reduces the curtain’s ability to block light .
| Blackout Construction | How to Identify | Washing Tolerance | Recommended Method |
|---|---|---|---|
| Foam or Acrylic Coated | Rubbery, plasticky, or tacky feel on the back; a distinct laminated layer. | Low (Most vulnerable) | Hand wash or spot clean only. Machine washing risks cracking the coating. |
| Triple-Weave (Woven) | Fabric texture on both sides; no separate coating or backing. | Good | Machine washable on a gentle cycle (if label permits). |
| Separate Lined | Two distinct layers sewn together (face fabric + blackout liner). | Moderate | Machine washable on gentle, but risk of uneven shrinkage between layers. |
| Thermal / Insulated | Thick, stiff feel; often has a coated or bonded backing. | Low | Treat as coated; hand wash or professional clean. |
Critical Step: Always check the care label sewn into the curtain. A “Dry Clean Only” or “Spot Clean Only” label overrides all general advice. If the label is missing or illegible, treat the curtain as a delicate coated item: hand wash with cold water only .
2. Pre-Wash Preparation: Removing Soil and Hardware
Most damage to blackout curtains occurs not from water, but from friction and residue during the wash cycle. Preparing the panels properly minimizes this risk.
Remove All Hardware
Detach rings, hooks, pins, clips, and removable weights. Metal hardware can snag the fabric, scrape the backing, or stress the header tape during agitation .
Remove Loose Dust Before Wetting
Curtains act as large air filters, trapping dust, pollen, and pet hair. If you wet a dusty curtain without pre-cleaning, that debris turns into a gritty paste that grinds into the backing during washing.
- Vacuum: Use a brush attachment on low suction. Vacuum both the front fabric and the backing gently. Avoid pressing hard on coated surfaces .
- Shake: Take the curtain outside and shake it vigorously to dislodge loose particles .
Spot Test (If Unsure)
If the care label is ambiguous, test a hidden area (bottom hem or corner) with a drop of mild detergent and cold water. Blot dry and check for color transfer, tackiness, or lifting of the coating. If the coating feels gummy or transfers to your finger, do not wash the full panel .
3. Washing Methods: Machine vs. Hand
Method A: Machine Washing (Only If Label Permits)
Machine washing is acceptable for many triple-weave and some sturdy coated panels, provided you follow strict parameters to protect the backing.
- Load Carefully: Wash one panel at a time (or two small ones) to allow free movement. Crowding the drum causes creasing and stress on the backing. Place the curtain in a large mesh laundry bag to reduce friction .
- Settings: Use cold water (maximum 30°C / 85°F) and the gentlest cycle available (Delicate or Hand Wash). Hot water softens and degrades the acrylic or foam coating .
- Detergent: Use a small amount of mild liquid detergent. Avoid bleach, fabric softeners, and optical brighteners, which can leave a film or chemically attack the coating .
- Spin: Reduce the spin speed to low (approximately 600 RPM or less) or disable the final high-speed spin. High spin speeds crease and stress the coated backing .
Method B: Hand Washing (Safest for Coated/Foam Panels)
Hand washing offers maximum control and is the preferred method for foam-backed or vintage blackout curtains.
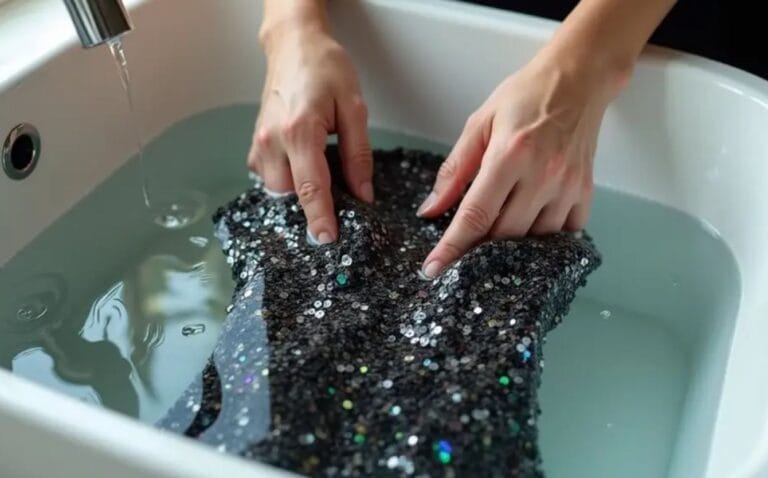
- Fill a Tub: Use cool or lukewarm water with a capful of mild detergent.
- Submerge and Swish: Gently press the curtain through the water. Do not scrub or wring. Agitate for 5–10 minutes. Keep the coated side from prolonged soaking if possible .
- Rinse Thoroughly: Drain the tub and refill with clean cool water. Press the water through the fabric until the rinse water runs clear. Detergent residue makes the backing stiff and attracts dust .
- Water Removal: Never wring or twist. Lay the wet panel flat on a clean towel, roll the towel up, and press gently to extract excess moisture. Support the weight of the curtain when lifting, as wet blackout fabric is heavy and can stretch seams .
Method C: Spot Cleaning (For Dry-Clean-Only or Delicate Panels)
For tailored, pleated, or clearly labeled dry-clean-only curtains, spot cleaning is the only safe DIY option.
- Dab the stain with a soft cloth dipped in cool water and a tiny amount of mild detergent. Work from the outside of the stain inward.
- Rinse with a clean damp cloth.
- Allow the area to air dry completely before rehanging .
4. Drying: The Most Critical Phase
Heat is the single greatest threat to the light-blocking layer. The dryer is responsible for more cracked backings than the wash cycle itself.
| Drying Method | Suitability | Risks | Best Practice |
|---|---|---|---|
| Air Dry (Hanging) | Recommended for all types | Minimal | Rehang on the rod while damp. Gravity pulls out wrinkles. Ensure coated surfaces do not stick together while drying. |
| Air Dry (Flat) | Safe for foam-backed | Slow | Lay flat on a drying rack or towel. Turn occasionally for even airflow. |
| Tumble Dry (Low) | Only if label explicitly permits | High risk of cracking/peeling | Use lowest heat or “Air Fluff” (no heat). Remove while still slightly damp to avoid over-drying. |
| Tumble Dry (High) | Never | Destroys the coating instantly | Do not use. |
Air Drying Best Practices:
Hang the curtains back on the rod or a shower rod while they are still damp. This allows the weight of the water to pull the fabric straight, minimizing wrinkles. Keep the coated sides from touching each other during drying to prevent the backing from sticking and peeling . Avoid direct, intense sunlight on wet fabric, which can cause fading .
5. Ironing and Finishing
If wrinkles persist after drying, use extreme caution.
- Iron only the fabric side: Never let an iron touch the blackout backing. Place a pressing cloth (a cotton pillowcase or towel) between the iron and the fabric.
- Lowest Heat: Use the lowest synthetic setting. Do not use steam, as moisture combined with heat can damage the coating.
- Steamer (Preferred): A handheld clothes steamer is the safest way to release wrinkles. Hold the steamer several inches away from the fabric and keep it moving. Never direct steam at the coated backing .
6. Maintenance Schedule and Frequency
Washing should be a rare event for blackout curtains. Over-washing accelerates wear on the coating. Focus on maintenance between washes.
| Room Type | Suggested Full Wash Frequency | Between-Wash Care |
|---|---|---|
| Bedroom (Low Traffic) | Every 6–12 months | Monthly vacuum with brush attachment. |
| Living Room (General Use) | Every 6 months | Monthly vacuum; spot clean as needed. |
| Kitchen or High-Dust Area | Every 3 months | Weekly vacuum; prompt spot cleaning. |
| Smoker’s Home / Pet Household | Every 3–4 months | Frequent vacuuming to remove odor-causing particles. |
The “Sniff Test”: If a curtain emits a musty or stale odor when shaken, it is time for a wash, regardless of the calendar .
Frequently Asked Questions (FAQ)
1. Can I put blackout curtains in the dryer?
Generally, no. Heat is the primary cause of cracked, flaking, or delaminated blackout coatings. Even on low heat, the tumbling action combined with warmth can stress the backing. The safest method is to rehang the curtains while damp and allow them to air dry. Only use a dryer if the care label explicitly states “Tumble Dry Low,” and even then, remove the curtains while they are still slightly damp .
2. How do I stop my blackout curtains from shrinking?
Shrinkage is caused by heat and agitation. To minimize it, use cold water only (maximum 30°C) and avoid high-spin cycles. Some shrinkage (up to 4%) is normal for natural fiber blends, but synthetic blackout curtains are generally more stable. If the curtain is a tailored floor-length panel, the risk of noticeable shrinkage makes professional dry cleaning the safer choice .
3. What should I do if the blackout coating is already peeling or cracked?
If the backing is already flaking or peeling, washing will likely worsen the damage. Do not machine wash or submerge the curtain. Vacuum gently to remove dust, spot clean stains with a barely damp cloth, and consider the curtain’s light-blocking days numbered. Once the coating cracks, the damage is irreversible; prevention through gentle washing is the only remedy .
4. Can I use bleach or vinegar to clean blackout curtains?
Bleach: No. Chlorine bleach degrades the synthetic fibers and the light-blocking coating, and it can cause yellowing. Vinegar: Diluted white vinegar can be used for spot cleaning stubborn stains on the fabric side only, but it should not be applied to the coated backing. Always test any solution on a hidden area first .
5. How do I remove wrinkles if I can’t iron the backing?
The best method is to rehang the curtains while they are still damp from washing. The weight of the water will pull the fabric straight as it dries. For persistent wrinkles, use a handheld clothes steamer on the fabric side only, keeping the steamer moving and never directing it at the coated back. If you must iron, use the lowest heat setting with a pressing cloth between the iron and the fabric face .