How to Tackle Post-Construction Cleaning in Your New Build
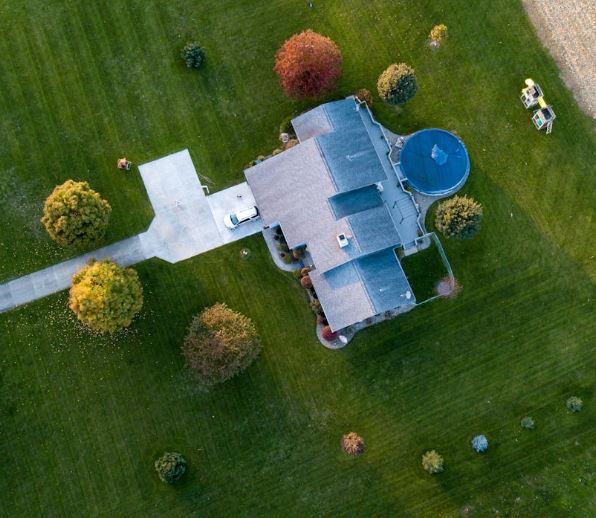
After yearning and working hard for it for years, you’re now standing face to face with your dream home. You can’t wait to finally inhabit it, but there’s still one task left for you to do: cleanup. A significant amount of dust and debris has piled up over the course of the construction. Now, it’s time to make sure every corner of the property is as spotless and hygienic as possible.
But how do you go about post-construction cleaning in your new build? Take heed of the tips below.
Gather Your Gear
The perfect finishing touch for your new construction home is a thorough cleanup. And the first order of business is to prepare the necessary implements.
You need to have personal protective equipment (PPE) to keep you safe from injuries that may be caused by construction debris, including sharp objects. Talk about thick-soled closed-toe shoes, as well as dust mask (preferably an N95), gloves, and safety goggles.
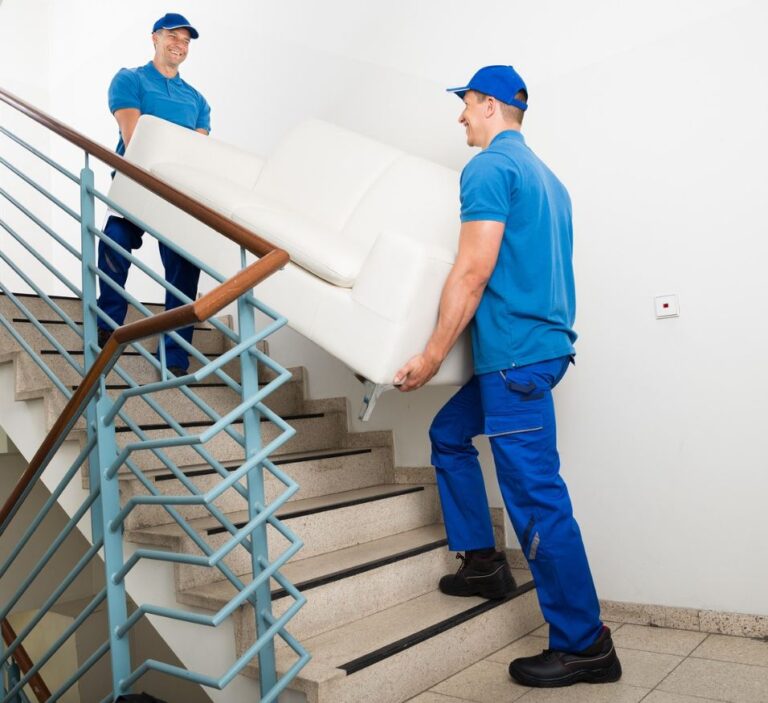
Gather your cleaning supplies. These include your ever reliable mop and bucket, microfiber cloths, heavy-duty vacuum cleaner with HEPA filter, and pressure washer. You’ll also need specialized cleaning solutions for an effective deep clean of various surfaces. Don’t forget that stable and sturdy ladder to help you reach the higher areas of your home. There has to be enough trash bags around too for seamless waste management.
A cleaning checklist can also come in handy if you don’t want to miss any important areas. This can help make sure every nook and cranny is properly cleaned.
Prep the Area
Don’t rush into the cleanup.
You’ve got to ventilate the area first if you don’t want dust suffocating you. This simply means opening all doors and windows. You also need to turn off your heating, ventilation, and air conditioning or HVAC system to keep dust from circulating around the house and ruining your air ducts. Only turn it back on once the cleaning is done.
Another important thing to do is to protect your furniture or fixtures, particularly heavy or built-in ones that are impossible to move. You’ll need drop cloths or plastic sheeting for this task
Do Some Rough Cleaning
For this phase, here are the things you need to do:
- Any construction project isn’t safe from large pieces of debris like wood scraps, packaging, leftover tiles, drywall, and other discarded materials. Get rid of them, including nails and sharp objects, to keep hazards and other obstacles away.
- Do a general sweep using a heavy-duty broom, followed by some thorough vacuuming. This should cover both interior and exterior floor and wall surfaces.
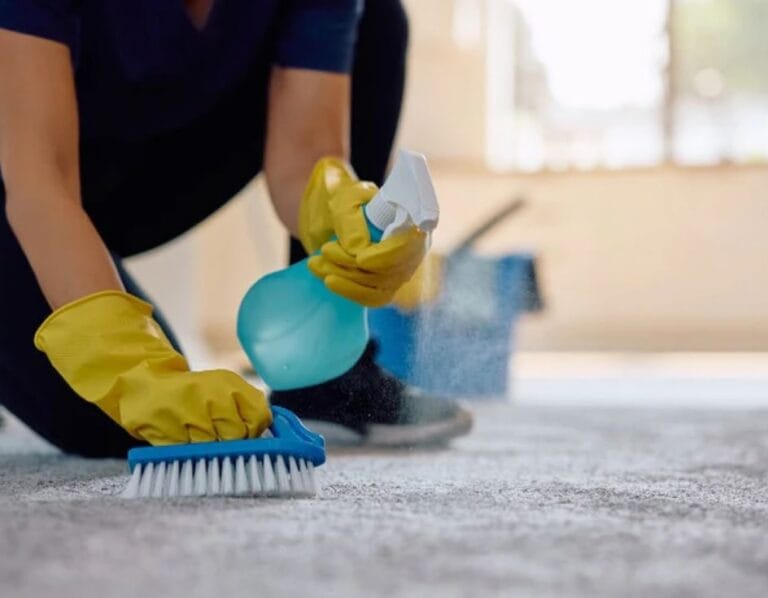
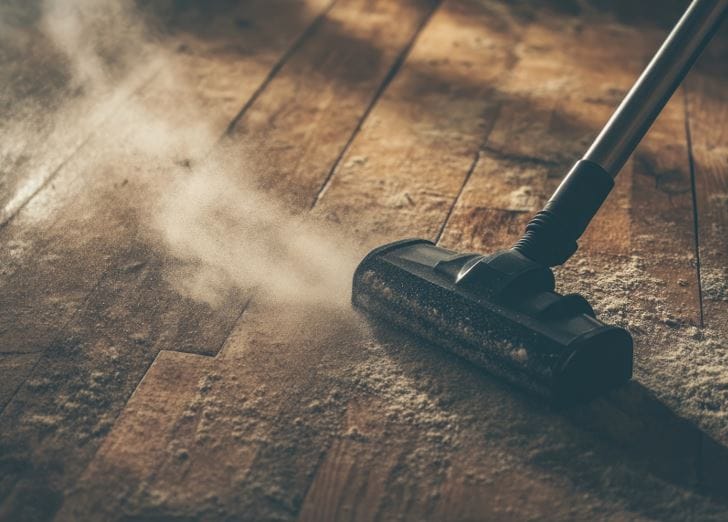
- Annihilate any trace of construction dust and dirt from the floor. The material should lead the way. Tiles would need gentle scrubbing and, at times, grout cleaning; hard floors would benefit from mopping; and carpets would need a HEPA vacuum cleaner to effectively eliminate small particles and allergens.
- Wipe away dirt from walls and ceilings. If you think a wet cloth is your best tool here, you’re mistaken. It can only worsen the situation by turning dirt into a smeary paste. That said, a dry or damp cloth is a more reliable ally in such cases.
- Scuffs and stains need your attention too. A plastic putty knife can effectively remove dried out paint and caulk. And when dealing with stubborn stains, don’t use the strongest chemicals you can find as they can damage your home’s surfaces. Instead, go for milder solutions.
- Glass cleaning should, of course, be part of your checklist as well. Use a squeegee coupled with a trusted glass cleaner for a seamless finish. Meanwhile, a glass scraper can get rid of paint and caulk.
Following these steps should take care of the heaviest, most stubborn dirt. Make sure to use the top-down approach, which means going from the highest points of the house, then all the way down, to avoid re-contaminating certain areas.
Time to Polish
This juncture is all about giving your home a final wipe-down.
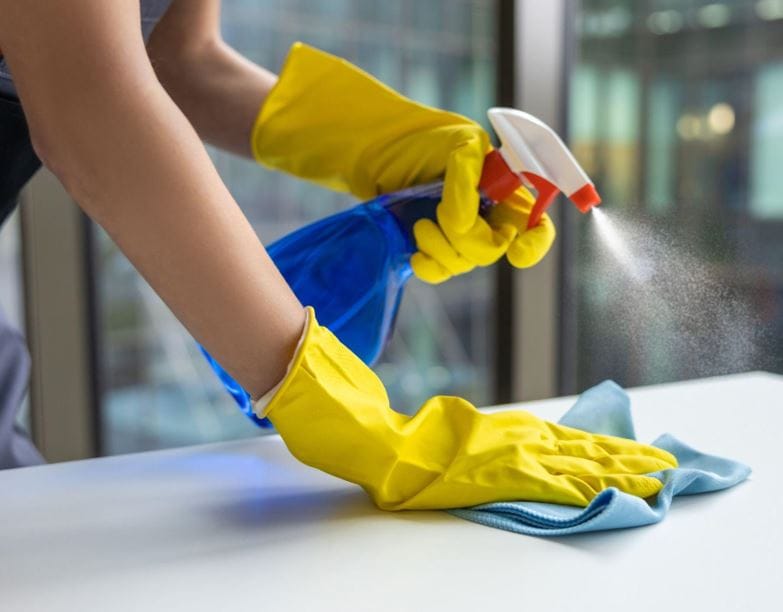
Re-dust and re-vacuum the walls and floor, removing dust that might have settled during the initial cleanup. Using a microfiber cloth, re-wipe light fixtures and ceiling fans, as well as surfaces of windowsills, countertops, shelves, and cabinets. Add your appliances and hardware like doorknobs to the list too.
Apply a sanitizer or disinfectant to high-touch areas, including touch panels of your electronics, railings, light switches, faucet handles, and drawer pulls. You don’t want germs lingering and thriving on them.
Lastly, clean your HVAC unit. Vacuum the vent covers and the inside of the ducts to remove any dirt that’s clogged in them. Don’t forget to replace the air filters to maintain ideal indoor air quality.
Conclusion
Follow these steps, and you can get rid of anything that gets in the way of a happy and comfortable home life. And although you can do things yourself, don’t hesitate to hire professional cleaning services if you think you don’t have the necessary tools. They can help ensure an immaculate and safe home with their complete cleaning arsenal.