How to Clean Yellowed Vinyl Flooring: Causes, Methods, and Prevention
Yellowed vinyl flooring is a common frustration, but the outcome depends entirely on identifying the cause before you scrub. Surface grime responds well to gentle cleaning, while chemical reactions from rubber mats or UV degradation may be permanent. This guide distinguishes between reversible and irreversible yellowing, provides a comparison of cleaning methods, and outlines a professional approach to restoration and prevention.
Understanding Why Vinyl Turns Yellow
Before applying any cleaner, determine which of the four primary causes applies to your floor. The wrong treatment can etch the wear layer or set the stain permanently.
Rubber Bleed (Most Common). Rubber-backed mats, furniture feet, and non-slip pads contain antioxidants that migrate into the vinyl’s plasticizer over time. The result is a yellow or amber stain that matches the exact shape of the rubber object and sits within the wear layer, not on top of it . This type of staining is often partially permanent.
UV Exposure. Prolonged sunlight breaks down the PVC polymer structure, particularly in lighter-colored floors and near patio doors or large windows. UV yellowing appears as uneven discoloration rather than a defined stain and occurs gradually over years .
Adhesive Bleed or Moisture. In older installations, adhesive beneath the vinyl can migrate upward, causing irregular yellow patches that appear to come from inside the floor. Trapped moisture from a poorly prepared subfloor produces similar patchy discoloration, sometimes accompanied by lifting edges .
Surface Residue or Wax Buildup. Old floor polish, wax, or sticky adhesive residue can yellow over time, especially in low-traffic areas along walls and under furniture. This type is the most responsive to cleaning .
Comparison of Cleaning Methods
The following table ranks methods by suitability for different yellowing causes, risk level, and expected effectiveness. Always perform a spot test in a hidden corner before full application.
Critical warnings: Never use chlorine bleach on yellowed vinyl. Bleach reacts with the vinyl composition and can cause permanent yellowing or finish breakdown . Avoid abrasive scouring pads, which scratch the wear layer and trap dirt, worsening discoloration over time .
Step-by-Step Professional Cleaning Protocol
Step 1: Diagnose the Stain Type
Run a finger across the yellow area. If it feels identical to surrounding floor and has a sharp edge matching a former mat or furniture piece, it is rubber bleed. If the yellow follows window light patterns with gradual fading, it is UV damage. If the area feels slightly tacky or has an odor, treat as organic residue first .
Step 2: Start with the Gentlest Method
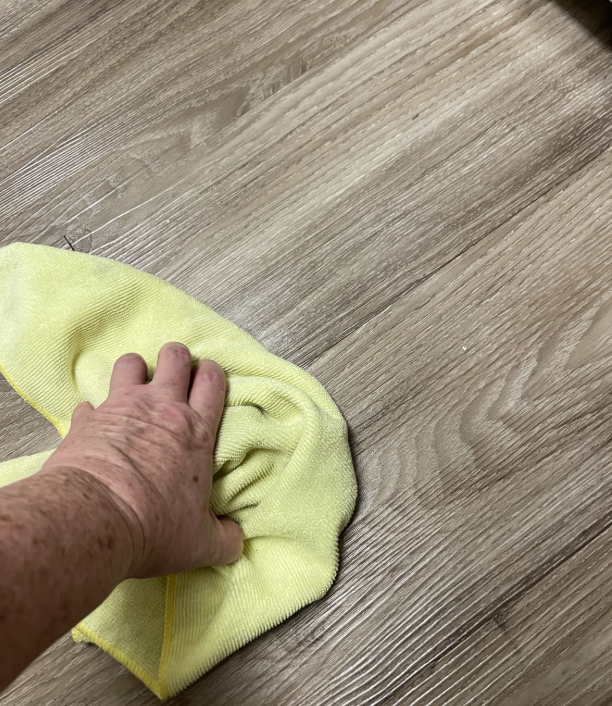
Mix one teaspoon of mild dish soap per gallon of warm water. Mop thoroughly with a microfiber mop, then rinse with clean water and dry completely. This removes surface grime and reveals whether the yellowing is superficial .
Step 3: Escalate Based on Cause
For rubber bleed, apply the hydrogen peroxide method with plastic wrap to prevent evaporation. Check progress every two hours. For wax buildup, use a vinyl-safe stripper according to manufacturer instructions, then apply fresh finish if desired . For adhesive or moisture-related yellowing that originates beneath the surface, cleaning will not resolve the issue; professional assessment or floor replacement may be necessary.
Step 4: Rinse and Dry Thoroughly
Soap residue attracts new dirt and accelerates re-yellowing. Rinse twice with clean water and dry with a microfiber cloth or towel. Do not leave standing water on vinyl seams .
Prevention: Protecting Vinyl from Future Yellowing
Prevention is more effective than restoration, particularly because UV and rubber-related damage cannot be fully reversed.
Eliminate rubber contact. Replace all rubber-backed mats, furniture feet, and non-slip pads with felt, polyester, or vinyl-safe alternatives. This is the single most important preventive measure .
Control sunlight exposure. Use curtains, blinds, or UV-filtering window film in rooms with direct sun exposure on the floor. UV damage accumulates irreversibly .
Maintain regularly. Sweep or dust mop frequently to remove grit that scratches the finish, and clean with pH-neutral vinyl cleaners. Avoid alkaline solutions that strip wax and dull the surface .
Address moisture promptly. Wipe spills immediately and investigate any persistent dampness near seams or edges. Subfloor moisture requires professional intervention .
When Yellowing Cannot Be Removed
If the yellowing originated from adhesive bleed-through, deep UV degradation over many years, or rubber staining that has penetrated the wear layer for an extended period, cleaning will produce limited results. In these cases, the discoloration is structural rather than superficial. Options include replacing affected tiles or sections of sheet vinyl, applying a quality floor restorer or finish to even out appearance, or consulting a flooring professional for assessment .
Conclusion
Cleaning yellowed vinyl flooring successfully requires matching the method to the cause. Rubber bleed responds best to prolonged hydrogen peroxide treatment, surface residue yields to baking soda paste, and UV or adhesive-related yellowing is largely irreversible. Start with the mildest approach, test in an inconspicuous area, and prioritize prevention through rubber elimination and sun control to protect the floor’s appearance long-term.