How to Clean Duco Painted Furniture: A Professional Guide to Preserving High-Gloss Finishes
Duco paint—a nitrocellulose-based lacquer pioneered by DuPont in the 1920s—remains a benchmark for high-gloss, automotive-grade finishes on vintage and luxury furniture. Its hard, mirror-like surface is durable yet chemically sensitive. Improper cleaning leads to clouding, micro-scratches, or irreversible softening. This guide provides material-specific protocols to maintain the lustre without compromising the lacquer.
Understanding Duco Paint Vulnerabilities
Before cleaning, recognize that Duco is not modern polyurethane or catalyzed lacquer. It remains soluble in many solvents (acetone, xylene, alcohol above 15%) and is susceptible to:
- Etching from citrus-based or ammonia cleaners
- Blushing (white haze) from moisture trapped during cleaning
- Softening from ethanol, isopropanol, or ethyl acetate
| Property | Duco Paint | Modern Polyurethane |
|---|---|---|
| Solvent resistance | Low – dissolves in ketones/esters | High – resists most solvents |
| Water sensitivity | Moderate – can blush | Low – non-reactive |
| Abrasion tolerance | Medium – use soft materials only | High – can withstand light polishing |
| Recommended cleaners | Distilled water + neutral pH soap | Commercial multi-surface sprays |
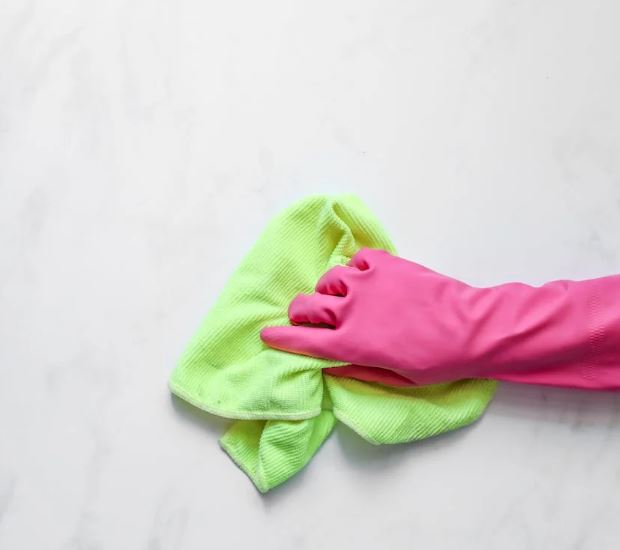
Required Materials & Safety Notes
Use only the following tools and solutions. Avoid microfiber with sewn edges (can scratch); use unseamed, ultra-soft microfiber or 100% cotton flannel.
- Soft-bristle horsehair brush (dusting)
- Lint-free cotton squares (e.g., surgical gauze or old t-shirt cloth)
- Distilled water – tap water leaves mineral deposits
- Neutral pH soap – Dr. Bronner’s (unscented) or diluted dish soap (1:400 ratio)
- pH test strips – target pH 6.5–7.5
Warning: Never use spray polishes containing silicone (e.g., Pledge). Silicone penetrates micro-fractures and prevents future refinishing.
Step-by-Step Cleaning Protocol
Phase 1: Dry Soil Removal
Accumulated dust acts as an abrasive. Always dry-clean before any wet process.
- Wipe with a dry, unfolded cotton cloth using straight, overlapping strokes – not circular motions.
- For carved details, use a soft horsehair brush at low pressure.
- Vacuum crevices with a brush attachment only; never use a crevasse tool directly.
Phase 2: Wet Cleaning (Light to Moderate Soil)
Prepare the cleaning solution fresh for each use. Do not store.
| Component | Quantity | Notes |
|---|---|---|
| Distilled water | 500 ml | Warmed to 30°C (85°F) |
| Neutral soap | 1.25 ml (¼ tsp) | Liquid concentrate |
| Final pH | 6.8 – 7.2 | Adjust with vinegar (↓) or baking soda (↑) |
Procedure:
- Dampen a cotton square with solution – wring until almost dry (no dripping).
- Clean a 20×20 cm area, immediately followed by a dry cotton square to remove moisture.
- Change cloths every 2–3 passes. Dirty cloths trap abrasive particles.
- Allow surface to air-dry for 10 minutes. Blush (white film) indicates excess moisture – re-wipe with a dry cloth.
Phase 3: Stubborn Stain Treatment (without solvent)
For water rings, dried food, or grease without lacquer damage:
| Stain Type | Safe Method | Prohibited Actions |
|---|---|---|
| Water mark (white) | Light buff with #0000 steel wool + paste of baking soda/distilled water (1:2) | Rubbing alcohol, hair dryer |
| Greasy fingerprint | 1% white vinegar solution (pH 4) – dab, do not rub | Orange oil, WD-40 |
| Ink / marker | Isopropyl alcohol 5% in water – test in hidden area first | Acetone, nail polish remover |
| Sticky residue | Mineral spirits (very brief) – wipe off within 10 seconds | Goo Gone, citrus solvent |
Note: Always test any stain removal method on an invisible surface (e.g., underside of a drawer front) for 60 seconds before proceeding.
Routine Maintenance Schedule
| Frequency | Task | Tool | Estimated Time |
|---|---|---|---|
| Daily | Dust with dry, unfolded cloth | Cotton flannel | 2 min / piece |
| Weekly | Light wipe with slightly damp (water only) cloth | Microfiber (no edges) | 5 min |
| Monthly | Full cleaning with neutral soap solution (as above) | Cotton squares + pH soap | 15 min |
| Quarterly | Inspection for micro-cracks or dull spots | Magnifying glass + daylight | 5 min |
| Annually | Professional wax (carnauba-based, no silicone) – optional | Foam applicator | 20 min |
What to Avoid – Professional Checklist
Do not use the following products or techniques on Duco painted furniture:
- ❌ Any aerosol “furniture polish” – they contain propellants that soften lacquer
- ❌ Paper towels or toilet paper – wood pulp scratches the gloss
- ❌ Steam cleaners – heat + moisture cause irreversible blushing
- ❌ Vinegar (undiluted) – pH 2.5 etches the surface
- ❌ Magic erasers – melamine foam is an abrasive (equivalent to 3000-grit sandpaper)
When to Call a Conservator
Duco finishes are difficult to restore once compromised. Seek professional assessment if you observe:
- Alligatoring – cracking pattern resembling reptile skin
- Tackiness – surface feels sticky (solvent migration)
- Lifting edges – lacquer detaching from substrate
- Bloom – milky, irreversible haze after cleaning attempts
A qualified furniture conservator can perform controlled re-amalgamation (re-dissolving the top layer with proprietary solvent blends) – a technique not safe for DIY.
Final Recommendation
For daily care, less is more. A soft cotton cloth and distilled water resolve 90% of cleaning needs. Reserve pH-neutral soap for quarterly deep cleaning. Never experiment with automotive polishes or degreasers. Adhering to this protocol will preserve the distinctive depth and gloss of Duco-painted furniture for decades.