Easy-to-Make Homemade Reed Diffuser: A Complete Guide to Fragrant Living
There’s something magical about walking into a room filled with a soothing, pleasant fragrance. Whether it’s the calming scent of lavender, the invigorating aroma of citrus, or the warm embrace of vanilla, a well-scented home can uplift moods, reduce stress, and create a welcoming atmosphere.
While candles and plug-in diffusers are popular choices, reed diffusers offer a flameless, low-maintenance, and long-lasting alternative. The best part? You don’t need to spend a fortune on store-bought versions—making a homemade reed diffuser is incredibly easy, cost-effective, and customizable to your personal scent preferences.
In this comprehensive guide, we’ll walk you through:
- What a reed diffuser is and how it works
- Benefits of making your own reed diffuser
- Essential materials and ingredients
- Step-by-step instructions for crafting the perfect diffuser
- Custom scent blend ideas
- Tips for maximizing longevity and fragrance strength
- Troubleshooting common issues
By the end, you’ll have everything you need to create a beautiful, personalized reed diffuser that keeps your home smelling amazing for weeks!
What Is a Reed Diffuser & How Does It Work?
A reed diffuser is a simple yet effective way to disperse fragrance into a room without heat or electricity. It consists of three main components:
- A liquid fragrance solution – Typically made of a carrier oil (like sweet almond or safflower oil) and essential oils or fragrance oils.
- Reeds or sticks – Usually rattan reeds, bamboo sticks, or fiber rods that absorb and diffuse the scent.
- A decorative vessel – A glass bottle or jar that holds the liquid and complements your home decor.
How It Works:
The reeds act as natural wicks, absorbing the scented oil and releasing it into the air through evaporation. Unlike candles, reed diffusers don’t require a flame, making them safer for homes with kids or pets. They also provide a continuous, subtle fragrance that lasts for weeks.
Why Make Your Own Reed Diffuser?
Commercial reed diffusers can be expensive, and many contain synthetic chemicals or overpowering scents. By making your own, you gain:
✅ Full control over fragrance – Mix and match scents to create your perfect aroma.
✅ Natural ingredients – Avoid harsh chemicals found in store-bought versions.
✅ Cost-effective – Save money by using simple household ingredients.
✅ Eco-friendly – Reuse glass bottles and reduce packaging waste.
✅ Customizable decor – Choose a vessel that matches your style.
Materials You’ll Need
Making a reed diffuser is surprisingly simple. Here’s what you’ll need:
1. Carrier Oil (Base Liquid)
The oil carries the fragrance and helps it diffuse slowly. Good options include:
- Sweet almond oil (light and effective)
- Fractionated coconut oil (odorless and long-lasting)
- Safflower oil (affordable and works well)
- Mineral oil (a common choice in commercial diffusers)
Avoid thick oils like olive oil—they won’t travel up the reeds efficiently.
2. Essential Oils or Fragrance Oils
Essential oils are natural and therapeutic, while fragrance oils (synthetic) offer stronger, longer-lasting scents.
Popular essential oil blends:
- Calming: Lavender + Chamomile
- Energizing: Peppermint + Lemon
- Warm & Cozy: Vanilla + Cinnamon
- Fresh & Clean: Eucalyptus + Tea Tree
3. Reeds or Diffuser Sticks
- Rattan reeds (most effective—they have tiny channels that help oil travel)
- Bamboo skewers (cheaper but less porous)
- Fiber reeds (often used in commercial diffusers)
Tip: Flip the reeds every few days to refresh the scent.
4. A Glass Bottle or Jar
Choose something narrow-necked to slow evaporation. Mason jars, small vases, or even upcycled liquor bottles work great!
5. Optional Add-Ins
- Rubbing alcohol or vodka (helps thin the oil for better diffusion)
- Vitamin E oil (acts as a preservative)
Step-by-Step Guide to Making a Homemade Reed Diffuser
Step 1: Prepare Your Bottle
Clean and dry your chosen vessel thoroughly. A narrow opening helps control evaporation.
Step 2: Mix Your Scented Oil Solution
A basic recipe:
- ½ cup carrier oil
- 20-30 drops essential oils (adjust for strength)
- 1-2 tbsp rubbing alcohol or vodka (optional, helps with diffusion)
Pro Tip: For a stronger scent, increase the essential oil ratio.
Step 3: Pour the Mixture into the Bottle
Fill your container about ¾ full to prevent spills when inserting reeds.
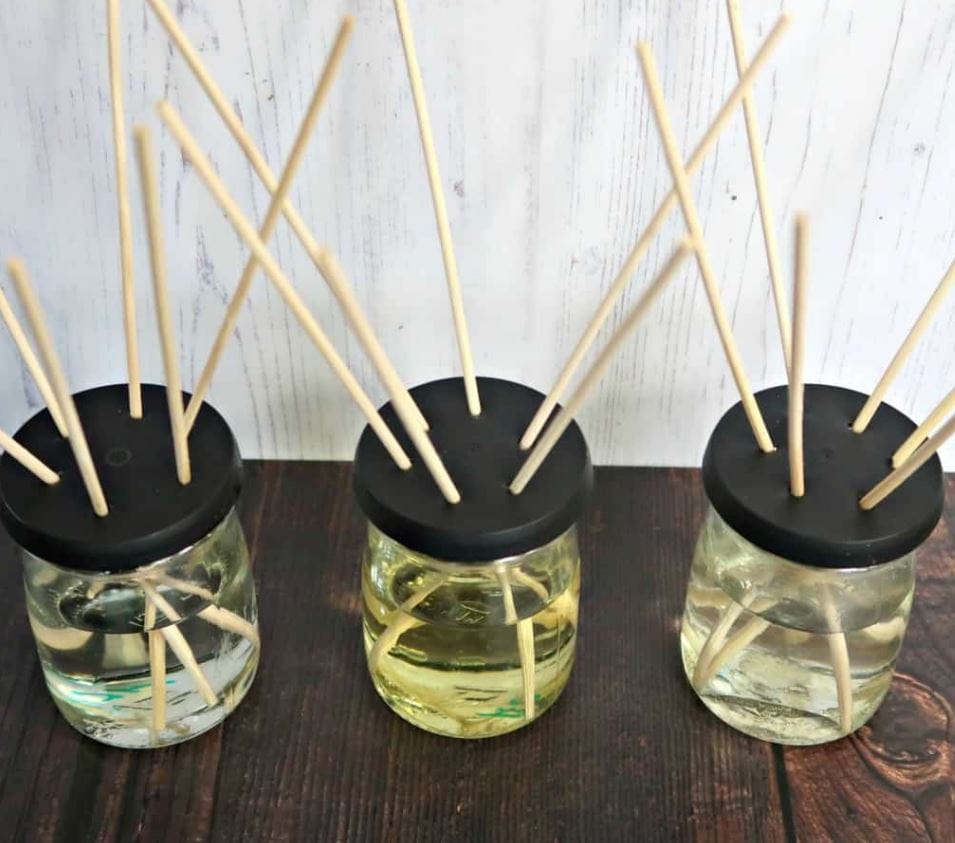
Step 4: Add the Reeds
Place 6-10 reeds in the bottle (more reeds = stronger scent). Let them soak for an hour, then flip them to start diffusing.
Step 5: Let It Diffuse & Enjoy!
Place your diffuser in a well-ventilated area (entryway, bathroom, bedroom). Flip the reeds every few days to refresh the scent.
Best Scent Combinations to Try
Want a signature scent? Try these blends:
| Mood | Essential Oil Blend |
|---|---|
| Relaxing | 10 drops Lavender + 5 drops Bergamot |
| Energizing | 10 drops Orange + 5 drops Peppermint |
| Cozy Fall | 8 drops Vanilla + 5 drops Cinnamon + 3 drops Clove |
| Fresh Linen | 10 drops Eucalyptus + 5 drops Lemon |
| Spicy Warmth | 7 drops Patchouli + 5 drops Sandalwood + 3 drops Vanilla |
Tips for Long-Lasting Fragrance
- Flip the reeds weekly to refresh the scent.
- Keep away from direct sunlight (heat speeds up evaporation).
- Use a higher ratio of essential oils for a stronger aroma.
- Store extras in a dark bottle to preserve potency.
Troubleshooting Common Issues
❌ Weak Scent?
- Add more essential oils or flip reeds more often.
- Use rattan reeds instead of bamboo.
❌ Oil Too Thick?
- Add a tablespoon of alcohol to thin it.
❌ Reeds Not Absorbing?
- Trim the reeds to expose fresh ends.
Final Thoughts
Creating a homemade reed diffuser is an easy, affordable, and rewarding DIY project. With just a few simple ingredients, you can craft a beautiful, long-lasting fragrance that enhances your living space. Plus, you get to customize the scent to match your mood, season, or decor!
Why spend money on expensive store-bought diffusers when you can make your own in minutes? Gather your supplies, experiment with scents, and enjoy a home that smells as good as it looks!
Have you made a reed diffuser before? What’s your favorite scent combo? Share in the comments below! 🌿✨