The Definitive Guide to Removing Butyl Tape Residue
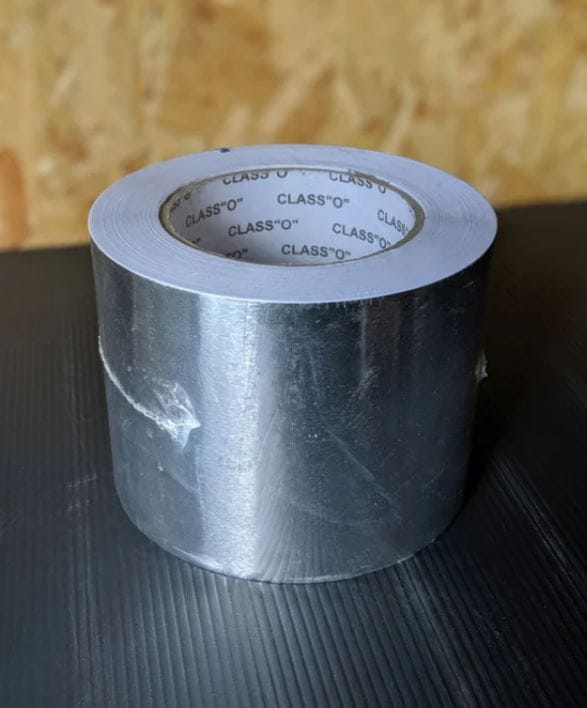
Butyl tape is a sealing powerhouse in marine, automotive, and construction applications—revered for its exceptional water resistance, aging resistance, and permanent flexibility. However, these same properties that make it an excellent sealant also make it a formidable opponent when it’s time for removal. Unlike standard adhesives that dry out and become brittle, butyl tape remains soft and tacky, stretching and smearing rather than releasing cleanly .
This guide provides a comprehensive, professional approach to removing butyl tape residue from various surfaces without causing damage.
Understanding the Challenge: Why Butyl Tape is Difficult to Remove
Butyl tape is formulated from synthetic rubber polymers that remain permanently pliable. This “non-drying, non-hardening” characteristic creates a tenacious bond that resists conventional cleaning methods. When you attempt to remove it, the tape typically stretches rather than breaks, leaving behind a sticky, gummy residue that attracts dirt and complicates replacement sealing .
| Characteristic | Impact on Removal |
|---|---|
| Non-hardening adhesive | Remains sticky; doesn’t become brittle or crumble |
| High elasticity | Stretches rather than breaks when pulled |
| Excellent water resistance | Resists water-based cleaning solutions |
| Strong adhesion | Bonds aggressively to most surfaces |
The removal strategy must account for:
- Surface type – glass, painted metal, fiberglass, plastic, or rubber
- Age of the tape – fresh residue vs. years-old material
- Environmental factors – temperature and humidity affect removal difficulty
Essential Tools and Materials
Before beginning, assemble the appropriate tools based on your surface type and the age of the butyl residue.
Mechanical Removal Tools
| Tool | Best For | Risk Level |
|---|---|---|
| Plastic scraper/putty knife | General surface scraping; gelcoat, paint, plastic | Low |
| Single-edge razor blade | Glass surfaces, precision scraping | Medium |
| 0000 super-fine steel wool | Glass polishing after scraping | Low-Medium |
| Hair dryer (not heat gun) | Softening aged butyl | Low |
| Butyl ball (dab-off technique) | Removing fresh residue from itself | Very Low |
Chemical Solvents
| Solvent | Effectiveness | Surface Compatibility Notes |
|---|---|---|
| Mineral Spirits | Good | Safe on glass, metal, fiberglass; use sparingly on decals |
| WD-40 | Good to Excellent | Generally safe; effective on many surfaces |
| Goo Gone (citrus-based) | Good | Safe on most plastics and Lexan; not for rubber per some labels |
| Naphtha | Excellent | Highly effective but banned in some states; evaporates quickly |
| Xylene/Xylol | Excellent | Effective but strong; test on fiberglass |
| Acetone | Excellent | Last resort only—can damage fiberglass, paint, and plastics |
| Lacquer Thinner | Excellent | Last resort only—high risk of surface damage |
| Turpentine | Moderate | Safer for EPDM rubber roofs; plant-derived |
Step-by-Step Removal Process
Phase 1: Preparation
- Clean the surrounding area – Remove loose dirt and debris that could scratch surfaces during scraping.
- Test in an inconspicuous area – Before applying any solvent to a large area, test it on a small, hidden spot to confirm it won’t damage the finish .
- Ensure proper ventilation – Many solvents emit harmful fumes. Work outdoors or in a well-ventilated space and wear appropriate protective equipment (gloves, safety glasses, mask) .
- Consider temperature – Working on a cooler day can make removed butyl less messy to handle .
Phase 2: Bulk Removal
For fresh or moderately aged butyl:
- Use a plastic scraper or putty knife to lift and remove the bulk of the material.
- Avoid metal scrapers on painted or gelcoat surfaces—they will cut into the finish .
For aged, hardened butyl:
- Apply heat using a hair dryer on low or medium setting.
- Keep the heat source moving continuously to avoid overheating the surface.
- Once softened, use a plastic scraper to remove the material.
- Caution: A heat gun can cause delamination of fiberglass or damage gelcoat if used improperly .
The Butyl-on-Butyl Trick:
Roll a small piece of fresh butyl tape into a ball. Use this ball to dab at the residue—butyl bonds more strongly to itself than to other surfaces, pulling the residue away cleanly .
Phase 3: Residue Dissolution
After bulk removal, address the remaining sticky film.
For glass surfaces:
- Apply mineral spirits, WD-40, or naphtha to a clean rag.
- Wipe the residue with gentle pressure.
- Follow with a single-edge razor blade held at a shallow angle for stubborn spots.
- Finish with 0000 super-fine steel wool if needed—it will not scratch glass .
- Warning: Avoid letting solvents contact the edge of laminated glass, as they can weep into the laminate and cause clouding .
For painted metal or fiberglass:
- Apply WD-40, mineral spirits, or a citrus-based remover like Goo Gone to a rag (not directly to the surface).
- Allow the solvent to sit for 10–30 minutes to penetrate the adhesive .
- Wipe away with a clean cloth; repeat 1–2 times for complete removal .
- Avoid acetone, MEK, and lacquer thinner, which can strip paint and damage gelcoat finish .
For plastic and Lexan surfaces:
- Citrus-based removers (Goo Gone) are generally safe and effective on Lexan .
- Avoid acetone and strong petroleum solvents, which can cloud or dissolve plastics.
- Apply solvent sparingly and wipe clean promptly.
For EPDM rubber roofs:
- Use turpentine or mineral spirits on a damp (not wet) rag to minimize membrane penetration .
- Avoid flooding the surface, which could loosen the membrane adhesive.
- Caution: Some Goo Gone labels advise against use on rubber—verify your product label before application .
Phase 4: Final Cleaning
After residue removal:
- Wipe the surface with a clean cloth and mild detergent solution to remove any solvent residue.
- Rinse with clean water.
- Dry thoroughly before applying new sealant.
Solvent Comparison Table
| Solvent | Effectiveness | Surface Suitability | Precautions |
|---|---|---|---|
| Mineral Spirits | Moderate-Good | Glass, metal, fiberglass | May affect decals; use sparingly |
| WD-40 | Good-Excellent | Most surfaces | Let sit before wiping; clean residue afterward |
| Goo Gone (citrus) | Good | Glass, Lexan, painted surfaces | May not be suitable for rubber surfaces |
| Naphtha | Excellent | Most surfaces | Fast evaporation; banned in some regions |
| Xylene/Xylol | Excellent | Most surfaces | Strong; test on fiberglass first |
| Acetone | Excellent | Glass only | Avoid on paint, fiberglass, plastic |
| Lacquer Thinner | Excellent | Glass only | Avoid on most painted or finished surfaces |
| Turpentine | Moderate | EPDM rubber, general | Plant-based; slower acting |
Surface-Specific Guidelines
| Surface | Recommended Method | Products to Avoid |
|---|---|---|
| Automotive Glass | Razor blade → mineral spirits → 0000 steel wool | Solvents near laminate edge |
| Fiberglass/Gelcoat | Heat → plastic scraper → WD-40 or Goo Gone | Acetone, lacquer thinner, MEK |
| Painted Metal | Plastic scraper → citrus remover or mineral spirits | Acetone, aggressive solvents |
| Lexan/Acrylic | Goo Gone → plastic scraper | Acetone, lacquer thinner |
| EPDM Rubber Roof | Hair dryer → plastic scraper → turpentine (damp cloth) | Flooding with any solvent |
| Powder-Coated Surfaces | Mild solvent with test patch | Any solvent without testing |
Critical Precautions
- Test, Test, Test – Always verify solvent compatibility on a hidden area before proceeding .
- Avoid Flooding – Use solvent on a rag, not poured directly onto the surface. Excess solvent can seep into seams, damage underlying materials, or dissolve adhesives .
- Protect Surroundings – Blow away steel wool fragments after glass cleaning to prevent rust embedding into paint .
- Beware of “Friendly” Products – Products labeled as safe may still cause damage. One forum user reported Goof Off removing paint down to bare metal on first contact .
- Manage Residue – Change cleaning rags frequently; butyl will re-deposit if wiped with a saturated rag .
- Patience – Stubborn residue may require repeated application cycles. Multiple light applications are safer than aggressive single attempts.
Professional Tip: When Fresh Butyl Squeezes Out
If you are installing butyl tape and excess squeezes out around the edges:
- Wait until final tightening is complete.
- Trim the excess with a razor blade (on glass) or plastic scraper (on painted surfaces).
- Use a butyl ball to dab off remaining residue—this method avoids scraping and preserves the finish .
Summary
Removing butyl tape residue requires a systematic approach that prioritizes surface protection. Start with the least aggressive mechanical method (plastic scraper) and mildest effective solvent (mineral spirits or WD-40). Escalate to stronger solvents only when necessary, and always test before full application. Heat can significantly ease removal of aged butyl, but use it with caution to avoid surface damage.
With patience and the right technique, even the most stubborn butyl residue can be completely removed, leaving a clean surface ready for new sealing applications.