The Definitive Guide to Cleaning Your Red Light Therapy Device: Safety, Efficacy & Protocols
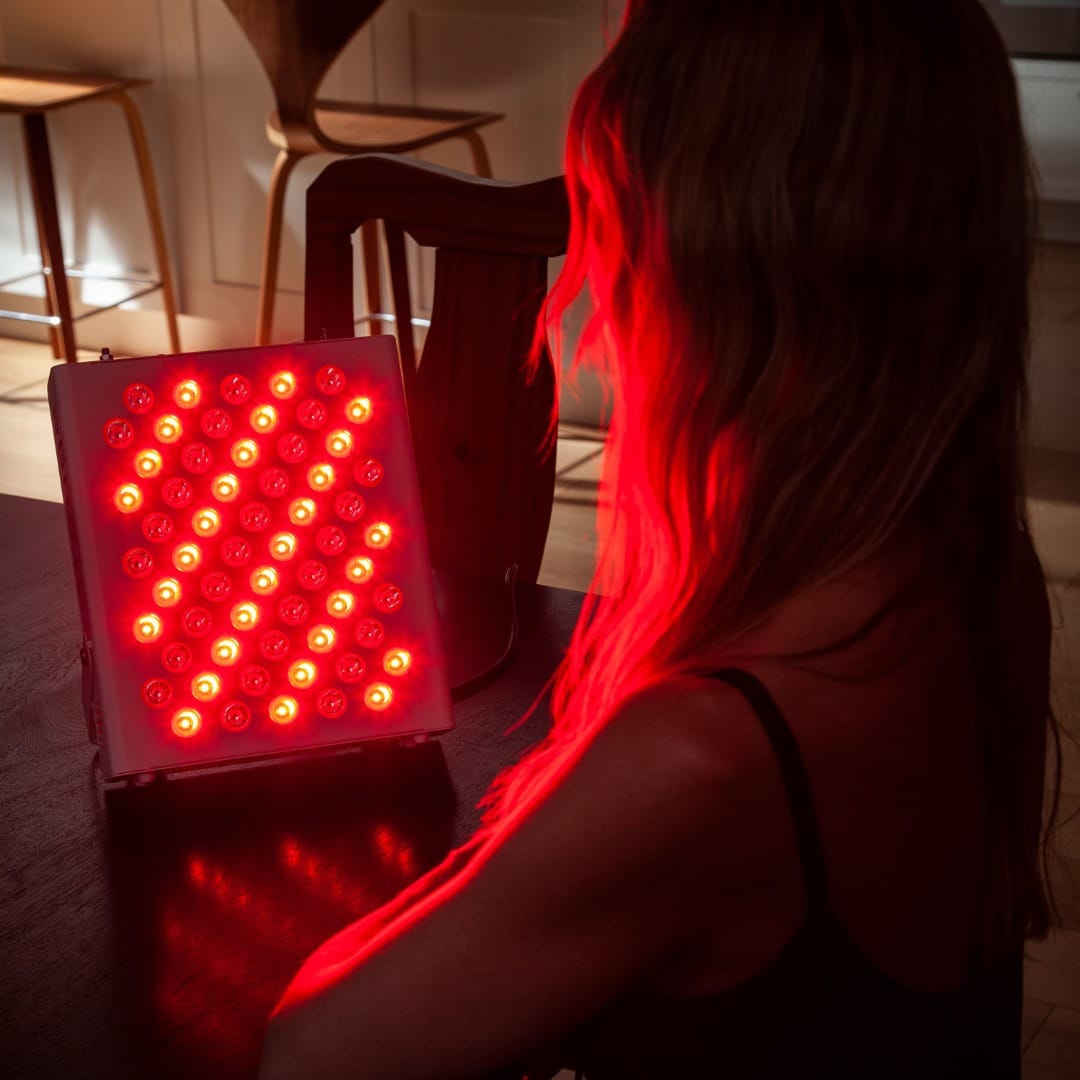
Maintaining a rigorous cleaning protocol for your red light therapy (RLT) device is not merely a suggestion—it is a critical component of treatment safety, device longevity, and photobiomodulation efficacy. A biofilm of sweat, skincare products, and dust on the LED surface acts as a physical barrier, absorbing photons before they reach the mitochondria within your cells. This guide provides a clinical-level approach to sanitation for both professional and home-use devices.
Why Cleanliness Is a Performance Metric
Before outlining the “how,” it is essential to understand the “why.” Contaminants on the light-emitting surface directly compromise therapeutic outcomes and skin health.
1. Photonic Interference
Red and near-infrared (NIR) light must penetrate the skin unimpeded. A layer of dried lotion, mineral sunscreen, or salt residue from sweat creates a translucent film. While it may not block light entirely, it refracts and scatters photons, reducing the fluence (energy density) that reaches the target tissue. Even a thin layer of grime can reduce light transmission by 1-3%, negating the precision of the dosage calculation.
2. Microbial Cross-Contamination
RLT devices are often used on skin prone to acne, wounds, or post-procedural sensitivity. Warmth generated by the LEDs creates a humid microenvironment on the device surface—ideal for bacterial and fungal colonization (including Staphylococcus aureus and Malassezia). Reapplying a contaminated panel to cleansed skin reintroduces pathogens, potentially triggering breakouts or folliculitis.
3. Material Degradation
High-end medical-grade devices often use polycarbonate or acrylic shields. While durable, they are susceptible to “crazing” (micro-cracking) if exposed to harsh solvents like acetone or high-concentration isopropyl alcohol. Using incorrect cleaning agents permanently hazes the shield, causing light diffusion and reduced penetration.
Anatomy of the Device: Know Your Materials
Your cleaning method must be dictated by the device’s form factor and material composition. Treating a flexible silicone mask the same way you treat a rigid aluminum panel will damage the unit.
| Device Form Factor | Common Housing Material | Shield/Lens Material | Sensitivity Level |
|---|---|---|---|
| Rigid Panel | Aluminum/Steel Alloy | Tempered Glass or Polycarbonate | Low (Durable) |
| Flexible Pad/Wrap | Medical-Grade Silicone | Encapsulated Silicone | High (Absorbs solvents) |
| Hard Shell Mask | ABS Plastic | Injection-Molded Polycarbonate | Medium |
| Handheld Wand | ABS Plastic/Metal | Glass or Quartz | Low (Edge seals are critical) |
| Dome/Bed | Composite Shell | Acrylic Canopy | Medium (Static attracts dust) |
Cleaning Frequency Protocol: A Tiered Schedule
Adherence to a structured schedule prevents the “accumulative contamination” effect. Do not wait until you see smudges on the glass.
| Frequency | Action | Target Contaminant | Critical For |
|---|---|---|---|
| Pre-Session | Dry microfiber dusting | Lint, airborne dust, pet dander | Allergy-prone users |
| Post-Session (Immediate) | Gentle damp wipe | Fresh sweat, sebum, water-based serum | Standard Protocol (All Users) |
| Weekly Deep Clean | Surfactant disinfection | Dried oils, mineral sunscreen residue, fingerprint film | High-frequency acne treatment |
| Monthly Maintenance | Inspection & cable clean | Oxidized connectors, dust in ventilation grills | Device thermal management |
Step-by-Step Cleaning Methodologies
Rule Zero: Always power off and unplug the device from the power source. Capacitors in some high-power panels can retain charge; never spray liquid directly onto an energized LED array.
1. The “Pre-Session” Microfiber Pass (Dry)
Before turning the device on, use a clean, high-density (300+ GSM) microfiber cloth.
- Technique: Use a “canon” burst of compressed air or a manual air blower first to eject loose particles. Follow with a light, unidirectional wipe of the cloth across the LED shield.
- Why: This prevents cold-pressing dust particles into the glass, which causes micro-scratches over time.
2. The “Post-Session” Protocol (The Gold Standard)
Immediately after use, sebum and sweat are still emulsified and easy to remove. Waiting 30 minutes allows them to polymerize into a sticky film.
- Step A: Prepare the Solution
Use distilled water (to prevent mineral spots) with an extremely diluted, pH-neutral surfactant. The ideal ratio is a single drop of fragrance-free baby shampoo per cup of distilled water.- Alternative: 70% Isopropyl Alcohol (IPA) diluted 1:1 with distilled water. Never exceed 70% concentration—90% IPA evaporates too quickly to kill microbes (insufficient contact time) and aggressively attacks polycarbonate.
- Step B: The “Damp, Not Wet” Rule
Spray the solution onto the microfiber cloth, never the device face. The cloth should feel slightly damp to the touch. If gravity pulls water down the panel face when you wipe, the cloth is too saturated. Capillary action will wick liquid into the seams and short-circuit internal LED chips. - Step C: Zonal Wiping
Wipe in vertical or horizontal lines, overlapping by 50%. Do not use circular motions, which simply redeposit oils.
3. Weekly Enzymatic Clean (For Body/Wraps)
Flexible silicone pads used on the back or joints require enzymatic cleaners (like those used for yoga mats or medical equipment). Silicone has micropores that trap bacteria. Spray the enzymatic cleaner onto the silicone, let it dwell for 3-5 minutes (keeping electronics dry), and wipe away with a damp cloth.
The “Prohibited Substances” Index
To avoid voiding your warranty or “frosting” the acrylic shield, memorize this list of incompatible agents.
| Substance Category | Examples | Damage Mechanism |
|---|---|---|
| Ketones | Acetone (Nail polish remover) | Immediate dissolution of acrylic and polycarbonate |
| Harsh Alcohols | Methylated spirits, Denatured alcohol | Severe crazing and stress cracking of plastic |
| Oxidizing Agents | Hydrogen Peroxide (>3%), Bleach (Sodium Hypochlorite) | Corrosion of aluminum bezels, degradation of rubber seals |
| Greasy Solvents | Pure essential oils, Mineral oil | Leaves a residue film that is phototoxic when heated |
| Textured Wipes | Paper towels, Kleenex, Scrub sponges | Micro-abrasion of the optical lens surface |
Device-Specific Sanitation Matrix
Match your tool to the method.
| Device Type | Recommended Cleaner | Tool | Special Warning |
|---|---|---|---|
| Hard Mask (Face) | 70% IPA Wipes (Medical grade) | Lens wipe tissue | Remove rubber eye goggles and wash separately; fungal spores hide in the nose bridge gap. |
| Large Panel | Distilled water + Isopropanol (50/50) | Large microfiber pad | Use a static-dissipative brush on ventilation holes on the back panel to prevent overheating. |
| Silicone Wrap | Hypochlorous acid (HOCL) spray | Soft sponge | Do not fold the pad while wet; moisture trapped in the crease line degrades the silicone linkage. |
| Intraoral Device | Chlorhexidine gluconate (0.12%) & High-level disinfectant soak | Immersion | Refer to FDA guidelines for semi-critical items; light guide must be optically clear. |
Cleaning the Peripherals: The Forgotten Fuses
The LED array is only one part of the hygiene ecosystem.
- Cables and Power Supplies: The insulated cable sheathing is often PVC, which plasticizers migrate to the surface over time, attracting dust. Wipe cables monthly with a silicone-based protectant wipe (like ArmorAll) to prevent micro-cracking, but never let it touch the lens.
- Hanging Brackets and Door Hooks: These are touchpoints. If mounting a panel on a door, the back of the panel and the bracket are fomites. Disinfect these weekly with standard antibacterial spray, ensuring it dries fully before re-mounting.
- Protective Eyewear: Opaque goggles accumulate bacterial biofilm from eyelid oils. Wash them with warm soapy water and let them air dry daily. A scratched lens on the goggle reduces visibility, tempting the user to look directly at the high-intensity LEDs.
The Science of Optical Restoration (Dealing with Haze)
If your device has already developed a slight “cloudy” haze due to outgassing of plastics or previous cleaning mistakes (hard water spots), you can perform an optical-grade polish.
- Diagnosis: Rub a drop of distilled water on the haze. If the haze disappears while wet but returns when dry, it is a surface micro-scratch or mineral deposit issue—not internal fogging.
- Remediation: Use a plastic polish specifically designed for polycarbonate convertibles/aircraft windows (e.g., Novus #2 Fine Scratch Remover). Apply to a flannel cloth, polish a small test spot on the bezel, and buff off. This removes the oxidized layer and restores >95% light transmittance.
Summary of Best Practices
Treat the illuminated face of your therapy device like a surgical instrument tray.
- Power Down: Total electrical isolation before moisture introduction.
- Distill: Never use tap water (mineral deposits alter refractive indices).
- Unidirectional Wipe: Edge to edge, lifting bacteria, not smearing them.
- Optical Inspection: Once weekly, turn the device off and look at the dark panel with a flashlight held at a 45-degree angle to spot smudges invisible to the naked eye.
By integrating these protocols into your routine, you ensure that the 660nm and 850nm photons are delivered to your mitochondria with maximum therapeutic integrity, unhindered by the residue of yesterday’s skincare routine.