The Definitive Guide to Cleaning a Glucometer: Procedures, Precautions, and Best Practices
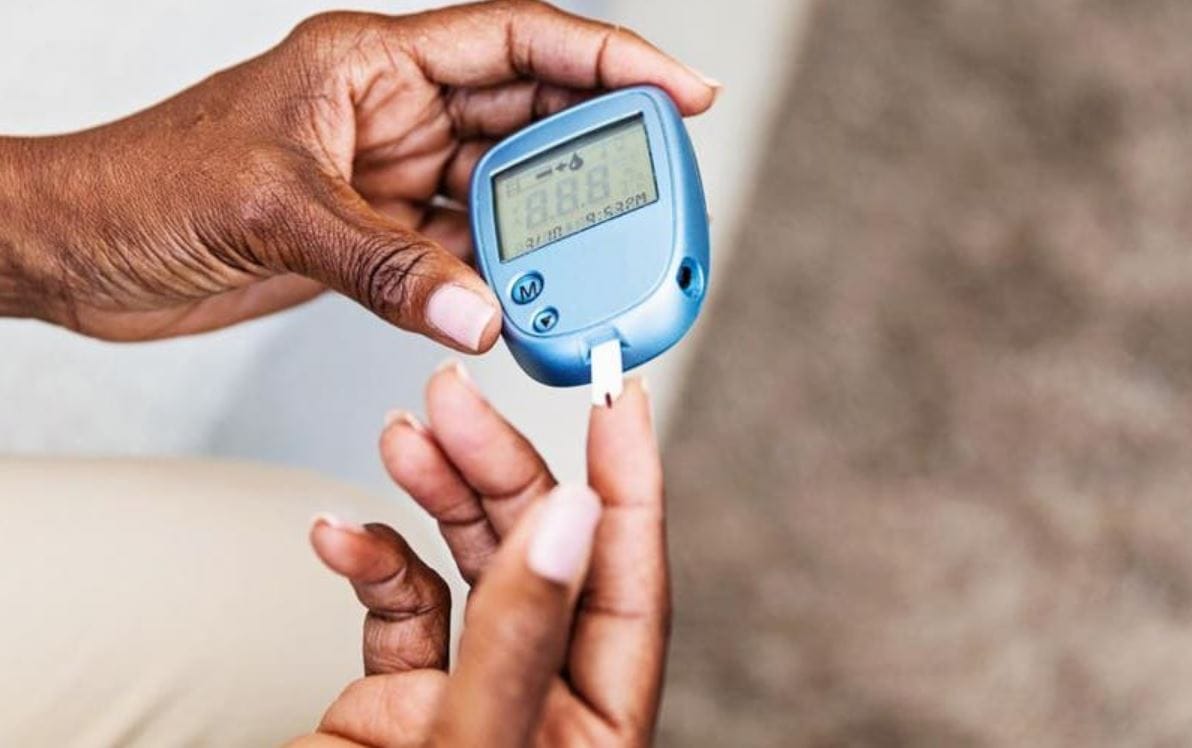
Maintaining a clean glucometer is not merely about aesthetics—it is a critical component of infection control and measurement accuracy. Blood glucose meters are classified as Class II medical devices by the FDA, and improper cleaning can lead to false readings, cross-contamination, or device malfunction. Despite this, a 2021 study in the Journal of Diabetes Science and Technology found that nearly 68% of home users never clean their meters according to manufacturer specifications.
This guide provides evidence-based, step-by-step instructions for safely cleaning your glucometer, including material compatibility tables, frequency schedules, and comparisons of cleaning agents.
Why Proper Cleaning Matters
Glucometers are exposed to capillary blood, skin oils, environmental dust, and dried reagent residues from test strips. Over time, contaminants can:
- Block the optical window (in reflectance photometry meters), causing under‑ or over‑estimation of glucose.
- Corrode electrical contacts, leading to erratic error codes.
- Transmit bloodborne pathogens (HBV, HCV, HIV) if the device is shared—even microscopic dried blood can remain infectious for up to 7 days.
Critical Note: Never submerge a glucometer or spray cleaner directly onto it. Most meters are not waterproof; internal moisture destroys calibration circuits.
Step-by-Step Cleaning Protocol
Before You Start: Safety Checklist
- Wash hands with soap and warm water.
- Remove the battery (if your model has a user-removable battery). This prevents short circuits and accidental power-on.
- Remove the test strip if one is inserted.
- Check your user manual – some manufacturers (e.g., Roche, LifeScan) have specific cleaning agents they void warranties for.
Step 1 – Dry Cleaning (Removal of Loose Debris)
- Use a pressurized air duster (canned air) to blow dust from the test strip port and crevices.
- Do not use a toothpick, needle, or paperclip inside the port—it scratches optical surfaces.
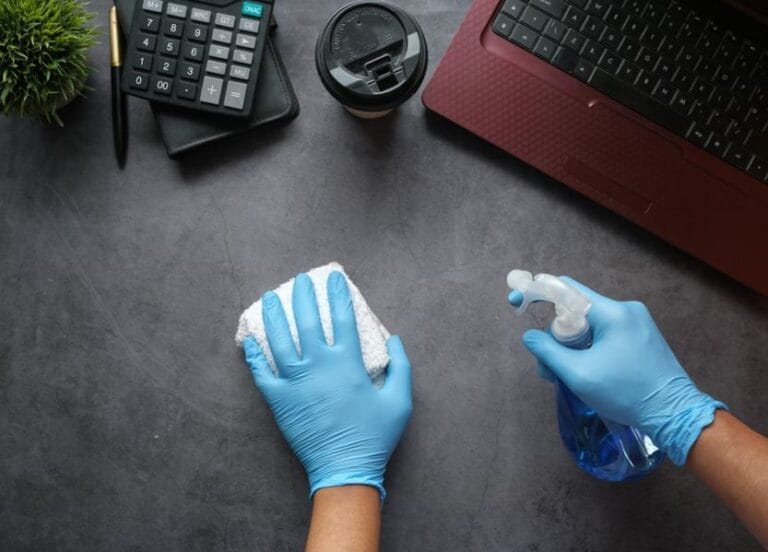
Step 2 – Damp Wiping (Disinfection)
- Prepare the cleaning solution according to the table below (never use pure bleach or alcohol on most meters).
| Cleaning Agent | Concentration | Compatible with Most Meters? | Drying Time Required | Notes |
|---|---|---|---|---|
| 70% Isopropyl alcohol | 70% v/v | ✅ Yes (external surfaces only) | 1 minute | Evaporates quickly; can degrade plastic if used daily. |
| 10% Household bleach (sodium hypochlorite) | 1 part bleach + 9 parts water | ⚠️ Limited (check manual) | 2 minutes | Effective vs. HBV/HIV; rinsing required for some plastics. |
| Quaternary ammonium (e.g., CaviWipes) | As sold | ✅ Yes (most meters) | 3 minutes | Professional grade; low corrosion risk. |
| Mild dish soap + water | 1 drop soap per 250 mL water | ✅ Yes | 5 minutes (air dry) | Safe but does not kill all viruses. |
| 3% Hydrogen peroxide | 3% solution | ✅ Yes (some brands like Contour Next) | 2 minutes | No residue; avoid electronic ports. |
- Apply solution to a lint-free microfiber cloth (never directly to the meter).
- Wring the cloth until damp, not wet. No dripping.
- Wipe all external surfaces: screen, buttons, casing, and battery cover.
- Do not wipe inside the test strip port – use only dry air there.
Step 3 – Cleaning the Test Strip Port (High Risk Area)
Most meters have a small opening where blood can wick backward.
- Invert the meter (port facing down) and blow canned air from 2 inches away.
- If visible blood is inside: Use a sterile foam swab (e.g., Puritan Medical) moistened with 70% isopropyl alcohol. Gently insert and rotate once. Discard swab. Do this only if manufacturer allows—Roche, for example, prohibits wet swabbing.
Step 4 – Drying and Reassembly
- Allow the meter to air dry completely for at least 10 minutes (30 minutes if bleach or soap was used).
- Reinsert the battery, run a quality control (QC) test with control solution to verify function before patient use.
Frequency Schedule (Evidence‑Based Recommendations)
| Usage Scenario | Cleaning Minimum Frequency | Disinfection Required? |
|---|---|---|
| Single user, no visible blood, home use | Weekly (dry + damp wipe) | No – soap/water sufficient |
| Single user after an open wound or bleeding site | After each use where blood contact occurred | Yes – 70% alcohol or quat wipe |
| Multi‑patient (clinic, hospital, assisted living) | After every patient | Yes – EPA‑registered disinfectant (e.g., Oxivir) |
| After droplet contamination (visible blood on casing) | Immediately | Yes – bleach 1:10 or peroxide |
Comparison of Cleaning Methods: Pros and Cons (Clinical View)
| Method | Pros | Cons | Best For |
|---|---|---|---|
| 70% IPA wipes (e.g., PDI Sani-Cloth) | Fast drying, kills SARS‑CoV‑2, easy to use | Can haze LCD screens over time | Weekly home disinfection |
| Bleach solution (freshly mixed) | Low cost, kills spores (C. diff) | Corrosive to metal contacts, must rinse | After gross blood contamination |
| UV‑C sanitizing boxes | No liquid, no abrasion | Expensive ($80+); doesn’t remove dried blood | Supplemental only – not standalone |
| Soap + water (mild) | Safe for all plastics, no toxicity | Poor viral kill, requires longer drying | Routine dust/dirt removal |
What NOT to Do – Common Mistakes
- ❌ Acetone, nail polish remover, or toluene – dissolves ABS plastic and screen coatings.
- ❌ Paper towels or tissues – leave lint that interferes with optical sensors.
- ❌ Soaking or running under tap water – water ingress destroys internal electronics.
- ❌ Microwave or oven drying – immediate component failure.
- ❌ Reusing a single alcohol wipe for multiple surfaces – spreads blood residue.
Manufacturer‑Specific Notes (Professional Reference)
| Brand | Model Example | Port Cleaning Allowed? | Preferred Disinfectant |
|---|---|---|---|
| Roche | Accu‑Chek Guide | No – dry air only | 70% IPA on casing |
| LifeScan | OneTouch Verio | Yes – dry swab only | 10% bleach dilution |
| Abbott | FreeStyle Libre (reader) | No – sealed unit | Quaternary ammonium wipes |
| Ascensia | Contour Next ONE | No | 3% hydrogen peroxide |
| Medtronic | Guardian Connect | Yes – with foam swab | CaviWipes (quaternary) |
Always defer to your meter’s user manual – cleaning instructions are in the “Maintenance” section.
Quality Control After Cleaning: The 3‑Step Check
After cleaning and drying, verify meter integrity before relying on a reading:
- Visual inspection – LCD digits clear, no moisture under screen.
- Control solution test – Run a low and normal control; values must fall within printed range on strip vial.
- Error code check – Insert a strip with no blood; should read “Apply blood” or similar, not “Err” or blank screen.
If any step fails, repeat cleaning (dry only) or contact manufacturer support – do not use the meter for patient care.
Conclusion
Cleaning a glucometer is a simple but technically precise task. Use only manufacturer‑approved agents, avoid liquid entry into the test strip port, and perform a QC check after deep cleaning. For home users, a weekly wipe with 70% isopropyl alcohol on the exterior plus monthly dry‑air port cleaning will keep your meter accurate and safe. In clinical environments, follow CDC guidelines for single‑use disinfection between patients – no exceptions.