The Ultimate Guide: How to Clean Suction Cups for a Strong, Secure Grip
Is your phone holder sliding down your windshield? Is your soap dish constantly falling in the shower? A weak suction cup is not just an annoyance—it’s a sign that it’s time for a deep clean. Dirt, grease, and microscopic grime are the arch-enemies of a powerful vacuum seal.
This definitive guide will walk you through everything you need to know to restore your suction cups to their former glory, ensuring a secure and lasting hold every time.
Why Cleaning Your Suction Cups is Non-Negotiable
A suction cup works by creating a vacuum seal against a surface. When you press it on, air is forced out, and atmospheric pressure holds it in place. Any contamination—be it a speck of dust, a film of oil, or a water mineral—acts as a tiny wedge, breaking that perfect seal and allowing air to seep back in.
“Think of a clean suction cup like a piece of tape. A perfectly flat piece of tape will stick firmly. But if you have a single hair under it, the adhesion is broken. Dirt on a suction cup acts just like that hair.” — DIY Home Solutions Expert.
Regular cleaning isn’t just about hygiene; it’s about maintaining the core function of the product. A clean cup is a strong cup.
Your Step-by-Step Guide to a Deep Clean
Follow this simple, effective process to rejuvenate almost any type of suction cup.
What You’ll Need
- Warm water
- Mild dish soap
- Soft-bristled brush (an old toothbrush is perfect)
- Lint-free cloth or paper towels
- White vinegar (for tough mineral deposits)
- Cotton swabs
The Cleaning Process
- Remove and Inspect: Carefully remove the suction cup from its surface. Take a moment to inspect both the cup itself and the surface it was on for any visible grit or residue.
- Create a Soapy Solution: In a small bowl, mix a few drops of mild dish soap with warm water.
- Scrub Gently: Dip your soft-bristled brush into the soapy solution and gently scrub the entire surface of the suction cup. Pay special attention to the rim, which is the most critical part for forming the seal. For intricate grooves, use a cotton swab.
- Rinse Thoroughly: Rinse the suction cup completely under warm running water to ensure all soap residue is removed. Soap can act as a lubricant and weaken the seal if left on.
- Dry Completely: This is the most overlooked but crucial step. Use a lint-free cloth to dry the suction cup meticulously. Ensure it is 100% dry before attempting to reattach it.
Troubleshooting Common Suction Cup Problems
Sometimes, a simple clean isn’t enough. Here’s how to handle specific issues.
Dealing with Stiff or Hardened Suction Cups
Over time, especially with heat or lack of use, plastic suction cups can lose their flexibility.
- The Warm Water Bath: Submerge the stiff suction cup in a bowl of warm (not boiling) water for 5-10 minutes. This will help soften the plastic and restore its pliability.
- Avoid Harsh Chemicals: Do not use oils or petroleum jellies, as they will degrade the plastic and destroy its ability to grip.
Removing Stubborn Sticky Residue
If an old suction cup has left behind a sticky ring or the cup itself is gummy, you need a solvent.
- Rubbing Alcohol or Goo Gone: Apply a small amount to a cloth and wipe the residue away. Be sure to wash and dry the area thoroughly afterward before applying a new cup.
Combatting Hard Water Stains
Mineral deposits from hard water are a common problem for shower accessories.
- The Vinegar Soak: Create a 50/50 solution of white vinegar and water. Soak the affected suction cups for 15-30 minutes. The acetic acid in the vinegar will dissolve the mineral deposits. Scrub lightly and rinse well.
Pro Tips for an Unbeatable Seal
Cleaning is half the battle. Applying the cup correctly is the other.
- Moisten the Rim: After cleaning, a tiny drop of water on your fingertip wiped around the rim can create an initial perfect seal as you press it on.
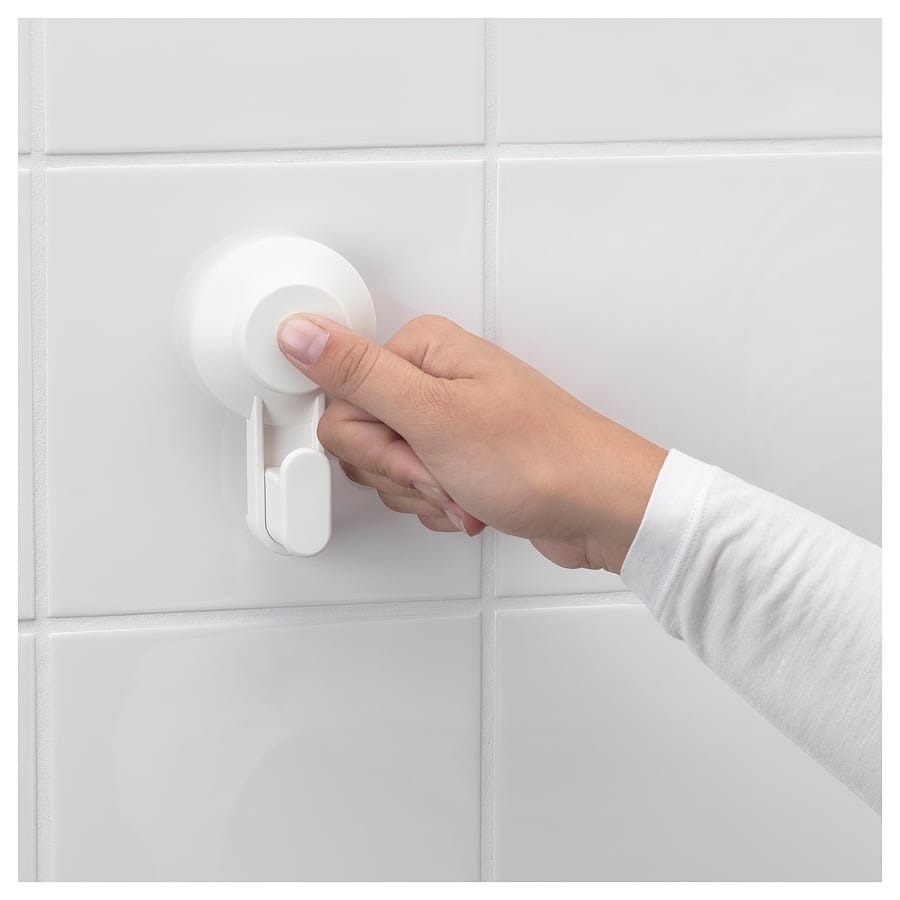
- Press the Center, Not the Edges: To ensure all the air is expelled, press firmly on the center of the cup. You should hear a soft “pop” or “hiss.”
- Clean the Mounting Surface: Never stick a clean suction cup on a dirty surface. Always wipe and dry the window, tile, or countertop first.
Cleaning Methods at a Glance
The best method depends on the problem you’re facing. Use this table for a quick comparison.
| Problem | Best Cleaning Method | Key Tool | Pro Tip |
|---|---|---|---|
| General Dirt & Grime | Soap & Water Wash | Soft-Bristled Brush | Ensure 100% dryness after rinsing. |
| Hard Water Stains | White Vinegar Soak | Cotton Swab | Rinse thoroughly to remove vinegar smell. |
| Stiff/Hardened Plastic | Warm Water Bath | Bowl of Warm Water | Restores flexibility without chemicals. |
| Sticky Residue | Rubbing Alcohol | Lint-Free Cloth | Test on a small area first to ensure compatibility. |
A Little Maintenance for Long-Lasting Performance
Cleaning suction cups is a quick, simple, and cost-effective task that can save you the frustration of falling gadgets and decorations. By integrating these easy cleaning steps into your routine, you can dramatically extend the life and improve the performance of any suction-cup-based product. A clean seal is a strong seal—give your suction cups the care they deserve.