The Ultimate Guide: How to Clean Your Camper’s Black Water Tank

For every RV owner, the black water tank is a crucial—if unglamorous—part of the adventure. A clean tank is a happy tank, and a happy tank means a odor-free and fully functional RV. Neglecting this essential maintenance task can lead to clogs, persistent smells, and costly repairs.
This step-by-step guide will walk you through the entire process, from a routine dump to a deep clean, ensuring your black water tank remains in pristine condition.
Why Regular Black Water Tank Cleaning is Non-Negotiable
Before we dive into the “how,” it’s important to understand the “why.” A black water tank isn’t just a holding container; it’s a system that relies on a proper balance to function.
When waste and toilet paper accumulate, they create a “pyramid” of solid waste. This not only reduces your tank’s capacity but also traps odor-causing bacteria. Furthermore, sensors become coated and give false readings, and the dreaded clog becomes a matter of “when,” not “if.”
Pro Tip: “The key to a odor-free RV is to always use plenty of water. Think of it as a ‘slosh factor.’ You need enough liquid in the tank to break down solids and rinse the walls when you’re driving,” says Mark, a veteran RVer with 15 years on the road.
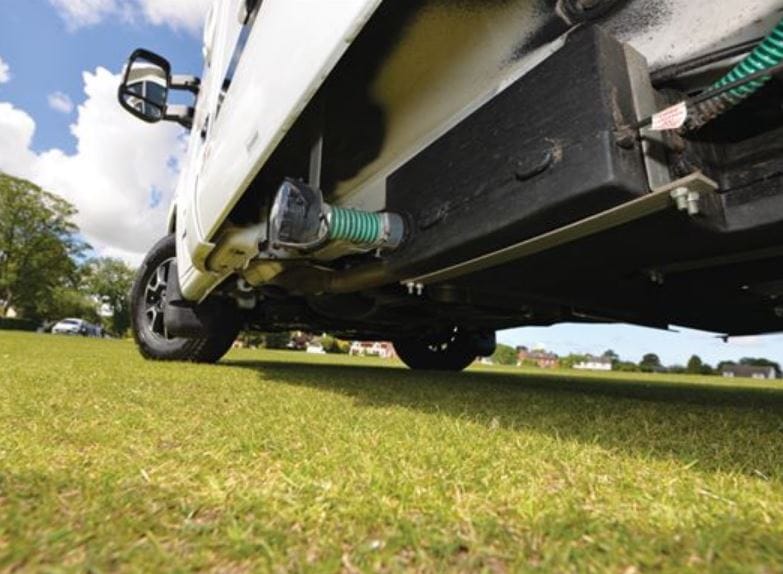
What You’ll Need: Your Black Tank Cleaning Toolkit
Gathering your supplies before you start is essential for a smooth process.
- Protective Gear: Disposable gloves and safety glasses.
- RV-Specific Toilet Chemicals: Both holding tank treatments and enzymatic cleaners for cleaning.
- Sewer Hose & Support: A sturdy hose and a support channel.
- Clear 90-Degree Elbow: This little device is a game-changer for knowing when the tank is truly empty.
- Tank Flush System (if equipped) or a Black Tank Flush Wand.
- Water Source: A potable water hose dedicated to this purpose.
- Ice & Cleaner Method (Optional): A bag of ice and a box of baking soda for a scrubbing alternative.
Step-by-Step: How to Clean and Drain Your Black Water Tank
Follow this detailed process every time you dump your tanks for a thorough clean.
Step 1: Preparation and Safety First
Put on your gloves and glasses. Ensure your RV is parked at a designated dump station with the sewer connection downhill. Connect your sewer hose securely to the RV’s outlet and the dump station inlet, using a support channel to guide the flow.
Step 2: The Initial Emptying Process
Add a few gallons of fresh water and a recommended dose of tank cleaner into the toilet and flush it down. This pre-moistens the tank. Let it sit for 15-20 minutes. Open the black tank valve completely and let the contents drain until the flow slows to a trickle.
Step 3: The Deep Flush and Rinse
This is the most critical step for a clean tank.
- If you have a built-in tank flush system: Connect your water hose to the flush inlet and turn on the water. Let it run for 5-10 minutes, or until the water exiting the tank runs clear.
- If you use a flush wand: Carefully insert the wand into the toilet and push it down into the tank. Turn on the water and move the wand around systematically, spraying the walls of the tank for 5-10 minutes. Continue until the water running out of the tank is clear.
Step 4: The Final Empty and Close-Up
Close the black tank valve. Add 3-5 gallons of fresh water and your preferred holding tank treatment into the tank to start the next cycle. This “base layer” of water is vital for preventing waste from sticking. Finally, close the gray tank valve (if you opened it separately).
Advanced Cleaning Methods for a Neglected Tank
If you’ve inherited a smelly RV or let maintenance slide, you may need a more aggressive approach.
The Ice and Swirl Method
This technique is excellent for breaking up solid waste. Pour a 5-10 lb bag of ice cubes down the toilet, followed by a quart of water and a cup of baking soda. Drive your RV for an hour or so. The sloshing ice will act as an abrasive scrubber on the tank walls. Dump the tank as usual when you arrive at your destination.
Using Specialized Tank Cleaners
For stubborn odors and buildup, use a powerful enzymatic cleaner or a dedicated tank cleaner designed to break down waste and bio-film. Let it sit for several hours or overnight as directed on the label before flushing thoroughly.
Black Water Tank Maintenance: Prevention is Key
A clean tank is the result of consistent habits. Here’s a quick-reference table for good vs. bad practices.
| ✅ DO THIS | ❌ AVOID THIS |
|---|---|
| Use plenty of water with every flush. | Letting solids build up without enough water. |
| Use RV-specific, septic-safe toilet paper. | Using regular household toilet paper. |
| Add tank treatment after every dump. | Flushing foreign objects (wipes, feminine products, paper towels). |
| Use a clear elbow to monitor tank status. | Relying solely on the often-inaccurate tank sensors. |
| Perform a deep clean with a wand periodically. | Only doing a quick dump without rinsing. |
Frequently Asked Questions (FAQ)
Q: How often should I deep clean my black water tank?
A: A thorough flush with a wand should be done every few trips or at least once a season. If you use the RV frequently, do it monthly.
Q: My tank sensors are always reading full, even after cleaning. What can I do?
A: This is a classic sign of coated sensors. After a deep clean, try filling the tank 3/4 with fresh water and adding a cleaning solution specifically designed to dissolve sensor gunk. Let it sit overnight, then drain and rinse.
Q: Can I use chemicals like bleach in my black tank?
A: It’s not recommended. Harsh chemicals like bleach can damage your tank’s seals and valves over time and kill the beneficial bacteria in your tank and at the dump station. Stick to RV-formulated enzymatic or biodegradable treatments.
Conclusion: Embrace the Routine
Cleaning your RV’s black water tank might not be the most enjoyable part of camping, but it’s a simple and satisfying task when done correctly. By following this guide, you can ensure your tank remains odor-free, clog-free, and fully functional for all your journeys ahead. A little preventative maintenance goes a long way in preserving the joy of the open road.