The Ultimate Guide: How to Clean Resin Cups and Reclaim Your Tools
Struggling with sticky, hardened resin ruining your favorite mixing cups? You’re not alone. Properly cleaning resin cups is a critical, often frustrating, step in any resin art or crafting project. But fear not—with the right techniques, you can save your tools and keep your workspace pristine.
This definitive guide will walk you through everything from quick clean-ups to rescuing a fully cured disaster.
Why Cleaning Resin Cups is Non-Negotiable
“A clean cup is the foundation of a successful resin mix. Contaminants from a previous pour can cause curing issues, cloudiness, or even complete failure in your next project.” — Experienced Resin Artisan
Before we dive into the how, let’s understand the why. Cleaning your resin cups isn’t just about tidiness; it’s crucial for:
- Project Integrity: Leftover cured bits or uncured resin can act as a contaminant, throwing off the precise 1:1 (or other) ratio needed for a proper cure.
- Tool Longevity: Regularly cleaned cups and sticks will last for many projects, saving you money.
- Safety: Uncured resin is a skin irritant. Proper cleaning minimizes accidental contact.
Method 1: The Easy Wipe (For Uncured Resin)
This is your go-to method if you’re cleaning your cup immediately after pouring, while the resin is still in a liquid or gel state.
What You’ll Need:
- Disposable gloves
- Paper towels or shop towels
- Isopropyl Alcohol (IPA) – 91% or higher works best
- A disposable silicone or plastic scraper
Step-by-Step Process:
- Don Your Gloves: Safety first! Always wear nitrile or latex gloves when handling uncured resin.
- Scrape and Wipe: Use a scraper to remove the bulk of the uncured resin. Wipe it onto a paper towel.
- The Alcohol Soak: Pour a small amount of isopropyl alcohol into the cup. The alcohol breaks down the resin’s chemical structure.
- Scrub and Final Wipe: Use a folded paper towel to scrub the inside of the cup. The resin should dissolve and wipe away cleanly. Use a fresh paper towel for a final wipe-down.
- Dispose Properly: Place all used paper towels, gloves, and scraps into a bag for disposal. Do not rinse resin down the drain.
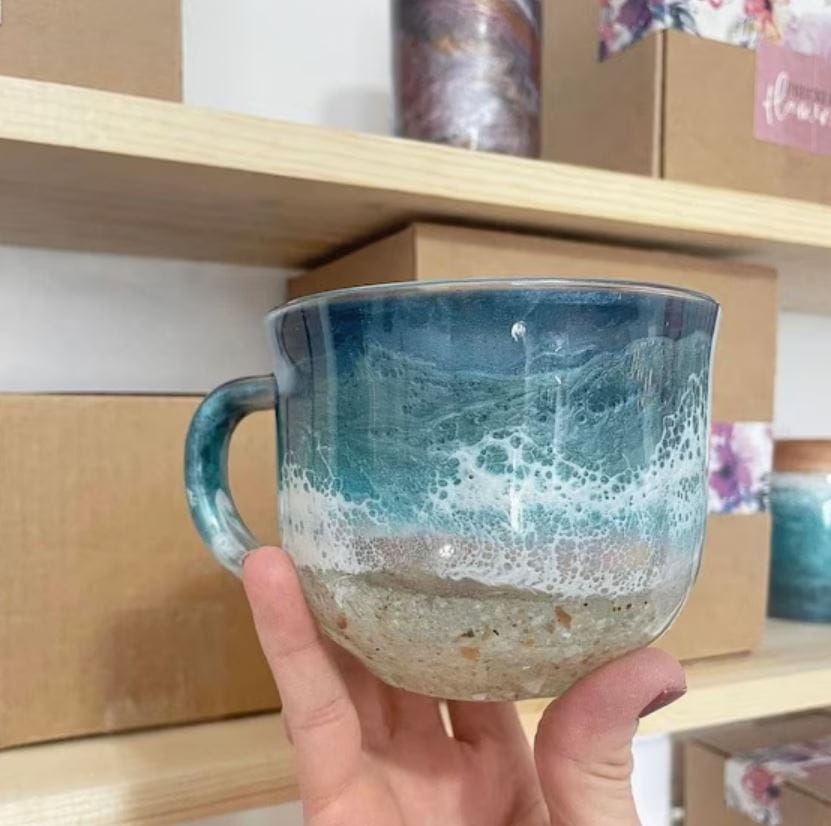
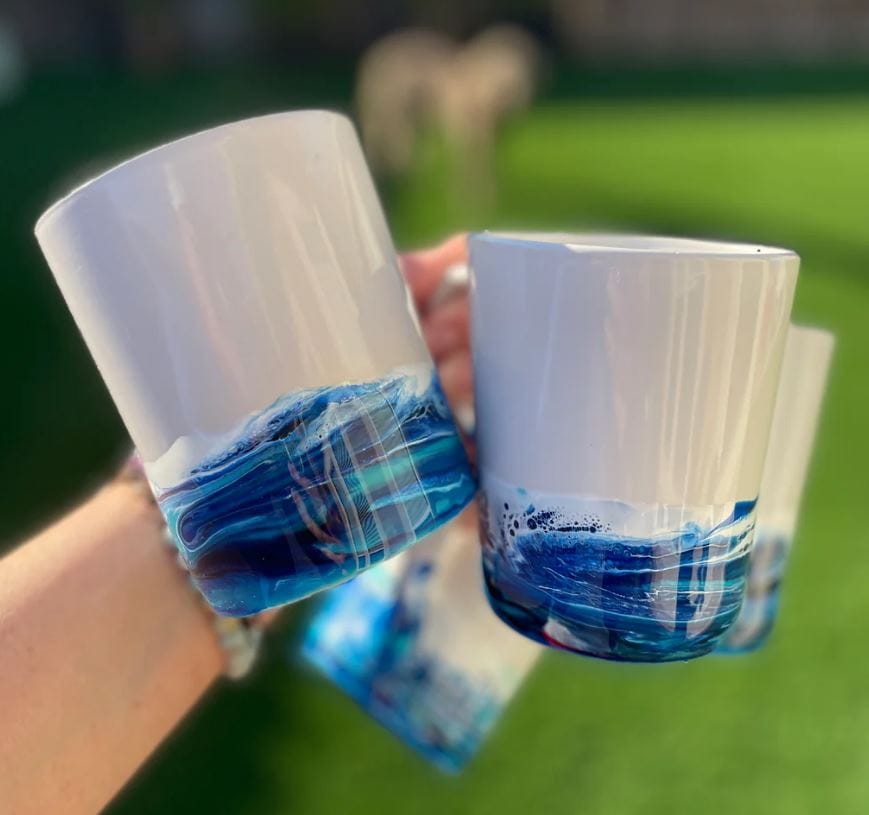
Method 2: The Peeling Method (For Silicone Cups)
Silicone cups are a crafter’s best friend because of their non-stick properties. This method leverages the curing process itself.
The Step-by-Step Process:
- Let it Cure: After pouring, simply leave the leftover resin in the silicone cup to cure completely. This usually takes 24-72 hours, depending on the resin.
- The Big Peel: Once the resin is rock solid, put on your gloves and flex the silicone cup. You should see the resin disc start to separate from the sides.
- Pop it Out: Continue flexing the cup until the cured resin pops out in one solid piece. It’s incredibly satisfying!
- Quick Wipe: Even though the resin peels out, a thin film might remain. Give the cup a quick wipe with isopropyl alcohol to ensure it’s perfectly clean for the next use.
Method 3: The Rescue Mission (For Cured Resin in Hard Cups)
So, you forgot a cup and the resin has hardened into a solid block inside a rigid plastic cup? Don’t toss it just yet.
What You’ll Need:
- Safety glasses and gloves
- Hammer and a flat-head screwdriver (or a chisel)
- Tongs or pliers
Step-by-Step Process (The “Break It” Method):
- Safety First: Wear safety glasses to protect your eyes from flying plastic shards.
- Controlled Breaking: Place the cup in a sturdy box or old towel. Use the screwdriver and hammer to gently crack the plastic cup away from the cured resin block.
- Peel Away: Once the cup is cracked, you can usually peel the plastic pieces off the resin chunk.
Alternative: The “Freeze It” Method
- Sub-Zero Treatment: Place the entire hardened cup into your freezer for a few hours.
- Thermal Shock: The resin and plastic will contract at different rates. Remove the cup and gently tap it on a hard surface. The resin block may simply slide out.
- Use Pliers: If it’s still stuck, use pliers to grip the edge of the resin and twist it out.
Silicone vs. Plastic: Which Cup is Easier to Clean?
Choosing the right cup material makes all the difference. Here’s a quick comparison to help you decide.
| Feature | Silicone Mixing Cups | Plastic / Polypropylene Cups |
|---|---|---|
| Ease of Cleaning | Excellent – Resin often peels out after curing. | Fair – Requires immediate cleaning with alcohol. |
| Reusability | High – Durable and easy to return to a like-new state. | Low – Often scratched during cleaning, leading to more stuck resin. |
| Cost | Higher upfront cost, but better long-term value. | Very low cost, but are often treated as disposable. |
| Flexibility | Very flexible, aiding in the peel-out method. | Rigid, making it difficult to remove cured resin. |
| Our Verdict | The clear winner for frequent users and eco-conscious crafters. | Best for single-use or for projects with messy additives like pigments. |
Pro Tips and Tricks for a Flawless Clean
- Use a Liner: For plastic cups, use disposable plastic liners for a true zero-cleanup option.
- The “Dirty Cup” Technique: Many artists keep a “dirty” designated cup for measuring Part A (resin) and a “clean” cup for measuring Part B (hardener) to prevent cross-contamination before mixing.
- Work Smart: Mix more resin than you need in a larger cup, then pour into smaller cups for coloring. This leaves you with only one major cup to clean.
Conclusion: Patience and the Right Technique Save the Day
Cleaning resin cups doesn’t have to be a chore. By acting quickly with alcohol for uncured messes or embracing the peel-power of silicone, you can make this essential task simple and efficient. Remember, a clean cup is the first step toward your next beautiful, bubble-free resin creation. Now go forth and craft with confidence