How to Disinfect a Hairbrush After Lice: A Complete, Step-by-Step Guide
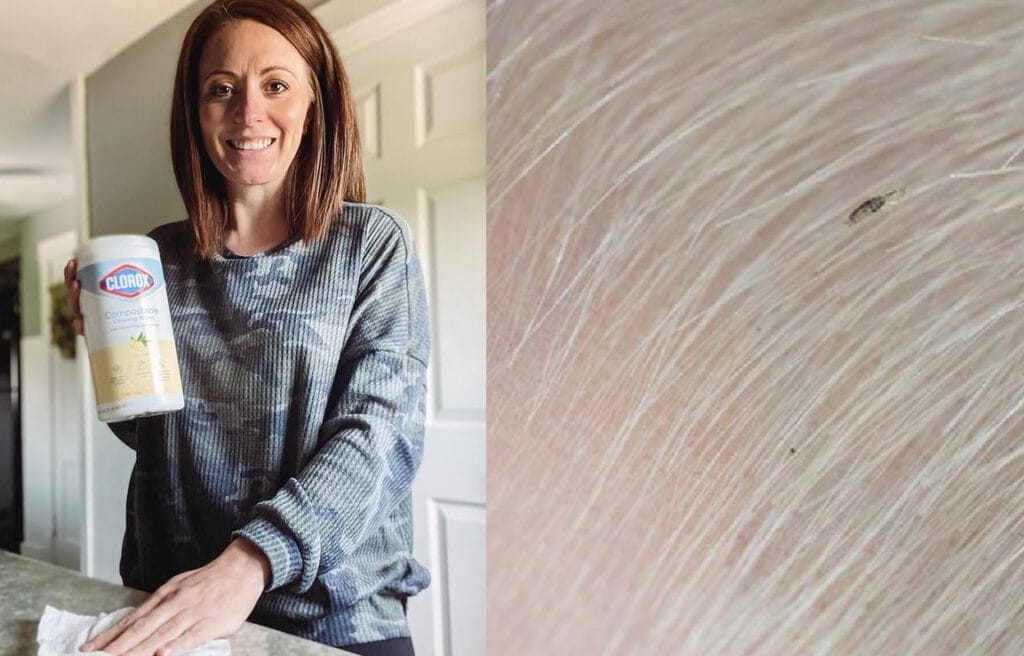
Discovering head lice in your family can be a stressful experience. In the flurry of treating scalps and washing bedding, one crucial item often gets overlooked: the hairbrush. A contaminated brush can act as a vehicle for re-infestation, undoing all your hard work.
This definitive guide will walk you through the most effective methods to disinfect your hairbrushes and combs, ensuring you break the life cycle of lice for good.
Why Simply Washing Isn’t Enough
Many people assume that a quick rinse with soap and water is sufficient. Unfortunately, this is a common misconception.
“Lice are tenacious creatures, and their eggs (nits) are cemented firmly to hair strands. Hot water and soap can kill live lice, but it may not dissolve the nit’s strong glue-like substance or penetrate the hard shell of the egg,” explains Dr. Emily Roberts, a pediatric dermatologist. “Proper disinfection requires a multi-pronged approach that addresses both live lice and nits.”
Step-by-Step: How to Disinfect Any Hairbrush from Lice
Follow this detailed process to ensure your hairbrushes are completely lice-free.
Step 1: Manual Removal of Hair and Debris
- Action: Wearing disposable gloves, use a comb, tweezers, or the end of a rat-tail comb to carefully remove all hair and visible debris from the brush bristles.
- Why it’s important: This physically removes any nits attached to shed hairs and eliminates hiding places for adult lice.
Step 2: Choose Your Disinfection Method
There are several effective ways to kill lice and nits on a hairbrush. The best method for you may depend on the material of your brush.
Method 1: The Hot Water Soak (Most Common)
This is the most accessible and highly effective method for plastic, metal, and wood brushes that can withstand heat.
- Boil Water: Bring a pot of water to a rolling boil.
- Submerge the Brush: Carefully place the brush into the boiling water. Warning: Do not do this for natural bristle brushes or brushes with glued-in parts, as the heat can damage them.
- Soak for 10-15 Minutes: The intense heat (over 130°F / 54°C) will kill both live lice and nits almost instantly.
- Remove and Dry: Use tongs to remove the brush and place it on a clean towel to air dry completely.
Method 2: Lice Treatment Soak (Chemical Kill)
Ideal for brushes that cannot handle boiling water.
- Prepare a Solution: In a basin or bag, mix a solution of a lice treatment shampoo (pyrethrin-based) and water, or use isopropyl alcohol (rubbing alcohol).
- Soak Overnight: Submerge the brush completely and seal it in a plastic bag for 8-10 hours.
- Rinse and Scrub: The next day, rinse the brush thoroughly under hot water and scrub the bristles with an old toothbrush to remove any residue.
- Air Dry: Allow it to dry completely.
Method 3: The Freezer Method (Natural Alternative)
A simple, chemical-free option.
- Seal in a Bag: Place the brush in a sealed plastic zip-top bag, removing as much air as possible.
- Freeze for 24-48 Hours: Place the bag in your freezer. Lice cannot survive extended periods of freezing temperatures.
- Thaw and Clean: Remove the bag, let the brush thaw, and then wash it with hot, soapy water to remove any dead lice and nits.
Step 3: Final Cleaning and Drying
After using your chosen disinfection method, give the brush a final wash with hot water and dish soap or antibacterial soap. Scrub the bristles thoroughly. Shake out excess water and place the brush in a well-ventilated area to air dry completely before using it again.
Hairbrush Disinfection Method Comparison Table
| Method | Best For | Pros | Cons |
|---|---|---|---|
| Boiling Water | Plastic, metal, and heat-resistant wood brushes. | Highly effective, kills lice/nits quickly, no chemicals. | Can damage brushes with glue, wood, or natural bristles. |
| Lice Treatment Soak | All brush types, especially delicate ones. | Very effective, can use leftover treatment product. | Requires chemicals, longer process, needs thorough rinsing. |
| Freezer Method | All brush types, natural bristles. | Chemical-free, safe for all materials, easy. | Takes a long time (24-48 hours), less immediate. |
What About Items You Can’t Easily Clean?
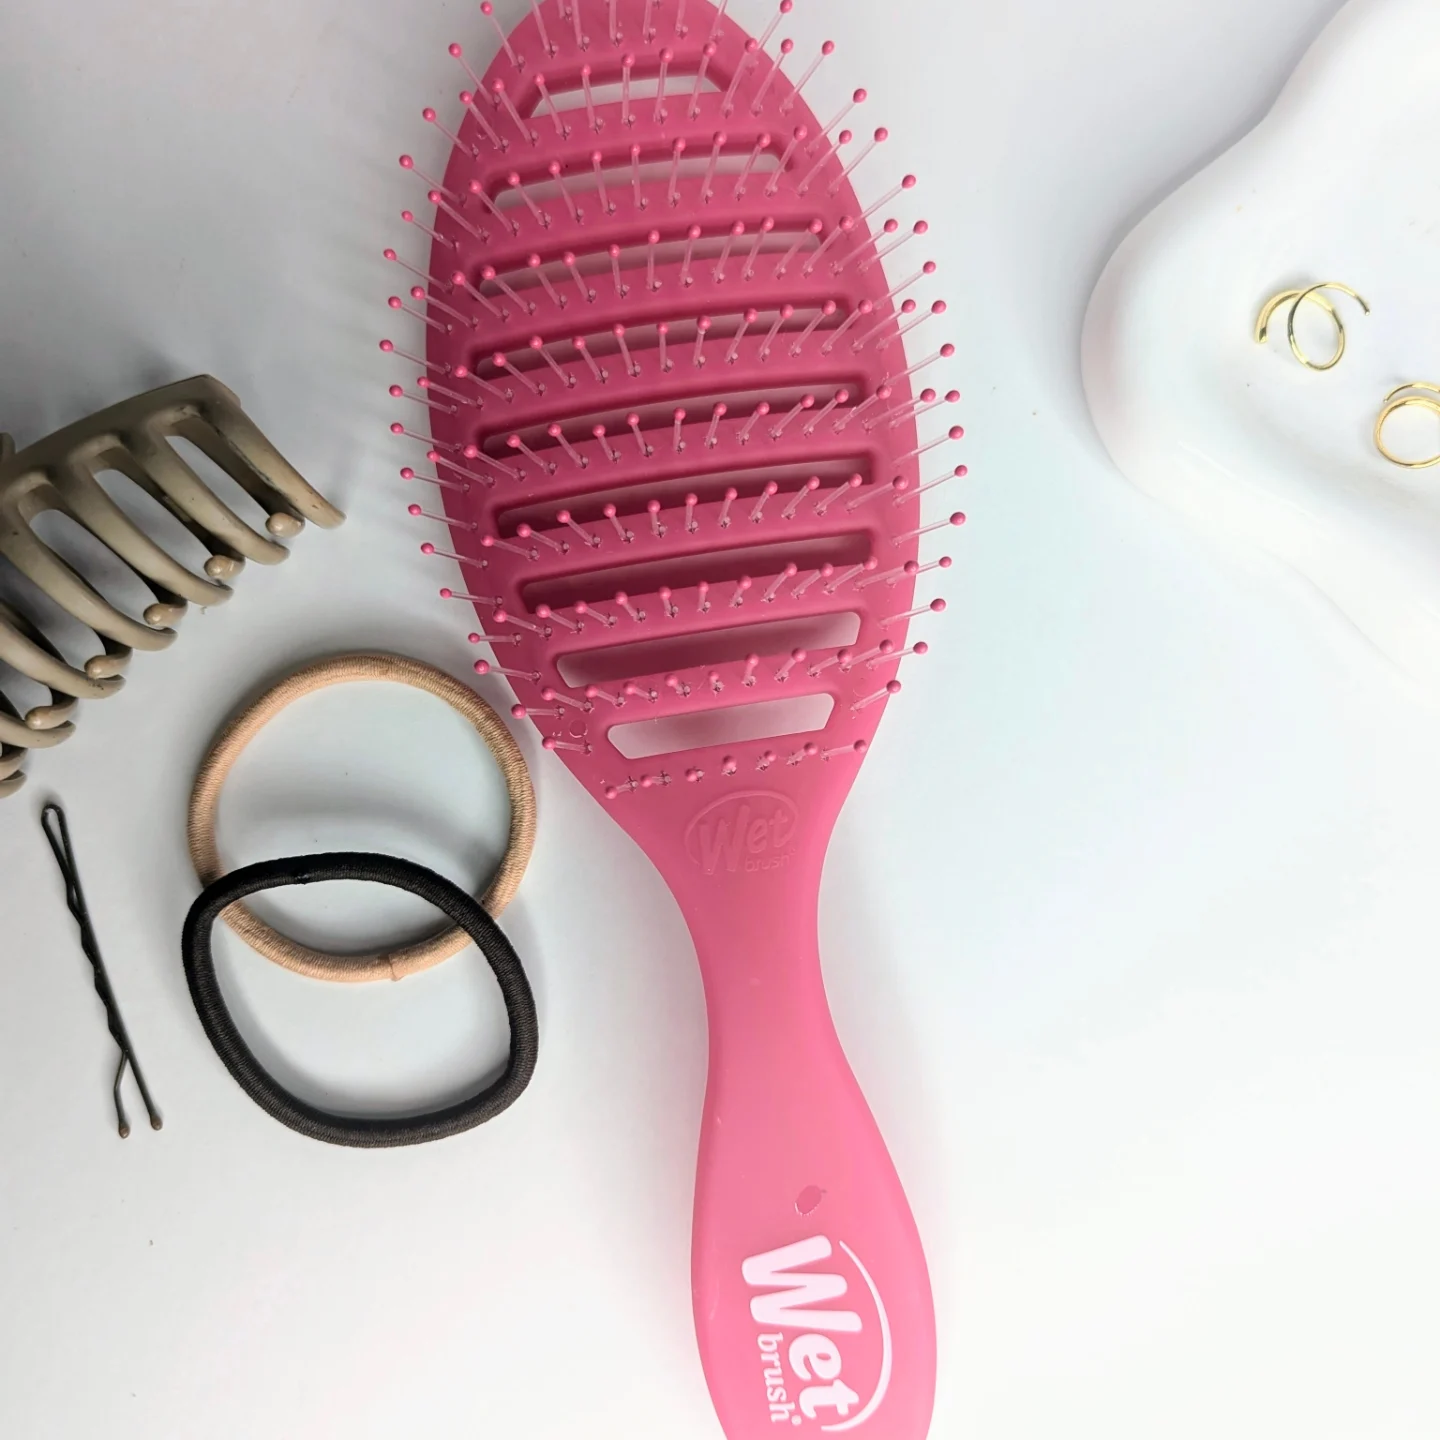
Some hair accessories are tricky. Jane Smith, a school nurse and founder of the “Lice-Free Kids” initiative, advises: “For items like fabric scrunchies, hair elastics with fabric, or delicate headbands, your best bet is to either seal them in a plastic bag for two weeks—which is longer than the lice life cycle—or simply throw them away. It’s not worth the risk of re-infestation over a small item.”
Prevention: Keeping Your Brushes Lice-Free
Once you’ve tackled an infestation, prevention is key.
- Do Not Share: Enforce a strict “no sharing” policy for hairbrushes, combs, hats, and helmets.
- Regular Checks: Perform routine lice checks, especially during school outbreaks.
- Designated Brushes: Consider having separate brushes for each family member.
- Quick Clean: A regular weekly soak in hot, soapy water can help keep brushes clean and make any future infestations easier to manage.
FAQ: Your Lice Disinfection Questions Answered
Q: Can I put my hairbrush in the dishwasher to disinfect it?
A: While the hot water and heat dry cycle might kill lice, it is not recommended. The debris (hair, skin, product buildup) can clog your dishwasher and isn’t sanitary for your dishes.
Q: How long can lice live on a hairbrush?
A: Adult head lice can only survive for 1-2 days away from the human scalp. However, nits (eggs) can remain viable for up to 10 days, which is why thorough cleaning is essential.
Q: Is vinegar effective for cleaning lice from brushes?
A: Vinegar is sometimes suggested to help loosen the glue that holds nits to the hair shaft on the scalp. However, it is not a reliable killer of live lice or nits on a hairbrush. Stick to the proven methods listed above.
Final Summary and Key Takeaway
Disinfecting a hairbrush after a lice outbreak is a non-negotiable step in the de-lousing process. By manually removing hair and then using a proven method like boiling water, a chemical soak, or freezing, you can effectively eliminate the risk of re-infestation from this common vector.
The key is consistency and thoroughness. Combine your brush cleaning with a comprehensive home and scalp treatment plan to ensure your family becomes—and stays—lice-free.