How to Clean Jacuzzi Filters: An Expert Guide for Sparkling Water
Your jacuzzi is a sanctuary for relaxation, but that bliss depends on a component most people never see: the filter. A clean filter is the heart of your spa’s circulation system, responsible for trapping debris, housing beneficial bacteria, and ensuring your water remains crystal clear and hygienic.
Neglecting your filter can lead to cloudy water, reduced jet pressure, higher energy bills, and even equipment damage. This expert guide will walk you through the entire process, from a simple rinse to a deep chemical clean, ensuring your jacuzzi remains a pristine retreat.
Why Filter Cleaning is Non-Negotiable for Spa Health
Think of your jacuzzi filter as the kidneys of your spa. Just as kidneys filter impurities from your blood, the spa filter removes contaminants from the water. When it becomes clogged, the entire system has to work harder.
An Expert Quote: “A dirty filter is the number one cause of poor spa performance,” says Mike Garcia, a certified spa and pool technician with over 20 years of experience. “The pump strains, the heater cycles longer, and you end up with a tub that’s either cloudy, costly to run, or both. Regular cleaning isn’t just maintenance; it’s a protective measure for your investment.”
The consequences of a dirty filter include:
- Poor Water Circulation: Leading to “dead spots” where bacteria can thrive.
- Cloudy, Uninviting Water: As debris bypasses the clogged filter.
- Reduced Jet Power: The pump can’t push water effectively through a blocked cartridge.
- Increased Chemical Use: A struggling filter can’t help maintain water balance, forcing you to use more sanitizer.
- Premature Pump and Heater Failure: The pump motor overheats, and the heater can become damaged.
Step-by-Step: How to Clean Your Jacuzzi Filter Cartridge
For most routine cleaning, you won’t need harsh chemicals. A good rinse is often sufficient. Here’s the step-by-step process.
Step 1: Safety First – Turn Off the Power
Locate your spa’s GFCI (Ground Fault Circuit Interrupter) breaker and turn it off. This is a critical safety step to prevent the pump from accidentally turning on while your hands are inside the equipment compartment.
Step 2: Locate and Remove the Filter Cartridge
Find the filter compartment—usually a visible canister on the side of the spa or accessible under a lid. Unscrew or unclip the filter lid, reach in, and pull out the filter cartridge. Take care not to drag it across any surfaces that could introduce dirt into the plumbing.
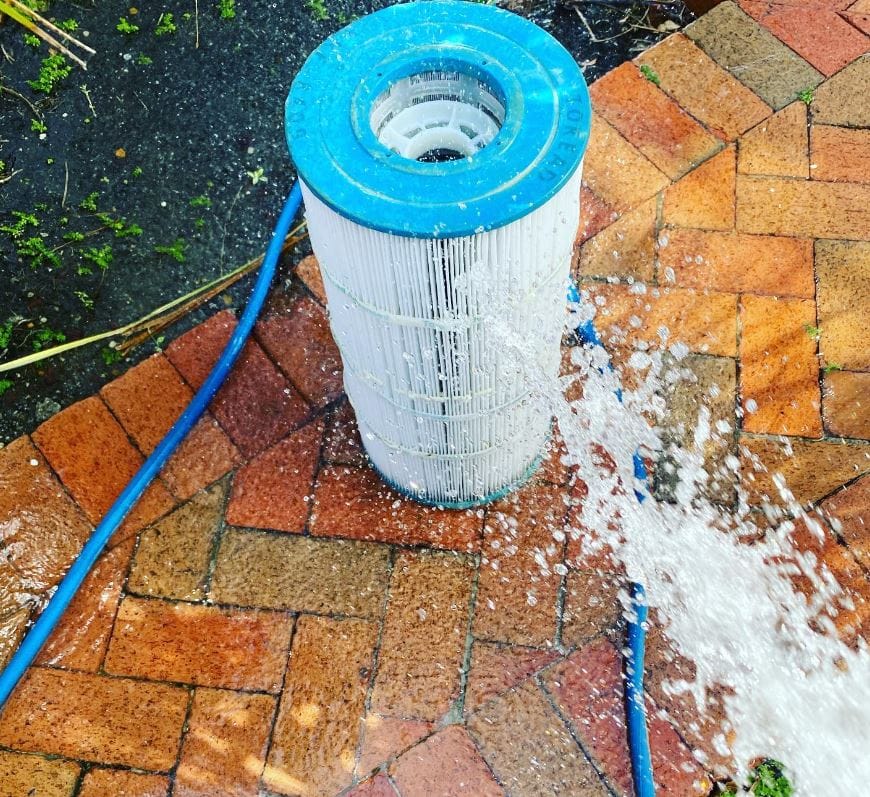
Step 3: The Initial Rinse
Using a garden hose with a spray nozzle, thoroughly rinse the filter pleats. Start from the top and work your way down, aiming between the pleats to blast out loose debris like leaves, hair, and sand. Pro Tip: Always spray from the inside of the filter outwards, which helps push debris out of the pleats rather than driving it deeper in.
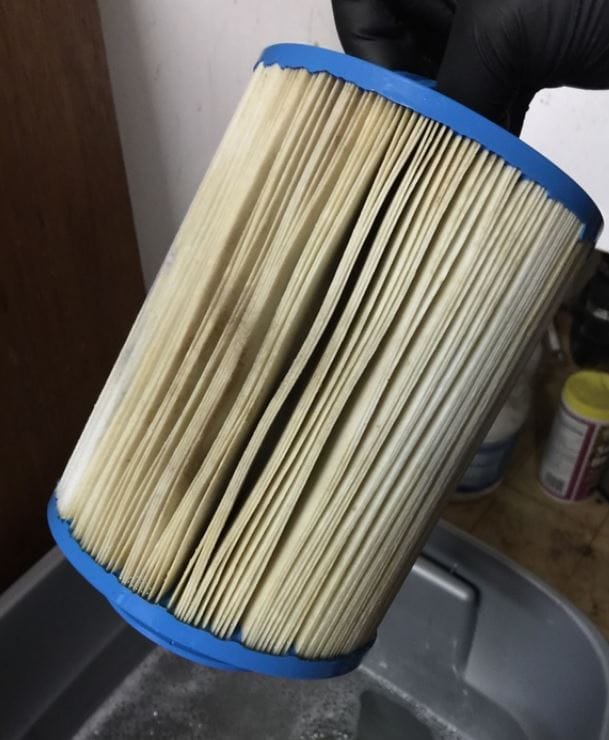
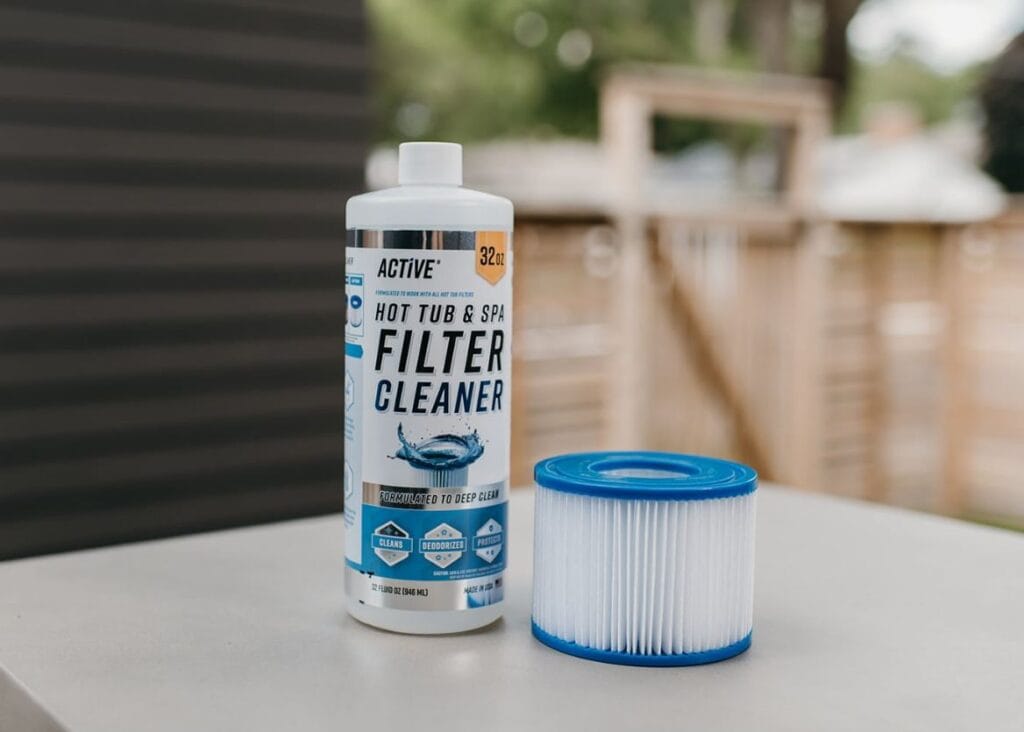
Step 4: The Deep Clean (When Needed)
If a rinse isn’t enough, it’s time for a soak. Use a dedicated filter cleaner, not household chemicals. These solutions are designed to break down body oils, lotions, and mineral buildup without damaging the filter material.
- Dilute the filter cleaner in a large bucket as per the product instructions.
- Submerge the filter completely and let it soak for the recommended time (usually 15-30 minutes).
- After soaking, remove the filter and give it a final, thorough rinse with the hose until the water runs clear.
Step 5: Drying and Reinstallation
Shake off excess water and allow the filter to air dry completely before reinstalling. A dry environment helps prevent the growth of mold and mildew within the pleats. Once dry, place it back into the filter housing, secure the lid, and restore power to the spa.
Rinse vs. Soak vs. Replace: Knowing the Difference
Not every cleaning session is the same. Your approach should depend on the filter’s condition and how long it’s been since its last service. Use the following table as a quick-reference guide.
| Action | When to Do It | Key Benefit |
|---|---|---|
| Thorough Rinse | Every 2-4 weeks during regular use; after heavy use. | Removes surface debris, maintains water flow and jet pressure. |
| Deep Chemical Soak | Every 2-3 months; or if the filter remains discolored after rinsing. | Breaks down invisible oils and grime, restores filter efficiency. |
| Filter Replacement | Annually, or when the pleats are damaged, frayed, or won’t come clean. | Ensures peak filtration and protects your spa equipment from strain. |
An Expert Quote: “Many spa owners make the mistake of rinsing a filter that really needs a soak. If your pleats are still a tan or gray color after a good hose-down, that’s built-up oil and scale. Only a chemical soak can handle that. And no matter how well you clean it, a filter has a finite lifespan. Replacing it annually is cheap insurance.” – Mike Garcia
Proactive Care: Maximizing Your Filter’s Lifespan
Cleaning is essential, but prevention is better than cure. Here are expert tips to extend the life of your filters:
- Rotate Multiple Filters: Having a second, identical filter is a game-changer. While one is in the spa, you can deep clean and thoroughly dry the other. This rotation system ensures you always have a clean, dry filter ready to go.
- Maintain Water Chemistry: Balanced water is gentle on your filter. High calcium can cause scaling, and imbalanced pH can break down the filter material over time.
- Rinse After Heavy Use: If you’ve had a party or multiple people in the spa, make a quick filter rinse part of your post-soak routine.
- Store Spares Properly: Keep unused filters in a cool, dry place away from direct sunlight and any chemical fumes.
Conclusion: A Small Task for a Perfect Soak
Cleaning your jacuzzi filter is a simple, inexpensive task that pays massive dividends in water clarity, jet performance, and equipment longevity. By incorporating regular rinses, periodic deep cleans, and annual replacements into your maintenance schedule, you protect your investment and ensure every soak is as relaxing and hygienic as it should be. Your spa—and your peace of mind—will thank you for it.