How to Clean a Smoking Pipe for a Purer Flavor: The Ultimate Guide:
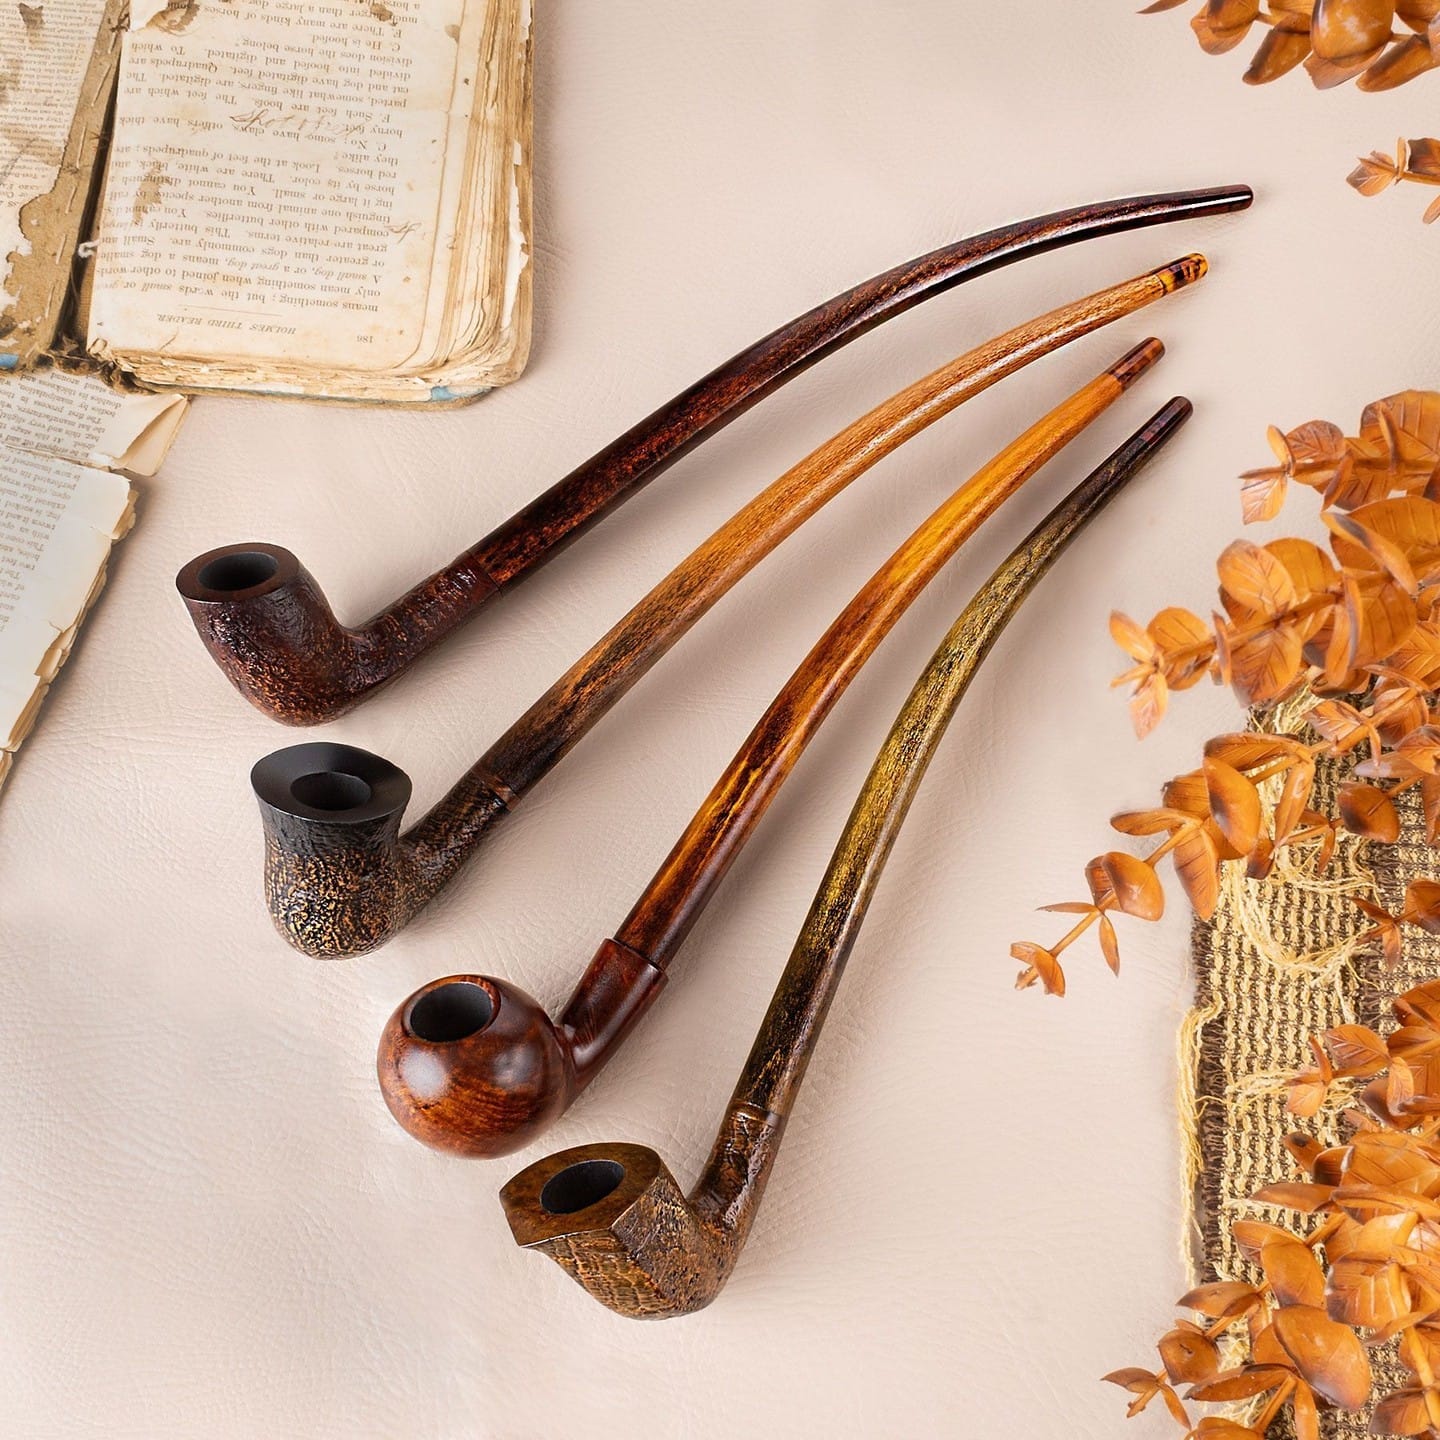
A well-maintained smoking pipe is a joy to use, offering a clean, flavorful smoke every time. Neglecting its care, however, can lead to a buildup of tar, moisture, and “ghosted” flavors that ruin the taste of your favorite blends. Whether you’re a seasoned piper or a beginner, this definitive guide will walk you through the entire process of cleaning your pipe, ensuring it provides a perfect smoke for years to come.
Why Regular Pipe Cleaning is Non-Negotiable
Cleaning your pipe isn’t just about aesthetics; it’s fundamental to the smoking experience. A clean pipe ensures:
- Purer Flavor: Removes the bitter, ashy residue that can contaminate fresh tobacco.
- Better Airflow: Prevents clogging in the stem and shank for a smooth, easy draw.
- Longer Pipe Lifespan: Prevents the corrosive buildup of moisture and acids that can eventually burn through the briar.
- Hygiene: Eliminates bacteria and mold that can grow in a damp, dirty pipe.
As the old piping adage goes, “A clean pipe is a happy pipe.” Investing a few minutes after each smoke saves you from major headaches down the road.

What You’ll Need: Your Pipe Cleaning Toolkit
Before you begin, gather your supplies. You don’t need anything fancy, but having the right tools makes the job effortless.
| Essential Tool | Purpose |
|---|---|
| Pipe Cleaners | The backbone of cleaning. Used for the stem and shank. Bent ones are great for the mouthpiece. |
| Reamers | For carefully removing cake (carbon buildup) from the bowl. |
| Bristle Cleaners | Feature tiny bristles to scrub away stubborn grime inside the stem. |
| Soft Cloth | For polishing and wiping down the exterior of the pipe. |
| High-Proof Alcohol | (e.g., Everclear, 90%+ Isopropyl) A solvent for deep cleaning and sanitizing. |
| Pipe Tool (Tamper) | Often has a small spoon for digging out dottle (leftover tobacco). |
The Two Cleaning Tiers: Routine vs. Deep Clean
Understanding the difference between a quick clean and a thorough restoration is key to proper pipe maintenance.
| Aspect | Routine Clean (After Each Smoke) | Deep Clean (Monthly or As Needed) |
|---|---|---|
| Frequency | After every 1-3 bowls | Every few weeks or when flavor degrades |
| Time Required | 2-5 minutes | 15-30 minutes |
| Key Steps | 1. Clear loose ash. 2. Run cleaners through stem. 3. Wipe bowl. | 1. Full disassembly. 2. Alcohol treatment. 3. Reaming cake. 4. Exterior polish. |
| Goal | Maintain freshness and airflow | Sanitize, restore flavor, and remove heavy buildup |
H2: Step-by-Step: The After-Smoke Routine Clean
This quick process should become a ritual. It’s the single most effective habit for preserving your pipe.
- Cool Down & Disassemble: Always let your pipe cool down completely before cleaning. Gently twist the stem from the shank.
- Clear the Bowl: Use your pipe tool to gently empty any remaining ash and dottle. A light tap against your palm is often sufficient.
- The Pipe Cleaner Pass: Fold a soft pipe cleaner and run it through the stem from the bit until it emerges from the tenon. You may need a second one if the first comes out very dirty. Then, run another cleaner through the shank from the mortise.
- Wipe and Rest: Use a dry, soft cloth to wipe the rim of the bowl and the entire pipe. Leave the pipe disassembled for a few hours to allow any internal moisture to fully evaporate before your next smoke.
H2: The Comprehensive Deep Cleaning Process
When your pipe starts to taste sour or you notice significant cake buildup, it’s time for a deep clean.
H3: Step 1: Safely Reaming the Bowl
The goal is to maintain a thin, even cake—about the thickness of a dime—not to remove it entirely.
- Tool Choice: Use a professional pipe reamer or the gentle scraping edge of your pipe tool.
- Technique: Insert the reamer and gently twist, applying minimal pressure. Your aim is to scrape away the brittle, flaky carbon, not to dig into the briar wood. Work your way around the bowl evenly.
- Pro Tip: “The cake is your pipe’s protective liner, but a runaway cake is its worst enemy. Moderation is key.”
H3: Step 2: The Alcohol and Salt Treatment (For Severe Cases)
This is the nuclear option for de-ghosting and sanitizing a profoundly sour or smelly pipe.
- Protect the Rim: Use a small amount of Vaseline on the pipe’s rim to prevent alcohol from damaging the finish.
- Fill the Bowl: Place a ball of cotton in the bowl, or fill it about 3/4 full with plain, non-iodized salt. The salt acts as a wick.
- Soak with Alcohol: Slowly drip high-proof alcohol (Everclear is best, isopropyl works) onto the salt/cotton until it is saturated but not overflowing.
- Wait: Let the pipe sit undisturbed for 12-24 hours. You will see the salt turn brown as it draws out the tars and oils.
- Empty and Dry: Dump the hardened salt/cotton ball. The bowl should be spotless. Let the pipe air dry for at least another 24-48 hours before smoking.
H3: Step 3: Scrubbing the Stem and Shank
- Dip and Scrub: Moisten the bristled end of a pipe cleaner with high-proof alcohol.
- Clean the Stem: Run the bristled cleaner through the stem several times until it comes out clean. Follow up with a few dry, soft cleaners.
- Clean the Shank: Do the same for the shank (the mortise). You may need to use a cotton swab dipped in alcohol for the wider chamber.
H2: Final Polishing and Maintenance Tips
Once the interior is clean, give the exterior some love.
- Waxing: Use a dedicated pipe wax or a tiny amount of carnuba wax on a soft cloth to buff the bowl to a gentle shine. This protects the wood and enhances the grain.
- Stem Care: For oxidation on vulcanite stems, a gentle rub with a magic eraser (melamine foam) can work wonders, followed by a light application of stem oil.
Final Thought: A pipe is a trusty companion. As one renowned pipe maker noted, “You don’t just own a pipe; you are its curator.” Regular, mindful cleaning is the simplest way to honor that relationship and ensure every smoke is as good as the first.