How to Clean Your Cymbals: An Expert’s Guide to a Brilliant Sound
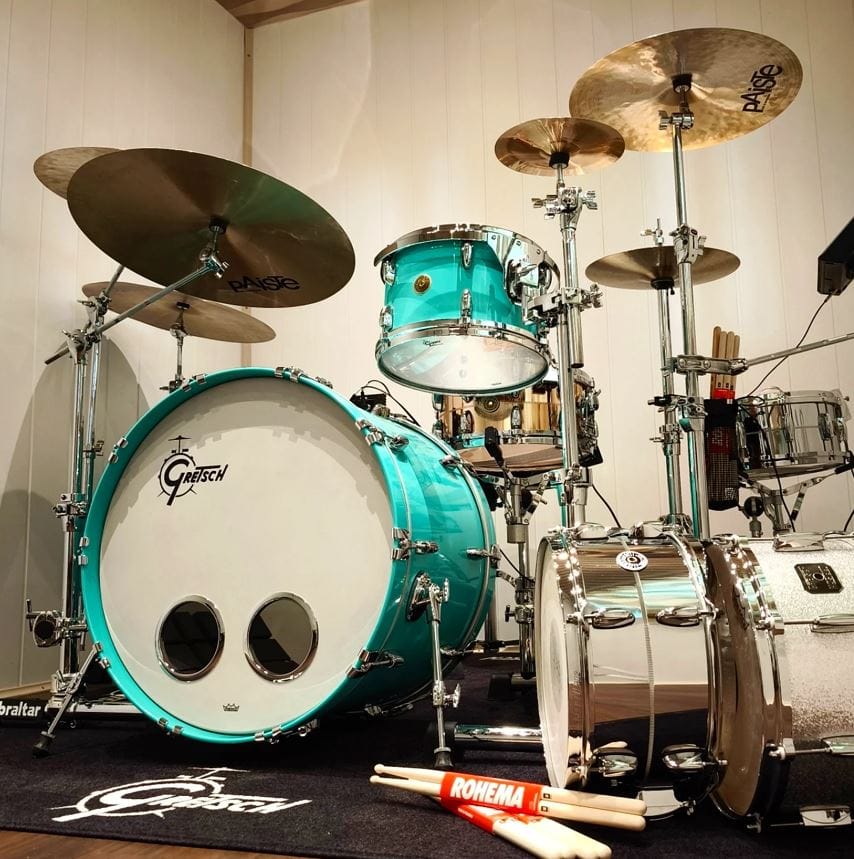
Is your once-brilliant ride cymbal now looking dull and covered in fingerprints? Do your crashes sound a bit “trashy” in the wrong way? Fear not. Cleaning your cymbals isn’t just about vanity; it’s a crucial part of cymbal maintenance that preserves their tone and extends their lifespan.
However, doing it wrong can cause irreversible damage. This expert guide will walk you through the safe and effective methods to make your cymbals shine, both visually and sonically.
Why You Should Clean Your Cymbals: It’s Not Just About Looks
Many drummers love the “patina” of age on their cymbals, but there are real sonic and physical reasons to keep them clean.
- Preservation of High Frequencies: Dirt, grease, and oxidation (tarnish) add mass to the cymbal, dampening its high-end frequencies and overall projection. A clean cymbal will have a brighter, more articulate “ping” and a longer sustain.
- Prevention of Pitting: Over time, acidic fingerprints and environmental pollutants can etch into the metal, leading to permanent pitting that can weaken the cymbal and create stress points.
- Hygiene and Value: Clean gear is more enjoyable to play. Furthermore, well-maintained cymbals retain a higher resale value.
Expert Quote: “Think of cymbal grime as a tiny, chaotic dampening agent. It sticks to the cymbal’s grooves and vibrations, subtly choking the high-end complexity and clarity the manufacturer designed it to have. A proper cleaning restores its intended voice.”
— Johnny “Sticks” Rivera, Drum Tech for Pro Touring Acts

What You’ll Need: The Cymbal Cleaning Toolkit
Before you start, gather the right materials. Using household cleaners like bleach, abrasive powders, or vinegar is a recipe for disaster and can strip logos or damage the alloy.
Essential Supplies for Safe Cleaning
| Item | Purpose | Note |
|---|---|---|
| Dedicated Cymbal Cleaner | Specially formulated to dissolve tarnish without harming the bronze. | Brands like Sabian, Paiste, and Groove Juice are industry standards. |
| Microfiber Cloths | For applying cleaner and buffing. | Scratch-free and highly absorbent. Avoid paper towels! |
| Soft-Bristled Brush | (Optional) For cleaning intricate logos and lathing grooves. | A toothbrush works perfectly. |
| Latex/Nitrile Gloves | To protect your hands from the cleaner. | Most cymbal cleaners are acidic. |
| Warm Water & Sink/Tub | For rinsing off the cleaner. | Ensure the drain is clear of debris. |
The Step-by-Step Guide to a Professional Clean
Follow these steps carefully for a flawless, safe clean every time.
Step 1: The Initial Dry Wipe
Start by giving your cymbal a thorough dry wipe with a clean microfiber cloth. This removes loose dust, skin cells, and other dry debris that could scratch the surface during the wet cleaning process.
Step 2: Apply the Cymbal Cleaner
Method A (Liquid/Paste): Put on your gloves. Apply the cleaner generously onto the cymbal’s surface, either by pouring it directly or using a cloth. Work in small, manageable sections, especially for larger cymbals.
Method B (Spray): Spray the cleaner evenly across the surface, ensuring full coverage.
Step 3: The Gentle Agitation
Let the cleaner sit for a moment (check product instructions, usually 30-60 seconds). Then, using a microfiber cloth, gently rub the cymbal in a circular motion, following the natural lathing grooves. For stubborn spots or detailed logos, use your soft-bristled brush. Do not scrub aggressively.
Step 4: The Thorough Rinse
This is a critical step. Hold the cymbal under a stream of warm water and rinse all the cleaner off. Any residue left behind can affect the sound and feel sticky. Ensure you rinse both sides and the bell completely.
The Perfect Dry
Immediately after rinsing, use a clean, dry microfiber cloth to thoroughly dry the cymbal. Buff it until it’s completely streak-free and shiny. Let it air for a minute to ensure no moisture is trapped, especially around the center hole.
To Clean or Not to Clean? The “Patina” Debate
This is a hot topic in the drumming world. Some drummers, particularly in jazz, blues, or rock contexts, prefer the darker, drier, and more controlled sound of a slightly dirty or “vintage” cymbal.
- Clean Cymbals: Bright, explosive, shimmery, longer sustain.
- Unclean Cymbals (with patina): Darker, drier, less overtone, quicker decay.
There’s no right or wrong answer—it’s a matter of personal and musical preference. Many drummers adopt a hybrid approach, cleaning their main crashes and rides but leaving their hi-hats or effects cymbals with more character.
Proactive Maintenance: How to Keep Your Cymbals Cleaner for Longer
An ounce of prevention is worth a pound of cure.
- Wash Your Hands: Simple but effective. Clean hands mean less oil and acid transferred to your cymbals.
- Always Use Gloves When Handling: Make it a habit to wear gloves not just for cleaning, but also when setting up or tearing down your kit.
- Wipe Down After Playing: A quick 30-second wipe-down with a dry microfiber cloth after each session removes the majority of harmful fingerprints and sweat.
- Proper Storage: Store your cymbals in soft cymbal bags or cases, not stacked directly on top of each other. This prevents micro-scratches and protects them from dust.
By following this expert advice, you can ensure your cymbals not only look spectacular but also deliver the brilliant, complex sound they were engineered to produce for years to come. Now go make them shine