How to Cleaning a Dog Wound on Paw
It’s a scenario every dog owner dreads: one minute your furry friend is happily trotting along, and the next, they’re hopping on three legs, holding up a bloody paw. A dog’s paws are in constant contact with the ground, making them highly susceptible to cuts, scrapes, punctures, and abrasions . Whether it’s a piece of glass on the sidewalk, a sharp rock on the trail, or a rug burn from too much roughhousing, knowing how to clean a dog wound on paw is an essential skill for any pet parent.
Proper and prompt cleaning is the single most important factor in preventing a minor injury from turning into a costly and painful infection . However, using the wrong products—like the hydrogen peroxide lurking in your medicine cabinet—can actually do more harm than good .
This guide will walk you through a step-by-step process for cleaning your dog’s paw wound safely and effectively. We’ll cover when you can handle it at home, when to rush to the vet, and the best products to use (and which to avoid).
Step 1: Triage – Is This a Vet Emergency?
Before you break out the first-aid kit, you need to assess the injury. Not all paw wounds are safe to treat at home. Attempting home care on a severe wound can delay critical treatment and introduce infection.
Seek immediate veterinary attention if you observe any of the following :
- Uncontrolled bleeding: Bleeding that doesn’t stop or slow down after 10 minutes of firm pressure.
- Deep wounds or gaping cuts: Injuries that look deep, are wide open, or may require stitches.
- Visible bone or tendon: If you can see internal structures.
- Embedded foreign objects: Glass, metal, or debris that is lodged deep and you cannot easily remove.
- Puncture wounds: These small holes (often from bites or sticks) trap bacteria deep inside and are prone to serious infection .
- Signs of infection: Redness, swelling, heat, pus, or a foul odor.
- Limping or severe pain: If your dog cannot put any weight on the paw or cries incessantly.
If the wound is superficial (a minor scrape or small, clean cut) and bleeding is minimal, you can proceed with home first aid.
Step 2: Gather Your Supplies
Having the right tools on hand makes the process smoother and less stressful for both you and your dog. Here’s what you should have in your pet first-aid kit for paw injuries.
Crucial Safety Note: Never use human pain medications like ibuprofen or acetaminophen on your dog, as they can be toxic .
Step 3: The Step-by-Step Guide to Cleaning a Paw Wound
Once you have your supplies and have confirmed the wound is manageable, follow these steps to clean and protect the injury.
1. Ensure Safety First
An injured dog may be frightened and in pain, which can lead to biting. Even the gentlest dog might snap. Muzzle your dog if necessary, or have someone gently hold their head. Speak in a calm, soothing voice throughout the process .
2. Flush and Clean
The goal here is to remove dirt, bacteria, and debris without causing further tissue damage.
- Rinse thoroughly: Generously flush the wound with sterile saline or lukewarm running water. This alone will remove a significant amount of contaminants.
- Clean the area: If needed, use a dilute antiseptic solution (like chlorhexidine) on a clean gauze pad. Gently wipe around the wound, but avoid harsh scrubbing directly on the open tissue .
- Remove debris: If you see small pieces of gravel or dirt on the surface, you can carefully remove them with tweezers. If debris is embedded deep, stop and see a vet .
3. Disinfect Carefully
This step is about killing bacteria to prevent infection, but you must use safe products.
- The Don’ts: Do not use full-strength hydrogen peroxide or rubbing alcohol. Hydrogen peroxide can be cytotoxic, meaning it kills healthy cells and slows healing . Alcohol causes intense pain and tissue damage.
- The Do’s: You can use a dilute povidone-iodine solution or a vet-recommended wound spray . After applying, gently pat the area dry with sterile gauze. A damp environment under a bandage can breed bacteria .
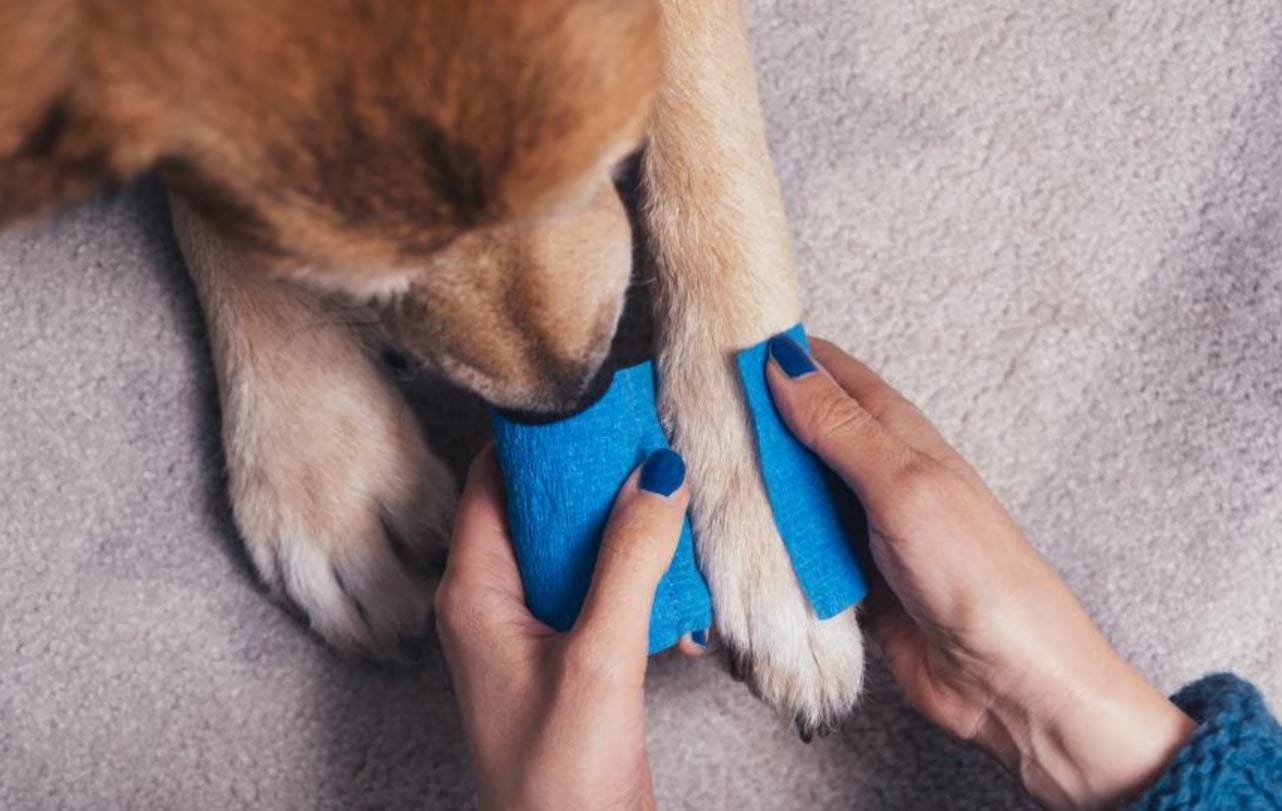
4. Apply a Bandage (If Needed)
Not all wounds need a bandage. In fact, paw pad abrasions (like rug burns) often heal better when left uncovered to stay dry . However, if the wound is on a part of the paw that will get dirty, or if you need to protect it, bandaging is a good option.
- Apply ointment: If using, apply a thin layer of pet-safe antibiotic ointment to the wound.
- Place non-stick pad: Cover the wound completely with a non-stick Telfa pad .
- Wrap: Secure the pad with a gauze roll, wrapping in a figure-8 pattern around the paw and ankle to keep it in place .
- Secure with Vet Wrap: Apply a self-adhering bandage over the gauze. Crucial: It should be snug but not tight. You should be able to slip two fingers easily between the bandage and your dog’s leg. A bandage that is too tight can cut off circulation and cause severe damage .
5. Prevent Licking at All Costs
This is often the hardest part. A dog’s instinct is to lick a wound, but their mouths are full of bacteria that can cause infection. Licking also keeps the wound moist and prevents healing . Always use an Elizabethan collar (cone) or a recovery donut to prevent your dog from interfering with the wound .
Comparison: Safe vs. Unsafe Wound Cleaners
It’s easy to grab a common household product in a moment of panic. Use this table to guide your choices.
Aftercare: Monitoring and Healing
Cleaning the wound is just the first step. Proper aftercare is vital for a full recovery.
- Change Bandages Daily: Most paw bandages need to be changed at least once a day, or immediately if they get wet or dirty. When you change it, check the wound for any changes .
- Monitor for Infection: For the next few days, keep a close eye on the wound. Watch for increasing redness, swelling, discharge (pus), or a bad smell. If any of these appear, it’s time for a vet visit .
- Limit Activity: Your dog needs rest. A healing paw needs time to recover, so limit running, jumping, and rough play. Short, leashed walks for bathroom breaks are best .
- Keep it Dry: A wet bandage is a gateway for bacteria. Cover the bandaged foot with a plastic bag (secured at the top with tape) for outdoor trips, but be sure to remove it once back inside .
Conclusion
Learning how to clean a dog wound on paw is a simple skill that can save you a trip to the emergency vet and prevent your dog from a lot of unnecessary pain. By staying calm, using the right solutions, and preventing that pesky licking, you give your dog’s paw the best chance to heal quickly.
Always remember: When in doubt, call your vet. It’s always better to err on the side of caution. If the wound looks worse than a simple scrape, or if your dog seems to be in significant pain, professional medical help is the safest path.