How to Clean Soda Fountain Nozzles: A Step-by-Step Guide for Perfect Taste & Hygiene
If your soda tastes “off,” has flat carbonation, or dispenses slowly, dirty nozzles are the likely culprit. Restaurants, convenience stores, and home soda machines lose thousands of dollars annually due to syrup build-up and bacterial growth in neglected nozzles.
This guide provides a scientific, health-code-approved method to clean soda fountain nozzles, including a comparison of cleaning solutions and a daily/weekly maintenance schedule.
Why Cleaning Soda Nozzles Matters (Beyond Taste)
Failing to clean nozzles leads to three major problems:
- Biofilm & Mold – The sugary, moist environment breeds Pseudomonas and Staphylococcus within 24 hours.
- Syrup Crystallization – Dried syrup blocks the tiny diffuser holes, causing irregular flow and flat soda.
- Health Code Violations – Most local health departments require daily nozzle cleaning. Failure results in fines or closure.
Key Stat: A study by NSF International found that soda fountain nozzles are among the top 5 most bacteria-contaminated surfaces in food service—often worse than toilet handles.
Tools You Will Need
| Tool | Purpose | Alternative |
|---|---|---|
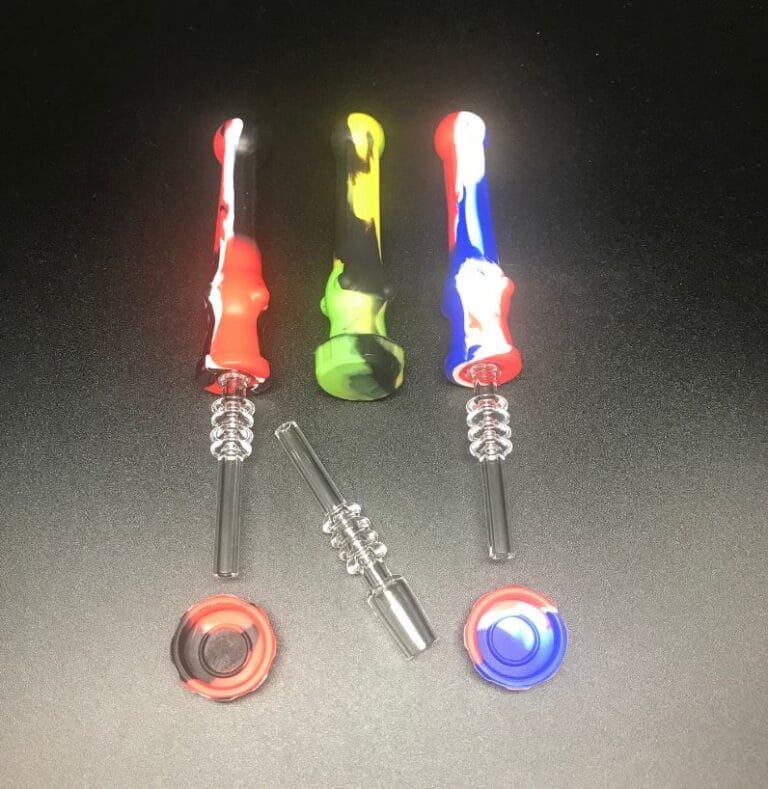
| Nozzle brush (nylon bristles) | Scrubbing internal diffuser holes | Small toothbrush (new, unused) |
| Bucket of warm water (110°F/43°C) | Loosening syrup residue | Sink with sprayer |
| Approved cleaning solution (see table below) | Sanitizing & dissolving biofilm | Commercial keg cleaner |
| Clean food-grade gloves | Preventing recontamination | Latex/nitrile gloves |
| Soft cloth or paper towels | Drying exterior parts | Lint-free towel |
Step-by-Step: How to Clean Soda Fountain Nozzles
Follow this exact order. Skipping steps re-introduces bacteria.
Step 1: Preparation & Safety
- Turn off the syrup system (if possible) or pull the dispenser handle to release pressure.
- Remove the drip tray and splash plate.
- Wear gloves – Do not touch the inside of nozzles with bare fingers.
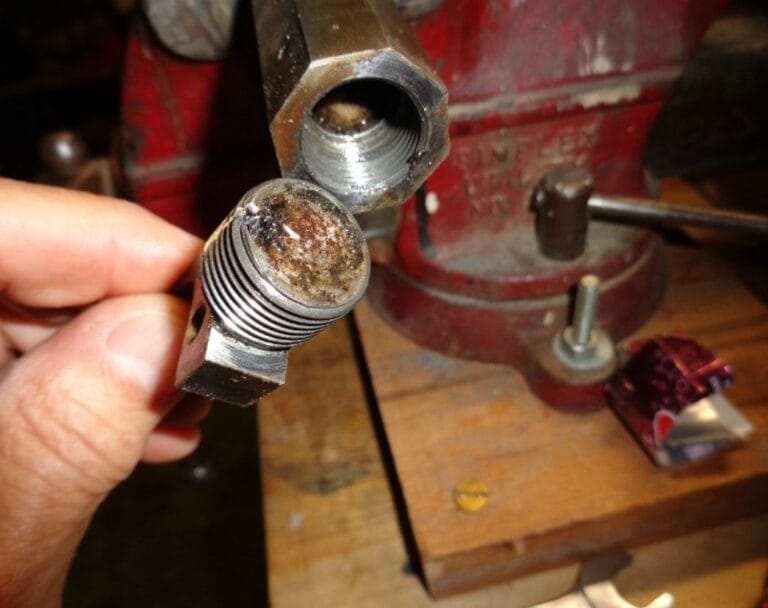
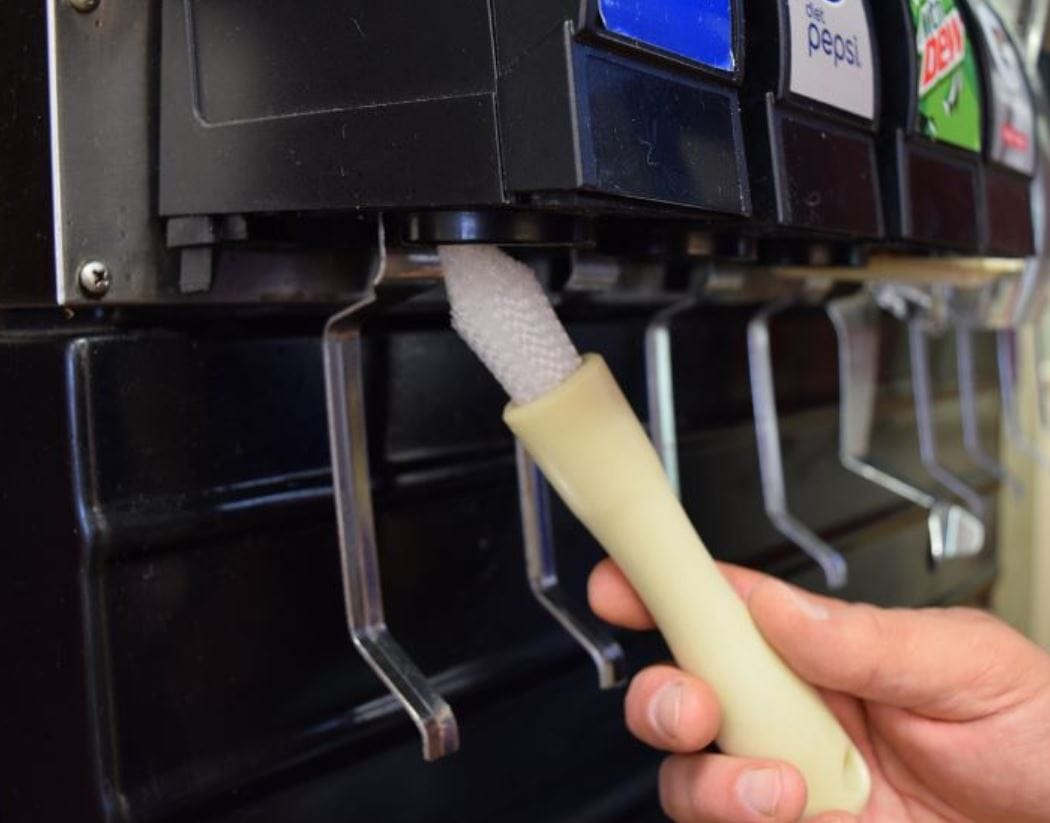
Step 2: Remove Nozzles & Diffusers
- Most nozzles twist counter-clockwise ¼ turn and pull down.
- Inside, you’ll find a diffuser (small disc with tiny holes) and a gasket (rubber ring).
- Important: Do not lose the gasket. Without it, the nozzle will leak CO₂.
Step 3: Soak in Cleaning Solution
| Cleaning Agent | Soak Time | Best For | Pros | Cons |
|---|---|---|---|---|
| Commercial nozzle cleaner (e.g., Taylor, Foxx) | 15 min | Heavy syrup build-up | Fast, sanitizes, no scrubbing | Cost ($15–$30/bottle) |
| Hot water + mild dish soap | 30 min | Daily light cleaning | Cheap, always available | Doesn’t kill all mold |
| Vinegar (white, 5% acetic acid) | 20 min | Lime scale & mild biofilm | Food-safe, deodorizes | Weak against yeast/mold |
| Bleach solution (1 tbsp per gallon) | 5 min | Deep sanitizing (weekly) | Kills 99.9% of pathogens | Must rinse thoroughly; corrosive |
✅ Recommended for most users: Commercial cleaner for weekly deep clean + hot soapy water for daily.
Step 4: Scrub Every Part
- Use the nozzle brush to scrub inside the nozzle cap and each hole of the diffuser.
- Pay special attention to the center post inside the dispenser head (where the nozzle attaches). Syrup hides there.
- For stubborn crystals: Soak an extra 10 minutes in hot water, then scrub again.
Step 5: Rinse Thoroughly
- Rinse all parts under running warm water for 30 seconds.
- Test: Shake the diffuser near your ear. You should hear air moving freely through every hole. If not, scrub again.
Step 6: Sanitize (Critical Step)
- Submerge parts in sanitizing solution (e.g., Star San or quaternary ammonium at 200ppm) for 1 minute.
- Do not rinse after sanitizing – air dry on a clean cloth.
Step 7: Reassemble & Flush
- Replace the gasket → diffuser → nozzle cap (hand-tight only).
- Run soda water through the valve without syrup for 5 seconds to flush the line.
- Taste-test: Dispense a small cup. It should be crisp, with no off-flavors.
Daily vs. Weekly vs. Monthly Schedule
| Frequency | Action | Time Required |
|---|---|---|
| Daily | Remove nozzle, rinse with hot water, scrub diffuser holes with brush | 2 minutes per valve |
| Weekly | Full disassembly + soak in commercial cleaner + sanitize | 15 minutes |
| Monthly | Check syrup lines for mold; clean valve stem with line brush | 30 minutes |
Pro Tip: Buy color-coded nozzle brushes (red for nozzles, blue for drip trays) to prevent cross-contamination.
Common Mistakes That Ruin Nozzles
❌ Using a dishwasher – High heat warps plastic diffusers, causing leaks.
❌ Using metal brushes or toothpicks – Scratches create hiding spots for bacteria.
❌ Skipping the gasket – Leads to CO₂ escaping and flat soda.
❌ Reassembling wet – Moisture trapped inside grows mold within hours.
How to Test If Your Nozzles Are Clean (Without Removing Them)
- Visual test: Shine a flashlight into the nozzle tip. You should see clean, unblocked holes.
- Flow test: Dispense soda water only. The stream should be full, round, and steady (no sputtering).
- Taste test: Pour a cola. If it tastes like chlorine, mildew, or nothing, clean again.
Conclusion: Make Cleaning a Non-Negotiable Habit
Cleaning soda fountain nozzles takes less than 3 minutes per day but saves hundreds of dollars in syrup waste, repairs, and health inspection fines. Train your staff to use the “Remove, Soak, Scrub, Sanitize, Reattach” method daily.
Final checklist for Google Searchers:
- Removed nozzle and diffuser
- Soaked in approved cleaner (see comparison table)
- Scrub every hole with nylon brush
- Rinse + sanitize (no second rinse)
- Reassemble with gasket
- Flush before serving