How to Clean Ocean Shells: A Step-by-Step Guide to Preserving Your Treasures
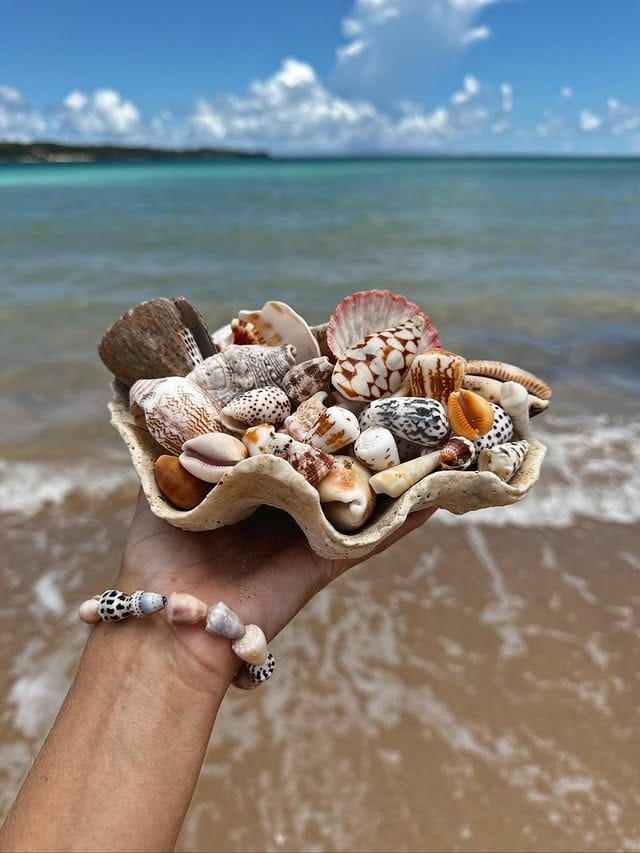
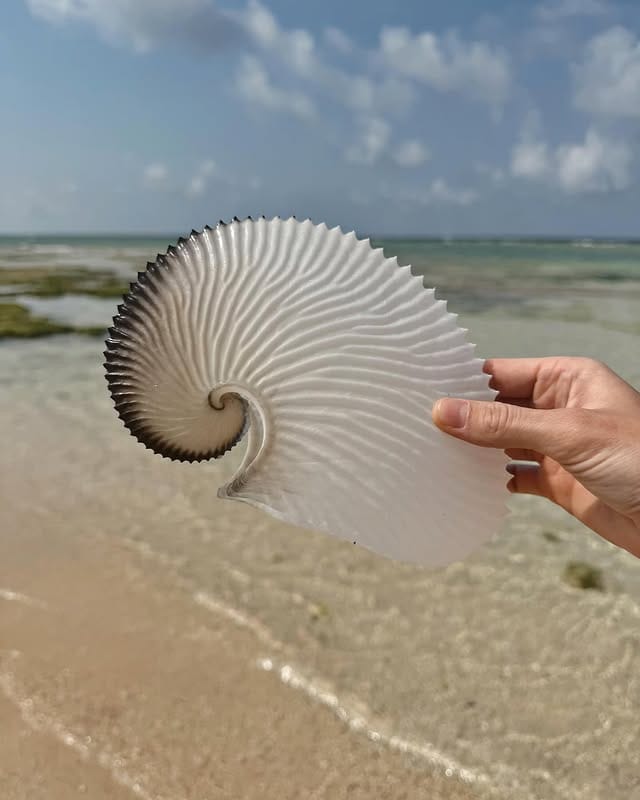
There’s a unique magic in finding a perfect shell on the beach. It’s a free souvenir from the ocean, a tiny piece of natural art. However, that beautiful shell often comes with a hidden passenger—organic matter that will begin to decay, causing a foul odor and potentially damaging your treasure.
Learning how to clean shells from the ocean is an essential skill for any beachcomber. This guide will walk you through the safest and most effective methods to transform your finds into pristine, long-lasting keepsakes.
Why You MUST Clean Your Ocean Shells
Many beginners make the mistake of thinking a quick rinse is enough. Unfortunately, that’s rarely the case. Proper cleaning is not just about aesthetics; it’s about preservation.
“A shell left to dry with organic matter inside is like leaving a piece of raw meat in your cupboard. The decay process will not only smell terrible but can also attract insects and weaken the shell’s structure over time.” – Marine Collector & Hobbyist
The primary goal of cleaning is to remove all the periostracum (the thin, organic coating on some shells) and the animal tissue still inside. Failure to do so leads to odor, discoloration, and can make your collection unhygitable.
Pre-Cleaning Assessment: Identifying Your Shell
Before you begin, it’s crucial to assess your shell. The cleaning method you choose depends heavily on the shell’s type and condition.
- Fresh vs. Empty: A “fresh” shell, recently inhabited, will require more intensive cleaning. An “empty” or “bleached” shell that has been tossed in the surf for months will need gentler care.
- Delicate vs. Sturdy: Delicate shells like paper figs, scallops, or sand dollars require completely different handling than sturdy conchs or whelks.
Shell Types and Recommended Cleaning Methods
The table below provides a quick-reference guide to match your shell with the best cleaning approach.
| Shell Type | Example Shells | Recommended Method | Special Considerations |
|---|---|---|---|
| Sturdy/Gastropods | Conchs, Whelks, Murex, Olives | Water Soak or Boiling | Can withstand heat and longer soaking periods. |
| Bivalves | Clams, Mussels, Oysters | Water Soak or Freezing | Prone to snapping shut; freezing can help relax the muscle. |
| Delicate/Thin | Scallops, Paper Figs, Janthinas | Gentle Water Soak | Never boil; they will become brittle and lose color. |
| Fragile/Porous | Sand Dollars, Sea Urchins | Water & Bleach Soak | Requires extreme gentleness and a stabilizing soak (water/glue mix). |
Step-by-Step Cleaning Methods
H3: Method 1: The Simple Freshwater Soak (Safest for Most Shells)
This is the gentlest and most recommended method for most shells, especially if you are not in a hurry.
- Rinse: Thoroughly rinse your shells in fresh water to remove sand and surface debris.
- Soak: Submerge the shells completely in a bucket of fresh, clean water. Place the bucket in a sunny spot outdoors, as the process will create an odor.
- Wait: Leave them to soak for 1 to 2 weeks. The water will become cloudy and smelly as the organic matter decomposes and loosens.
- Scrub: After soaking, use an old toothbrush or a soft brush to scrub away the softened tissue and any remaining periostracum.
- Rinse & Dry: Give them a final, thorough rinse and allow them to air dry completely in the sun.
Method 2: The Boiling Method (For Sturdy Shells Only)
Warning: Boiling can damage delicate shells, fade colors, and can cause a strong odor. Use only for thick, sturdy shells like conchs.
- Boil: Place your shells in a large pot of fresh water (a pot you don’t use for food). Bring to a boil and let them simmer for 5-10 minutes.
- Cool: Carefully remove the pot from heat and allow the water to cool enough to handle the shells.
- Extract: Use a toothpick, pin, or tweezers to pull the animal tissue out of the shell. The heat will have loosened it significantly.
- Scrub & Rinse: Scrub the inside and outside with a brush and soapy water, then rinse thoroughly.
Method 3: The Freezing Method (For Bivalves)
This is an excellent, odor-free method for clams, mussels, or any shell that is tightly shut.
- Freeze: Place the fresh shells in a zip-top bag and put them in the freezer for at least 24 to 48 hours.
- Thaw: Remove the bag and let the shells thaw completely at room temperature.
- Open: The freezing process will relax the adductor muscle, making it much easier to pry the shell open.
- Remove & Clean: Extract the tissue and scrub the shell clean.
The Final Touch: Bleaching and Whitening
After the organic matter is removed, you may want to whiten your shells or disinfect them. This is an optional cosmetic step.
“Never use straight household bleach. Always dilute it significantly. A 50/50 mixture of water and bleach is the absolute maximum strength you should use, and even that can be too harsh for many shells.”
- Process: Create a mild solution of 1 part bleach to 3 parts water. Soak the shells for no more than 30 minutes to an hour. Soaking for too long will dissolve the shell’s surface and destroy its natural luster.
- For Delicate Finds (Sand Dollars): For these, a few minutes in a weak bleach solution is enough. Afterward, you can strengthen them with a 50/50 water and white glue solution.
Rinse thoroughly after bleaching and allow to dry in the sun, which is a natural whitener.
Displaying Your Pristine Shell Collection
Once your shells are completely clean and dry, they are ready for display. Keep them out of direct sunlight to prevent fading over time. A glass jar, a shadow box, or a simple bowl makes for a beautiful way to showcase your clean, odor-free treasures from the sea.
By following these steps, you can ensure that the beautiful shells you worked so hard to find remain beautiful for a lifetime, preserving the memory of your day by the ocean.