The Ultimate Guide to Cleaning Nappa Leather: Preserve Softness & Luxury
What is Nappa Leather and Why Does It Need Special Care?
Nappa leather is a top-tier, full-grain leather known for its exceptionally soft, supple feel and smooth surface. It’s often used in high-end car interiors, luxury furniture, designer handbags, and premium apparel. Unlike coated or corrected leathers, Nappa is minimally processed, allowing its natural beauty and breathability to shine. This very quality—its delicate, porous nature—makes it vulnerable to stains, drying, and cracking if not cleaned correctly. Proper care doesn’t just clean; it preserves the leather’s integrity and luxurious feel for years.
Pre-Cleaning Essentials: The Golden Rules
Before you touch any product to your Nappa leather, follow these non-negotiable rules:
- Always Test First: Apply any cleaner or conditioner to a small, inconspicuous area (like a back seam or underside) and wait 24 hours to check for discoloration or damage.
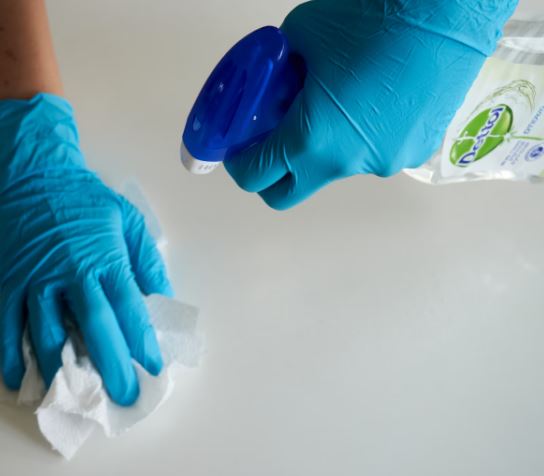
- Blot, Don’t Rub: For spills, immediately blot with a clean, absorbent, white cloth. Rubbing can grind the stain deeper and damage the leather’s surface.
- Avoid Harsh Chemicals: Never use household cleaners, alcohol, ammonia, or silicone-based products. They will strip natural oils and cause irreversible drying and cracking.
- Embrace Gentle Drying: Never use direct heat (hairdryers, heaters) or place in direct sunlight to dry. Allow it to air dry at room temperature.
Step-by-Step Guide to Cleaning Nappa Leather
Follow this meticulous process for safe and effective cleaning.
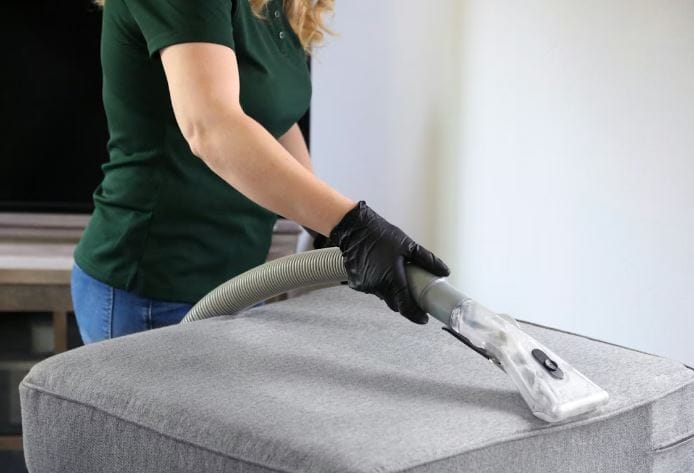
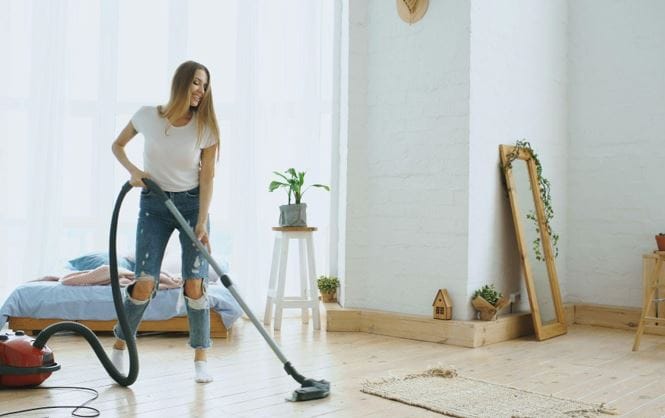
Step 1: Dry Dusting & Vacuuming
Start by removing loose dirt and dust, which can act as abrasives. Use a soft-bristled brush attachment on a vacuum or a clean, dry, microfiber cloth. Gently go over all surfaces.
Step 2: Applying a Leather Cleaner
Product Choice is Critical. Use a pH-balanced, dedicated leather cleaner formulated for aniline or unfinished leathers. Apply a small amount to a second clean, damp (not wet) microfiber cloth. Work in gentle, circular motions over a small section at a time.
Step 3: Addressing Stubborn Stains
For oil-based stains (grease, makeup), sprinkle a small amount of cornstarch or talc to absorb the oil, leave for several hours, then gently brush off. For persistent marks, a specialized leather stain remover may be used with extreme caution and after testing.
Step 4: Conditioning (The Most Vital Step)
Cleaning can dehydrate leather. Conditioning is non-optional. Once the leather is completely dry, apply a high-quality leather conditioner (like those containing lanolin or beeswax) with a fresh microfiber cloth. Use a sparing amount, buffing gently until fully absorbed. This restores moisture and flexibility.
Step 5: Protecting
For high-use items like car seats, consider a final, light application of a leather protectant spray designed for delicate leathers. This creates a barrier against future spills and UV rays.
Product Comparison Table: Choosing the Right Tools
| Product Type | What to Look For | What to Avoid | Recommended For |
|---|---|---|---|
| Cleaner | pH-neutral, specifically for “aniline,” “nappa,” or “unfinished” leather. Cream or mild liquid formulas. | Soaps, detergents, all-purpose cleaners, anything with alcohol or strong solvents. | Routine cleaning of dirt and light grime. |
| Conditioner | Natural ingredients like lanolin, beeswax, or mink oil. Lightweight, non-greasy formulas. | Heavy waxes (like shoe polish), silicone-based shine products, anything that leaves a sticky residue. | Essential after every clean. Use every 3-6 months for maintenance. |
| Protectant | UV-inhibiting, water-based, breathable sprays labeled safe for fine leathers. | Acrylic or plastic-based sealants that create a hard coating, altering the leather’s feel. | Items frequently exposed to sunlight (car interiors) or potential spills. |
| Cloths | 100% white or undyed microfiber cloths. Soft, lint-free cheesecloth is also excellent. | Colored paper towels, rough fabrics, abrasive sponges. | All steps: applying product, blotting, and buffing. |
Maintenance vs. Deep Cleaning: A Quick-Reference Table
| Aspect | Routine Maintenance (Weekly/Monthly) | Deep Cleaning (Every 6-12 Months) |
|---|---|---|
| Goal | Remove surface dust, prevent buildup, maintain suppleness. | Thoroughly cleanse, treat stains, rehydrate leather. |
| Process | 1. Dry dust with microfiber. 2. Lightly wipe with a damp cloth. 3. Buff dry. | 1. Vacuum. 2. Apply dedicated leather cleaner. 3. Treat stains. 4. Condition thoroughly. 5. Optional protectant. |
| Key Product | Dry & damp microfiber cloths. | Leather cleaner + Leather conditioner. |
| Time Required | 5-10 minutes | 1-2 hours (including drying time) |
What NOT to Do: Common Nappa Leather Cleaning Myths
- MYTH: “Baby wipes are a safe quick-clean.” FACT: They contain alcohols and drying agents that will damage Nappa over time.
- MYTH: “Vinegar and water is a natural solution.” FACT: Vinegar is acidic and will degrade the leather’s pH balance.
- MYTH: “More conditioner = more protection.” FACT: Over-conditioning can clog pores, leading to a greasy feel and attracting more dirt.
When to Call a Professional
Seek a reputable leather care specialist if:
- You encounter severe stains (ink, deep dye transfer).
- The leather has become stiff, cracked, or discolored.
- You’re dealing with a very high-value item and lack confidence.
- The leather is part of a complex item (like a car interior airbag area).
Final Thoughts
Cleaning Nappa leather is about preservation, not just sanitation. By investing a few minutes in regular dusting and using the correct, gentle products for periodic deep cleans, you protect your investment. The simple ritual of conditioning is the true secret to keeping that buttery-soft texture that makes Nappa leather so desirable. Remember, gentle care equals lasting luxury.
Ready to start? Gather your white microfiber cloths, source a pH-neutral leather cleaner, and, most importantly, a quality leather conditioner. Your Nappa leather will thank you for years to come.