The Ultimate Guide: How to Clean Leather Champs Shoes and Sneakers
Why Proper Leather Care Matters for Your Champs
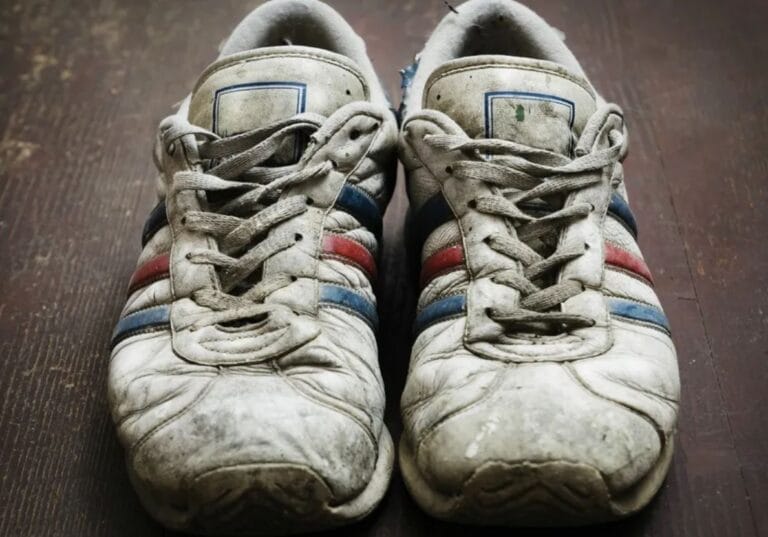
Champs sneakers, especially their leather models, are a fusion of style, sport, and durability. Whether you own classic leather athletic shoes or sleek lifestyle sneakers from Champs, proper cleaning isn’t just about aesthetics—it’s about preserving the material’s integrity, extending the shoe’s lifespan, and protecting your investment. This comprehensive guide will walk you through the safe, effective methods to clean your leather Champs, ensuring they look fresh for years to come.
Understanding Your Leather: The First Step to Proper Care
Not all leather on Champs shoes is the same. Identifying the type helps you choose the right method.
- Smooth/Finished Leather: Common in many athletic and lifestyle sneakers. Has a glossy or consistent matte finish.
- Suede/Nubuck: A brushed, textured finish. Requires specialized care (this guide focuses on smooth leather).
- Synthetic Leather/Patent Leather: Also common. Generally more water-resistant but can be sensitive to harsh chemicals.
Always check the care tag on your Champs shoes first! When in doubt, treat the material as smooth leather.
What You’ll Need: The Cleaning Toolkit
Gather these supplies before you start. Avoid household cleaners like bleach or dish soap, as they can dry out and damage leather.
| Essential Supplies | Optional/Advanced Supplies |
|---|---|
| Soft-bristled brush (horsehair or microfiber) | Leather conditioner/balm |
| Microfiber cloths (multiple) | White vinegar solution (for odor) |
| Mild leather cleaner or saddle soap | Soft toothbrush (for intricate stitching) |
| Distilled water (tap water minerals can stain) | Leather protectant spray |
| To AVOID: Paper towels, harsh chemicals, direct heat, abrasive brushes |
Step-by-Step: How to Clean Your Leather Champs
Step 1: The Dry Pre-Clean
Remove the laces and insoles. Gently knock the soles together to dislodge dried mud. Use your soft-bristled brush to dry-brush the entire upper, removing surface dirt and dust. This prevents you from grinding dirt into the leather during the wet wash.
Step 2: Spot Test
Apply a small amount of your chosen leather cleaner to an inconspicuous area (like the inside of the tongue). Wait a few minutes to ensure no discoloration occurs.
Step 3: The Main Wash
- Dampen a microfiber cloth with distilled water.
- Apply a small amount of mild leather cleaner to the cloth, not directly on the shoe.
- Gently wipe the leather in circular motions, focusing on one small section at a time.
- For stubborn scuffs, use a bit more cleaner and gentle pressure with the cloth or a soft toothbrush on the spot.
- Rinse your cloth frequently with clean water to avoid reapplying dirt.
Step 4: Drying – The Critical Phase
Never use direct heat (hair dryer, radiator, sunlight).
- Wipe the entire shoe with a clean, water-dampened microfiber cloth to remove any cleaner residue.
- Pat dry with a fresh, absorbent microfiber cloth.
- Stuff the toes with white paper or a shoe tree to maintain shape.
- Let them air dry naturally at room temperature, away from sunlight. Expect 6-12 hours for full drying.
Step 5: Conditioning & Protection (The Game Changer)
Once completely dry, conditioning is vital. Leather loses oils over time, leading to cracks.
- Apply a small amount of leather conditioner with a clean cloth.
- Rub it in gently in circular motions.
- Let it absorb fully (15-30 minutes).
- Buff with a dry cloth for a soft shine.
- For future protection, consider a leather protector spray to guard against water and stains.
Maintenance & Stain-Specific Tips
Quick action is key for common stains. Always dab, don’t rub.
| Stain Type | Recommended Action |
|---|---|
| Salt Stains (Winter) | Mix 1:1 white vinegar and water. Dampen a cloth, dab the stain. Wipe with clean water-dampened cloth after. |
| Ink Marks | Use a cotton swab with a tiny amount of rubbing alcohol. Dab lightly and immediately. Follow with leather conditioner. |
| Grease/Oil | Sprinkle cornstarch or talc to absorb. Leave overnight, brush off. Repeat if necessary. |
| General Scuffs | A pencil eraser can work on minor scuffs. For deeper ones, use your leather cleaner with more focused pressure. |
What NOT To Do: Common Leather Cleaning Mistakes
A quick-reference table to prevent damage:
| Mistake | Why It’s Harmful |
|---|---|
| Machine Washing/Drying | Agitation and heat warp leather, crack finishes, and ruin glue. |
| Using Harsh Cleaners | Bleach, ammonia, or all-purpose cleaners strip natural oils, causing brittle, cracked leather. |
| Over-Wetting the Leather | Saturation can weaken fibers, cause permanent water spots, and damage internal structure. |
| Drying in Direct Sun/Heat | Causes leather to dry out, shrink, and crack prematurely. |
| Skipping Conditioning | Leaves leather vulnerable to drying and cracking, shortening its life. |
Conclusion: Consistency is Key
Cleaning your leather Champs isn’t a one-time task. A quick brush-down after each wear and a deep clean every few months (or as needed) will keep them in championship condition. By investing a small amount of time with the right tools and techniques, you ensure your favorite sneakers remain comfortable, stylish, and durable for countless wears to come. Now lace them back up and step out in confidence!