The Ultimate Guide: How to Clean Door Hinges Like a Pro
Why Cleaning Your Door Hinges Matters
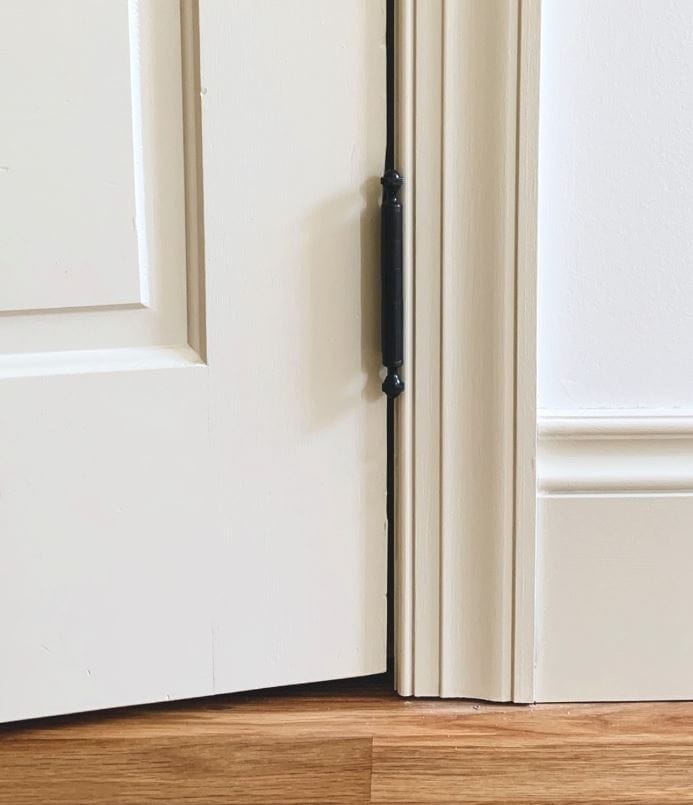
It’s one of the most overlooked tasks in home maintenance: cleaning door hinges. We focus on the floors, the counters, and the windows, but those humble hinges bear the weight of our doors day in and day out. Neglecting them doesn’t just lead to unsightly grime; it can cause annoying squeaks, stiff operation, and even premature wear.
As Mike Anselmo, a veteran home inspector with 20 years of experience, puts it: “I can tell a lot about a home’s overall upkeep by looking at the details—and door hinges are a prime example. Clean, well-maintained hinges often indicate a homeowner who is proactive about preventing larger issues down the line.”
This guide will walk you through the entire process, from a quick refresh to a deep clean, ensuring your doors operate silently and smoothly for years to come.
Expert-Recommended Tools and Materials
Before you begin, gather your supplies. Having everything on hand makes the process efficient and effective. You won’t need everything for every job, so we’ve broken it down by cleaning intensity.
For Basic Cleaning:
- Soft-bristled brush (an old toothbrush is perfect)
- Microfiber cloths
- Mild dish soap and warm water
- Vacuum cleaner with a brush attachment
For Deep Cleaning & Lubrication:
- Screwdrivers (Phillips and/or flat-head)
- All of the “Basic Cleaning” supplies
- Degreaser (for kitchen hinges) or white vinegar (for mineral deposits)
- Lubricant (We’ll compare types below)
- A small container for soaking screws
- Safety glasses and gloves
Step-by-Step Guide to Cleaning Door Hinges
Step 1: Initial Dusting and Dry Cleaning
Always start dry. Use the soft-bristled brush to dislodge loose dust, cobwebs, and debris from the hinge’s nooks and crannies. Follow up with the vacuum brush attachment to remove it all. This prevents you from just pushing dirt around when you start applying liquids.
Step 2: The Wet Clean
Create a simple cleaning solution of a few drops of dish soap in a bowl of warm water. Dip your microfiber cloth into the solution, wring it out thoroughly—it should be damp, not dripping—and wipe down every surface of the hinge.
Pro Tip: For stubborn, caked-on grime, let the damp cloth sit on the hinge for a few minutes to loosen it. Use your brush to agitate the problem areas gently.
Step 3: Rinse and Dry Thoroughly
This step is crucial. Take a clean cloth dampened with plain water and wipe the hinges to remove any soapy residue. Immediately dry all parts completely with a fresh, dry microfiber cloth. “Leaving moisture on bare metal hinges is the fastest way to invite rust,” warns Anselmo.
Advanced Deep Cleaning Method
For hinges that are squeaking, stiff, or haven’t been cleaned in years, a deep clean is necessary.
- Remove the Door Pin: Place a wedge under the door to support it. Using a hammer and a punch or a small nail, tap the bottom of the hinge pin upward until you can pull it out.
- Separate the Hinge: Carefully lift the door away from the jamb. You may need a helper for heavier doors.
- Soak the Pin and Screws: Place the hinge pin and screws in a small container with a degreaser or vinegar solution to break down old grease and grime.
- Scrub the Hinge Plates: While the pins soak, use your brush and cleaning solution to scrub the hinge plates still attached to the door and jamb. Pay close attention to the knuckle (the center part).
- Reassemble and Lubricate: Once everything is clean and bone-dry, reassemble the hinge. Apply lubricant to the pin before reinserting it for a smooth, squeak-free operation.
Choosing the Right Lubricant: An Expert Comparison
Not all lubricants are created equal. Using the wrong one can attract more dust and gum up the hinge again. Here’s a quick comparison to help you choose.
| Lubricant Type | Best For | Pros | Cons |
|---|---|---|---|
| Dry Teflon Lubricant | Interior doors, dusty environments | Doesn’t attract dust or dirt, clean application, long-lasting. | Can be more expensive than other options. |
| Silicone Spray | All-purpose, including exterior doors | Water-resistant, doesn’t attract too much dirt, protects against moisture. | Can be slightly messier than dry lubricants. |
| Graphite Lubricant | Old, stubborn hinges | Excellent for penetrating stuck parts, very effective. | Messy (leaves a black residue), can stain surfaces. |
| 3-in-1 Oil | Quick fixes | Readily available, inexpensive. | Attracts dust and lint, requires frequent reapplication, can drip. |
| WD-40 | Cleaning & Penetrating ONLY | Excellent at breaking down rust and old grease. | Not a long-term lubricant. It evaporates and can leave the hinge drier than before. |
Expert Verdict: “For the average interior household hinge, a dry Teflon lubricant is your best bet. It provides long-lasting smoothness without creating a sticky trap for dust,” advises Anselmo.
Frequently Asked Questions (FAQ)
Q: How often should I clean my door hinges?
A: For general upkeep, a quick dry dusting every time you clean your room is sufficient. A proper wet clean and lubrication should be done every 1-2 years, or whenever you notice a squeak or stiffness.
Q: Can I clean door hinges without removing the door?
A: Absolutely! The basic and wet cleaning methods described above are designed to be done without removal. Deep cleaning is only necessary for severe cases.
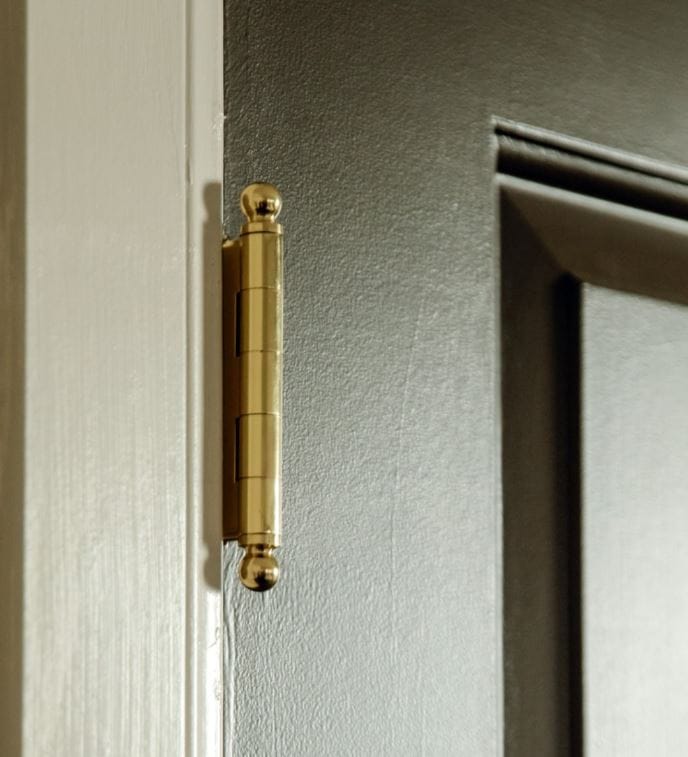
Q: What’s the best way to clean brass or antique hinges?
A: Exercise caution. Use a mild soap and water solution and avoid abrasive brushes or cleaners. For tarnished brass, a specific brass polish and a very soft cloth are recommended. Always test any cleaner on a small, hidden area first.
Conclusion: A Small Task with Big Rewards
Cleaning your door hinges is a simple, low-cost maintenance task that yields significant benefits. It extends the life of your doors and hardware, eliminates irritating noises, and contributes to a truly clean home. By following this expert guide, you can tackle the job with confidence, knowing you’re preserving the functionality and beauty of your home, one hinge at a time.