The Ultimate Guide: How to Clean a Cedar Sauna for Lasting Enjoyment
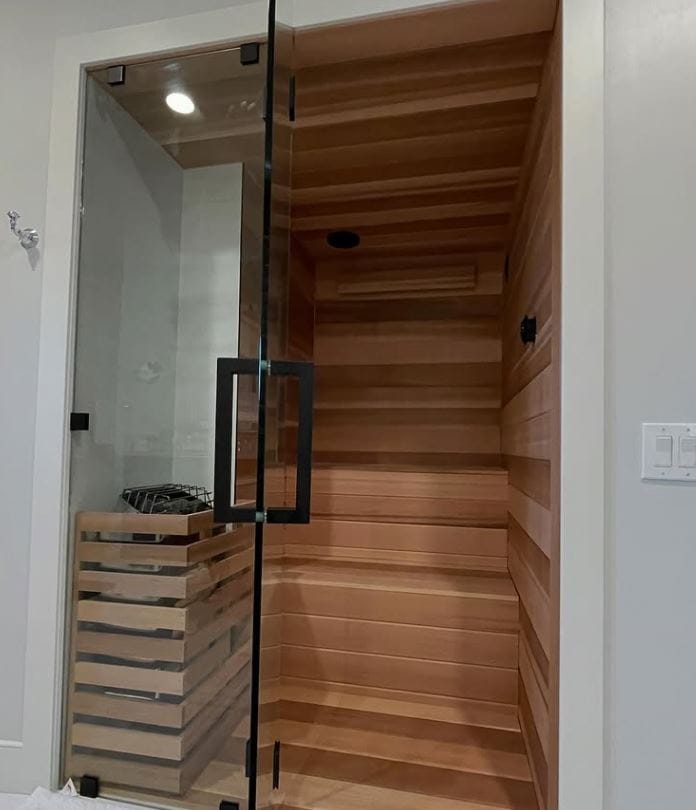
Cedar saunas are a sanctuary of relaxation and health benefits, but without proper cleaning, they can become a haven for mold, mildew, and bacteria. Learning how to clean a cedar sauna correctly is essential for maintaining its beauty, longevity, and hygienic environment. This comprehensive, SEO-optimized guide provides step-by-step instructions, proven techniques, and expert comparisons to ensure your cedar sauna remains a pristine retreat.
Why Proper Cedar Sauna Cleaning is Crucial
Cedar wood is naturally resistant to decay and insects, but the high-heat, high-moisture sauna environment demands consistent care. Proper cleaning:
- Prevents Mold & Mildew: Spores thrive in damp, organic environments.
- Preserves Wood Quality: Removes sweat, oils, and dirt that can degrade wood over time.
- Ensures Hygiene: Eliminates bacteria for a safe, healthy sweating experience.
- Maintains Aroma: Keeps the cedar smelling fresh, not musty.
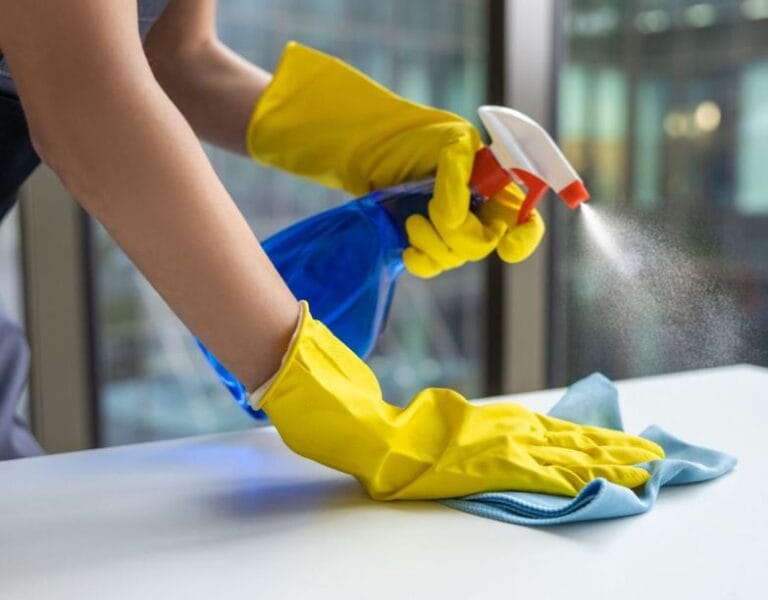
Materials You’ll Need: The Safe & Effective Toolkit
| Category | Recommended Products/Materials | What to AVOID |
|---|---|---|
| Cleaning Agents | White vinegar, mild dish soap, baking soda, commercial sauna cleaner (pH-neutral). | Harsh chemicals, bleach, ammonia, abrasive cleaners, strong detergents, steam cleaners. |
| Tools | Soft-bristle brush, microfiber cloths, soft sponges, plastic scrub pad (for tough spots), bucket. | Steel wool, hard-bristle brushes, abrasive scouring pads. |
| Rinsing/Drying | Clean water, spray bottle, dry towels, your sauna heater (for final dry). | Leaving the sauna damp, using excessive water that pools on benches or floor. |
Step-by-Step: How to Clean Your Cedar Sauna
Step 1: Preparation & Dry Cleaning
Allow the sauna to cool completely. Remove all accessories (headrests, buckets, ladles). Use a soft brush or dry microfiber cloth to sweep away loose debris, leaves, or dirt from benches, backrests, and the floor.
Step 2: Create Your Cleaning Solution
For a natural clean: Mix 1 part white vinegar with 4 parts warm water in a spray bottle or bucket. Vinegar is a mild disinfectant that deodorizes and fights mildew.
For heavier soil: Add a few drops of mild, unscented dish soap to the mixture.
For stubborn stains: Make a paste with baking soda and a little water.
Step 3: Wash All Surfaces
- Lightly mist a small section of wood (do not soak it) with your solution.
- Gently scrub with a soft-bristle brush or sponge along the wood grain.
- Focus on high-touch areas: Bench surfaces, backrests, and armrests where sweat and body oils accumulate.
- For tough stains or mildew spots: Apply the baking soda paste, let it sit for 5-10 minutes, then gently scrub and wipe.
Step 4: Rinse Thoroughly
This step is critical. Residue left on wood can become sticky and attract more dirt.
- Wipe down all cleaned surfaces with a water-dampened microfiber cloth to remove any cleaning solution.
- Avoid excessive water. Wring out your cloth well.
Step 5: Dry Completely
Do not use the sauna until it is 100% dry.
- Wipe away any pooled water with a dry towel.
- Leave the sauna door and any ventilation open to allow air circulation.
- Turn on the sauna heater for 15-20 minutes. This will heat-dry the wood internally and prevent moisture from seeping in. Do not run it long enough for the room to become hot for a session.
Step 6: Exterior & Accessory Care
Wipe down the exterior door and framing with your vinegar solution. Clean and dry all accessories (thermometer, ladle, bucket) before returning them.
Deep Cleaning & Mildew Treatment
For persistent mildew in corners or on ceilings:
- Ensure the room is well-ventilated.
- Use a hydrogen peroxide solution (3% strength). Test on an inconspicuous area first.
- Spray lightly, let sit for 10 minutes, then scrub gently and rinse.
- Always follow with a complete dry using the heater method.
Maintenance Schedule: Keeping Your Sauna Pristine
| Frequency | Task | Key Benefit |
|---|---|---|
| After Each Use | Wipe benches with a dry towel. Leave door ajar to ventilate for 20-30 mins. | Prevents immediate moisture buildup. |
| Weekly | Quick wipe-down with a water-damp cloth. Check for any debris. | Maintains baseline cleanliness between deep cleans. |
| Monthly | Full cleaning as per steps above (Steps 1-6). | Prevents buildup of oils, sweat, and potential mold spores. |
| Seasonally (4x/yr) | Inspect for deep stains, mildew, or wood issues. Deep clean walls and ceiling. | Ensures long-term wood integrity and addresses hidden problems. |
Pro Tips for Cedar Sauna Longevity
- Always Sand, Don’t Stain: If wood becomes discolored or rough, lightly sand the area with fine-grit sandpaper (180+ grit) along the grain. Never use sealants, varnishes, or stains inside the sauna, as they can trap moisture and release harmful fumes when heated.
- Manage Moisture: Use only the recommended amount of water on the rocks. Ensure your sauna has proper ventilation to dry out between uses.
- Clean the Rocks & Heater: Periodually (when cool), remove rocks and rinse them with water to remove dust and mineral buildup. Vacuum any debris from the heater. Consult your heater manual first.
- Address Odors: For a fresh scent, you can occasionally add a few drops of pure eucalyptus or pine essential oil to your rinse water—never directly onto the heater.
Conclusion: Consistency is Key
Knowing how to clean a cedar sauna effectively is simple with the right materials and routine. By embracing regular dry wiping, monthly gentle washes with natural cleaners, and ensuring complete drying every time, you protect your investment. A well-maintained cedar sauna not only looks and smells wonderful but also provides a healthier, more enjoyable experience for years to come.