How to Clean a Boat Gas Tank for Peak Performance
There are few things more frustrating than being ready for a perfect day on the water, only to have your engine sputter and die because of contaminated fuel. If your boat has been sitting idle or you’ve noticed a drop in performance, a dirty fuel tank is likely the culprit.
Learning how to clean a boat gas tank is an essential maintenance skill that can save you from costly repairs and unexpected breakdowns. Whether you are dealing with old gasoline, diesel bug, or simple sludge, this guide will walk you through everything you need to know—from safety prep to the final startup.
Why Cleaning Your Boat’s Fuel Tank is Crucial
Boat fuel is perishable. Modern gasoline, especially blends containing ethanol, can start to break down in as little as 90 days . When fuel sits for too long, it can lead to two major issues:
- Sludge and Varnish: As fuel oxidizes, it leaves behind a sticky, varnish-like residue. This sludge accumulates at the bottom of the tank, clogging fuel lines and filters.
- Microbial Growth: Diesel tanks are particularly susceptible to “diesel bug”—a combination of bacteria and fungi that feed on the fuel-water interface. Gasoline tanks can also grow microorganisms if water is present .
If this contamination reaches your engine, it can clog injectors, damage fuel pumps, and cause complete power loss . Regular cleaning (at least once a year or after long storage periods) ensures your engine receives clean fuel, improving reliability and efficiency .
Safety First: Preparing for the Job
Before you stick your hand into a fuel tank, you must understand the risks. Gasoline fumes are highly explosive and toxic.
Critical Safety Checklist:
- Work Area: Only work outdoors or in a well-ventilated, explosion-proof environment .
- Ignition Sources: Absolutely no smoking, and avoid using tools that could create sparks .
- Personal Protective Equipment (PPE): Wear chemical-resistant gloves, safety glasses, and a protective mask .
Tools and Materials You Will Need
Having everything ready before you start will make the process smoother. Here is a checklist of recommended tools and supplies :
Step-by-Step Instructions to Clean Your Boat Gas Tank
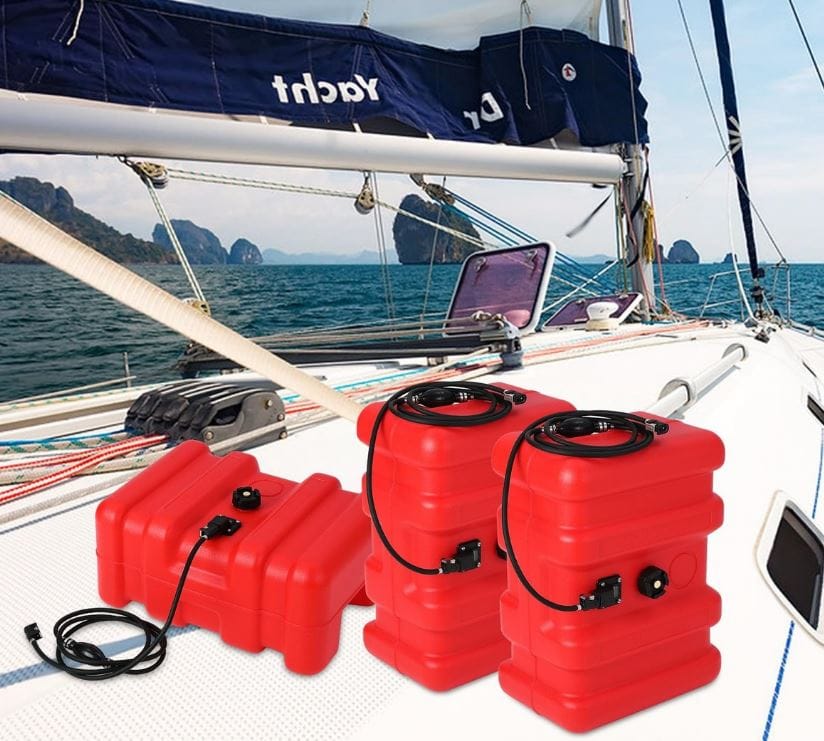
There are two main scenarios here: cleaning a portable tank (removable) and cleaning a built-in tank. We will focus on the comprehensive process for a built-in tank, which applies to most boats.
Step 1: Empty the Fuel Tank
If your tank has a drain valve, place an approved container underneath and open it. If not, use a manual siphon pump to remove the fuel via the fuel fill or sending unit hole . Never use an electric pump unless it is specifically ignition-protected . Dispose of the old fuel at a hazardous waste facility—never dump it on the ground or into water .
Step 2: Disconnect Fuel Lines and Remove the Filter
Disconnect the fuel lines from the tank to the engine. This prevents cleaning solutions or debris from flowing into your engine . Remove the old fuel filter and throw it away. You will install a new one at the end.
Step 3: Access the Interior
For easy cleaning, you need access. Look for an access hatch or the fuel sending unit (usually a round plate with wires). Remove the sending unit carefully—this creates a hole to work with .
- If you have an access hatch: Open it and manually remove sludge with rags .
- If you have no access hatch: You may need to cut one (for metal tanks) or use the sending unit hole. Insert absorbent cloths using a flexible rod to wipe the bottom .
Step 4: Apply Cleaner and Scrub
- For light varnish: Pour a suitable solvent or a concentrated detergent into the tank. Close it up and let it sit for a few hours to loosen deposits .
- For heavy sludge: For diesel tanks, some mechanics use enzymatic cleaners (like Star Tron) that eat away at the “diesel bug” . For gasoline tanks, you can use a commercial fuel tank cleaner.
- Agitation: If the tank is removable, seal it and shake it vigorously. For fixed tanks, use a long-handled brush or a pressure washer to blast the sides clean .
Step 5: Rinse and Dry
Siphon out all the dirty solvent. Rinse the tank with fresh water (or fresh gas for the final rinse). You must remove all traces of water and cleaner .
- Drying: Use a shop vac to suck out remaining liquid. Wipe the inside with lint-free rags. Let the tank air dry for several hours, or use a hair dryer (be mindful of fumes) on a low setting to speed it up .
Step 6: Reassemble and Refuel
Once the tank is completely dry:
- Install a new fuel filter .
- Reconnect the fuel lines with new, marine-grade hose clamps .
- Pour in fresh fuel mixed with a fuel stabilizer to prevent future contamination .
- Run the engine for about 10 minutes and check for leaks .
Cleaning Method Comparison: Pros and Cons
Depending on your tank size, budget, and access, you might choose one of these methods:
Common Mistakes to Avoid
Cleaning a gas tank is delicate work. Avoid these pitfalls:
- Using the Wrong Pump: Using an electric pump not rated for fuel can cause a spark and explosion .
- Reusing Old Parts: Always replace the gasket on the fuel sending unit and old hose clamps to prevent leaks .
- Rushing the Dry Time: Any water left in the tank after cleaning will promote rust (in metal tanks) or immediate microbial growth (in diesel tanks).
- Forgetting the Chain Trick: For severe varnish in removable metal tanks, putting a length of steel chain inside and shaking it can knock loose stubborn deposits. Do not use this method on plastic tanks .
Preventative Maintenance: Keeping It Clean
Once you have a clean tank, keep it that way:
- Use Fuel Additives: Products like Sta-Bil (for gas) or Biobor JF (for diesel) prevent fuel degradation and kill microbes .
- Top Off the Tank: During storage, keep the tank nearly full to minimize condensation (water) .
- Run the Engine: Fuel left sitting is the enemy. Use your boat regularly to keep the fuel fresh.
Conclusion
Cleaning your boat’s gas tank might seem like a daunting task, but with the right safety precautions and a methodical approach, it is entirely achievable for the average DIY boater. Whether you opt for a quick chemical treatment or a full manual scrub, your engine will thank you with reliable starts and smooth power.
By incorporating this task into your annual maintenance routine, you protect your investment and ensure that your time on the water is spent relaxing, not troubleshooting.