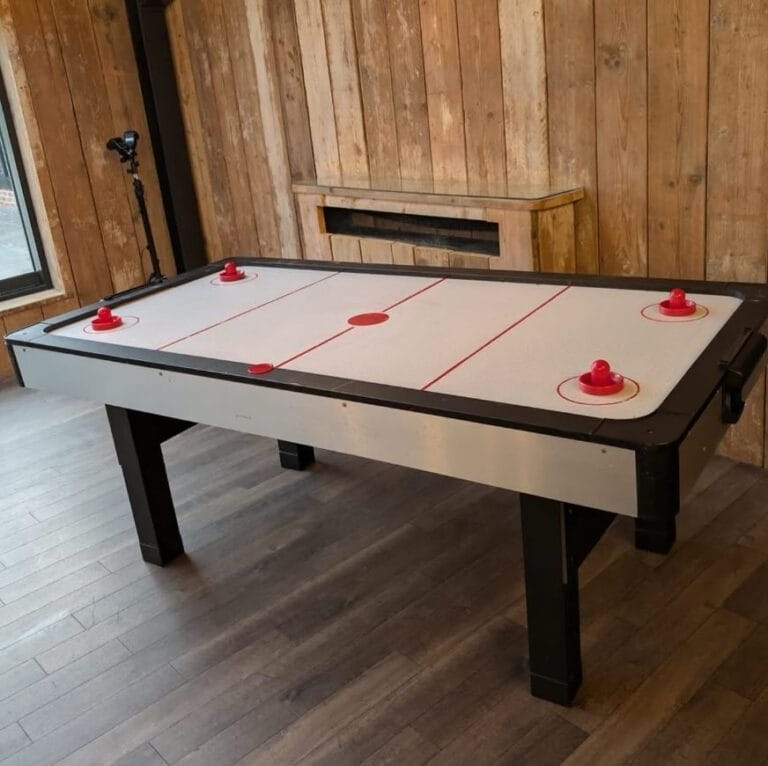
How to Clean Air Hockey Table?
The Ultimate Guide to Cleaning an Air Hockey Table: Maintain Blazing-Fast Gameplay
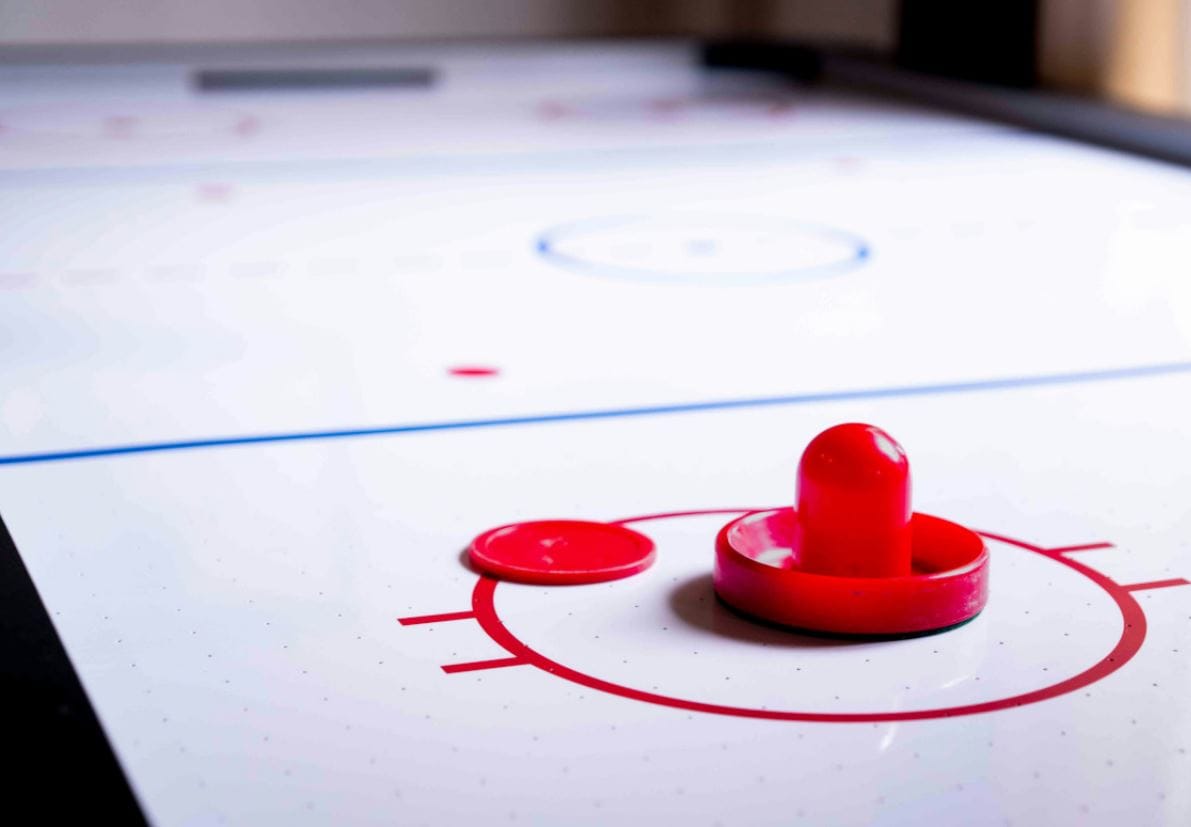
There are few sounds as satisfying in a game room as the “whoosh” of a perfectly gliding air hockey puck being slammed into the goal. But when dust, grime, and neglect set in, that fast-paced action turns into a frustrating slog. A dirty air hockey table isn’t just an eyesore; it directly impacts performance. Dust clogs the tiny air holes, the motor works harder, and the puck starts to drag, turning a game of speed into a game of force .
Whether you own a regulation-size table or a mini version for the kids, understanding how to clean an air hockey table properly is essential for preserving its lifespan and ensuring every match feels like an arcade-quality experience. In this guide, we’ll dive deep into the science of the slide, providing a step-by-step maintenance routine, a comparison of cleaning agents, and preventative tips to keep your table in championship condition.
Why a Clean Table Equals a Faster Game
Before we grab our cleaning supplies, it’s important to understand why maintenance matters. An air hockey table works by forcing air through thousands of tiny perforations in the playing surface. This creates a thin cushion of air that reduces friction, allowing the puck to float at high speeds .
When dust, dead skin, or drink residue accumulates, it blocks these holes. This creates “dead spots” where the puck stops unexpectedly. Furthermore, a clogged system forces the blower motor to work overtime, potentially shortening its lifespan . Regular cleaning ensures the airflow remains unobstructed and the surface remains slick.
Step 1: Preparation and Safety
Safety is paramount. Electricity and cleaning liquids do not mix well.
- Unplug the Table: Before you do anything, disconnect the table from the power source. This prevents any risk of electric shock and ensures the fan isn’t sucking dust into your face while you try to clean .
- Clear the Deck: Remove pucks, mallets, and any other objects from the playing field .
- Ventilate the Area: If you plan on using any cleaning agents (even mild ones), open a window to ensure proper airflow .
Step 2: Gather Your Arsenal (Choosing the Right Tools)
Using the wrong tools can scratch the surface or leave behind residue that actually attracts more dirt. Here is a comparison of the tools and chemicals recommended for the job based on expert consensus .
Note: Avoid harsh chemicals like bleach, abrasive powders, or all-purpose cleaners with heavy oils. These can damage the laminate or leave a film that clogs the holes .
Step 3: The Deep Clean Process
Now that you have your tools, let’s get into the actual cleaning methodology. This process combines techniques from several top maintenance guides to ensure a spotless finish.
Phase 1: Dry Cleaning (The Vacuum Stage)
Turn on your vacuum cleaner and fit it with the soft brush attachment.
- Vacuum the Surface: Gently run the vacuum over the entire playing surface. The suction will lift loose dust and debris from the air holes .
- Pro Tip: If you are cleaning a commercial or home table, turn the table on while vacuuming (if it’s safe to do so with your setup). The airflow from the holes will help push dust upward, making it easier for the vacuum to capture it .
Phase 2: The Air Hole Assault
This is the most time-consuming but critical step.
- Inspect: Look closely at the playing surface. Are there visible specks blocking the holes?
- Blast: Use a can of compressed air held upright to shoot short bursts into the holes. This will dislodge anything stuck deep inside .
- Poke: For stubborn grime, gently use a toothpick or a cotton swab to clear the hole. Be careful not to push the debris further down or enlarge the hole .
Phase 3: Wet Cleaning (The Surface Wipe)
- Prepare Solution: Mix a few drops of mild dish soap with warm water, or use a 50/50 mix of water and white vinegar for a natural clean .
- Dampen the Cloth: Never spray or pour liquid directly onto the table! Always spray your cleaning solution onto the microfiber cloth. The cloth should be damp, not soaking wet, to prevent moisture from seeping into the electronics or warping the wood .
- Wipe: Clean the entire surface in a circular motion. Pay extra attention to the center of the table, where the most action happens, and the rails .
- Rinse and Repeat: Rinse your cloth with clean water, wring it out, and wipe the surface again to remove any soapy residue .
Phase 4: Drying and Polishing
- Immediate Drying: Use a separate, dry microfiber cloth to dry the surface immediately. This prevents water spots and ensures no moisture lingers near the air holes .
- Polish (Optional): For an ultra-slick surface, you can apply a small amount of furniture wax or automotive spray wax. Warning: Less is more. Apply a tiny amount to a cloth, buff it onto the surface, and then buff it dry. Too much wax can make the table “sticky” and clog the holes .
Component-Specific Maintenance
The playing surface isn’t the only part that needs love.
- The Blower (Motor): The blower is the heart of the table. Over time, it can suck in dust from underneath. Locate the blower access panel (usually on the side or bottom) and use a vacuum to clean the fan blades and housing. Dust buildup here reduces airflow efficiency .
- The Pucks and Mallets: Dirty pucks transfer grime to the table. If your mallets have felt pads, check them regularly. Dirty felt acts like sandpaper, scratching the surface. Soak plastic pucks and handles in warm, soapy water, rinse, and dry thoroughly . Replace worn felt pads immediately.
- Rails and Sides: Wipe down the rails with your damp cloth. These collect hand oils and dirt, which can eventually transfer to the playing surface when you reach for a shot .
Establishing a Cleaning Schedule
How often should you perform these tasks? It depends on usage and environment. According to industry experts, the frequency should be adjusted based on how much play the table sees .
Common Mistakes to Avoid
Even with the best intentions, owners can make errors that damage their tables. Here is what not to do:
- Using Silicone Sprays on the Surface: While some guides suggest silicone for polish, industrial-grade silicone sprays can attract dust like a magnet. If you use a slickener, use a very light application of a product specifically designed for air hockey or a dry wax .
- Neglecting the Air Holes: Focusing only on the big picture and ignoring the holes is a classic mistake. You might have a shiny table, but if the holes are clogged, the puck won’t slide .
- Over-wetting the Table: Water is the enemy of electronics and MDF wood. If liquid seeps into the seams or air holes, it can warp the playing surface or short out the motor. Always use a damp cloth, never a wet one .
- Using a Pressure Washer or Garden Hose: This seems obvious, but it happens. Air hockey tables are indoor furniture. Never use a pressure washer or hose to clean it .
Troubleshooting: When Cleaning Isn’t Enough
Sometimes, a clean table still doesn’t play right. If you’ve cleaned everything and the puck still drags, you might have mechanical issues.
- Uneven Airflow: If one side of the table feels “dead,” the issue might be a misaligned or failing blower motor, or a blockage in the air duct beneath the surface .
- Surface Damage: Scratches and dents create friction. For minor scratches, very fine-grit sandpaper (used gently) can smooth them out, followed by a thorough cleaning. Deep gouges might require epoxy fillers, but this is often a temporary fix .
- Electronic Failure: If the fan doesn’t run, check the outlet and the power cord. If those are fine, the motor may need professional replacement .
Conclusion
Learning how to clean an air hockey table is not just about aesthetics; it is about preserving the integrity of the game. A well-maintained table offers faster play, more consistent puck movement, and years of reliable service. By establishing a routine that includes dry dusting, meticulous air hole care, and gentle wet cleaning, you ensure that every match is as thrilling as the first.
Invest in a quality cover for your table, keep food and drinks on a nearby side table, and show your game room centerpiece the care it deserves . Now, grab a opponent, turn on the blower, and enjoy the flawless glide of a perfectly clean air hockey table