A Damage-Free Wall Cleaning Guide

In a literal sense, and from a stylistic point of view; walls hold your entire home together! The colours, patterns and cleanliness of your walls play a major role in converting your house into a beautiful home. That’s why cleaning and maintaining walls should be a priority for every homeowner.
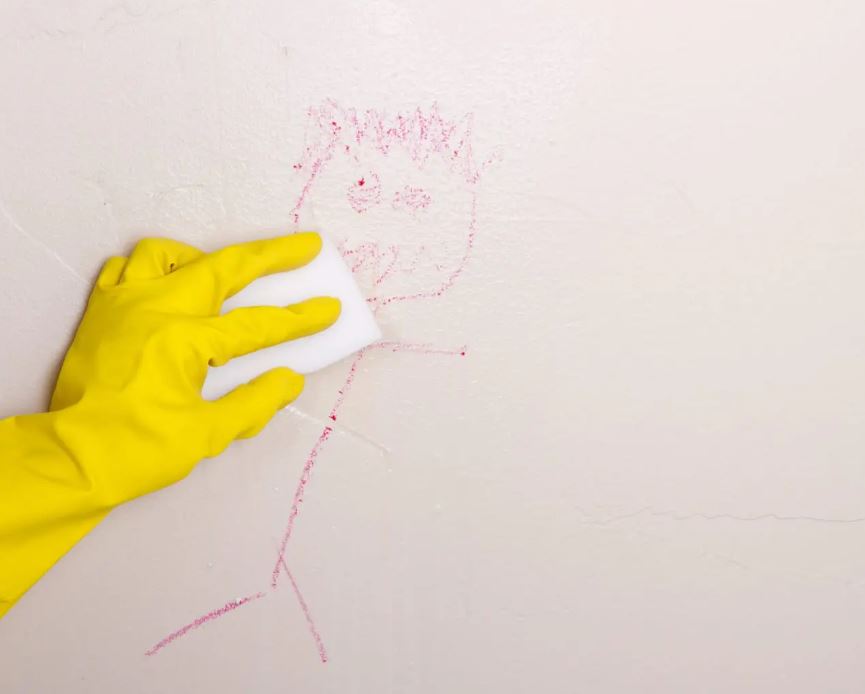
Walls are prone to smudges, grease marks, dust, cobwebs and finger marks. If you have little ones running around the house with paint and play dough on their fingers, your walls may have bear a lot more. Any which way, it is inevitable to keep your walls spotlessly clean forever; but that doesn’t mean you should leave them dirty either. Yes, it can be scary to clean your own walls for fear of damaging them; not to mention intimidating as it’s a vast area to clean. But with a little knowledge on the job at hand, this step by step guide is fairly easy to follow.
So, when was the last time you even thought about wall cleaning, let alone went through with the process? If it’s been long enough (or never), there’s a good chance that your once flawless walls have succumbed to dullness and random stains over the years.
Dust, dirt, and even black mould can cause well-maintained walls to look rather drab; luckily, with a safe and thorough cleaning process, your interior walls will look as good as new!
To make it simple for you, here is best way to clean walls an easy-to-follow with step-by-step guide to clean and safest way possible.
Step One: Prepare for the Clean
For a thorough top to bottom clean of your interior walls, you will need full access to them. This means furniture and wall ornaments should not obstruct the surface. Hence, the first thing you need to do is take down picture frames and other wall décor, followed by moving furniture away from the walls so that you can clean more efficiently.
Now, it’s time to gather the things you’ll need to complete our wall cleaning method:
- Ladder
- Broom/vacuum cleaner
- Dust cloths
- Sponge(s)
- Towels or absorbent cloths
- Liquid dish soap or white vinegar
- Bucket
- Commercial wall cleanser if needed
The last thing you need to do before you are fully prepared to clean your walls is to put down the drop cloths or tarp to catch any spills from the cleaning solution. At this point, you should already know whether you are using a natural homemade cleaning solution or a commercial product. In case of the latter, it is important to lay down plastic as you do not want chemicals dripping onto your floor (which can damage the material). The most secure way to do this is to tape the plastic to the baseboard so any excess liquid on the wall will drip down onto the plastic instead of seeping underneath it.
Step Two: Remove Dust and Dirt from the Surface
Before you can ‘wash’ the walls, you need to remove dust and dirt first. It is important to be as thorough as possible in doing this to avoid spreading debris around the surface when washing the walls. Use a broom or vacuum cleaner to clean the walls from top to bottom. Be sure to use an appropriate brush attachment when vacuuming to prevent scratching or damaging the paint.
Don’t ignore corners as they tend to accumulate dust, and are common spaces for cobwebs to form. For a thorough clean, wipe over the vacuumed/swept wall with a dust cloth to ensure that the surface is free of dust before it is dampened (later on).
This is IMPORTANT: Before using these tips spot test on a small area that is out of sight. You don’t want your paint to not hold up to this process.
Step Three: Get the Cleaning Solution Ready
While there are commercial products on the market specifically made to clean different types of wall finishes, painted walls can easily be cleaned with a DIY wall cleaning solution. You can either use dish soap or vinegar as your core cleaning agent; here’s how to make both solutions:
- Vinegar: Mix 4-5 tablespoons of white distilled vinegar in 1 gallon of water.
- Dish Soap: Mix 4-5 drops of liquid dish soap in half a bucket of water.
Regardless of the cleaning solution in question, it is advisable to perform a ‘spot test’ by applying the cleaner to an inconspicuous area of the wall to ensure that it does not cause any damage or discoloration. For this, you will have to use a sponge dampened in the solution to gently scrub the wall; allow it to dry completely before checking for damage. If needed, try an alternative cleaning solution before continuing the wall cleaning process.
Step Four: ‘Wash’ the Wall
When we say wash, we don’t mean splashing water around, but merely wiping the wall with a damp sponge. Put down some drop cloths before you begin as there may be a couple of drips to soak up as you go about this step.
Start by dipping the sponge into the bucket and squeeze out all the excess water; avoid saturating the wall by ensuring that the sponge is not dripping wet. Gently wipe the wall from top to bottom, one section at a time. Rinse off the sponge at intervals to avoid transferring dirt back onto the surface.
How to Prevent Dirty Walls in the Home
If you want to avoid getting your interior walls dirty or stained, you simply need to be more careful and aware about certain activities you perform in close proximity to a wall. Similarly, household members must also be mindful about touching walls with unclean hands. In fact, sometimes you might think your hands are clean but even if you’ve just washed them and run your fingers through your hair, they will have some amount of grease on them which then gets rubbed off onto the wall. With that mind, keeping your hands off the walls in your home might be a good rule to enforce among all household members!
As far as activities are concerned, be it painting on canvas or a DIY project, try to set up your station away from the walls so that nothing gets on them. If this isn’t possible, use plastic sheets or large pieces of cardboard to create a barrier between your workstation and walls. Avoid taping plastic or cardboard directly to the wall as it will likely leave an adhesive mark on the paint. Instead, look for other surfaces that are easy to remove sticky residue from such as switchboards, cabinets, doors, etc. In the kitchen, splashes and splatters are inevitable, so if you feel like some of your walls are getting stained from cooking and food preparation, you might want to consider extending the backsplash tiles around the room.
Now, you have a much better idea of what it takes to effectively clean your walls. Remember that the more you do this, the less you have to worry about stubborn stains taking shape.


