Created Selective Deconstruction: How to Properly Clear a Room of Your House

Renovating your home doesn’t always mean tearing everything down to the studs. Sometimes, you only need to update one room, like the bathroom, kitchen, or a guest bedroom. This is where selective deconstruction comes in. Instead of gutting the entire house, you can remove only the fixtures, finishes, and structural elements in the area you’re upgrading. Selective deconstruction is about precision. It requires careful planning and execution, but when done right, it saves money, reduces waste, and makes the renovation process far more manageable. If you’re planning to renovate a specific room in your house, here’s how you can clear that space safely, efficiently, and responsibly.
Protect Structural Elements and Adjacent Rooms
One of the key principles of selective deconstruction is preserving the rest of your home. That means being aware of load-bearing walls, support beams, and any shared systems like ductwork. Before removing a wall, check your home’s blueprints, if available, or consult demolition contractors to determine whether the wall is load-bearing or contains important systems like plumbing or wiring. Even non-load-bearing walls can contain important systems. If you’re working in a bathroom or kitchen, be extra cautious about nearby moisture barriers or waterproof membranes that protect adjoining rooms. Use painter’s tape to mark safe zones or “no-cut” areas to remind yourself throughout the process.
Assess the Space and Set a Clear Goal
Before you grab a crowbar or utility knife, take a step back and evaluate the room. What exactly needs to go? Are you removing tile, drywall, cabinetry, fixtures, or flooring? Your goal should be crystal clear. If you’re redoing a bathroom, for instance, will you be keeping the bathtub or replacing it? Will the walls stay or come down? Knowing exactly what will be replaced helps you decide what to remove and what to protect. Walk through the room and make a list of everything that will be deconstructed. Label items as “remove,” “keep,” or “relocate.” This plan will serve as your guide through the entire process and help prevent accidental damage to items that should remain untouched.
Shut Off Utilities and Secure the Area
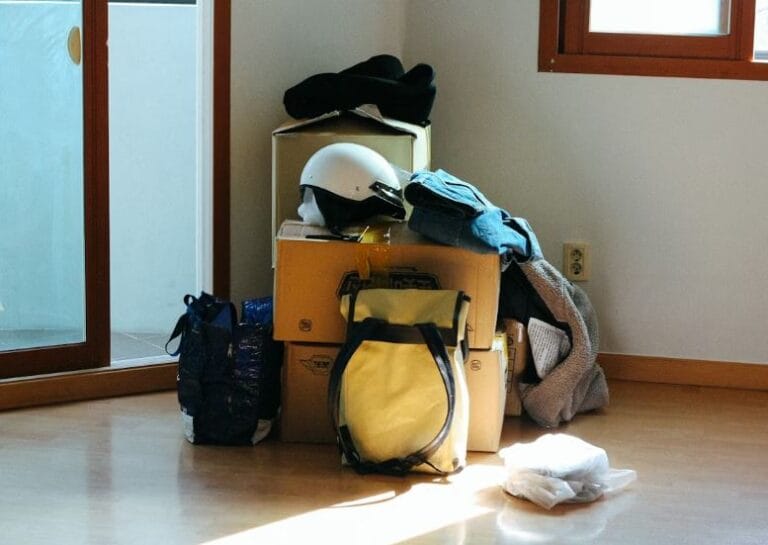
Safety comes first. Before you begin deconstructing any part of a room, turn off all connected utilities – water, electricity, and gas. You do not want to cut into a live wire or crack a water line mid-swing. Once utilities are off, secure the workspace. Close vents to keep dust and debris from circulating to other areas. Use painter’s tape and plastic sheeting to seal off doors, windows, and HVAC openings. Remove furniture, decor, and anything else that isn’t nailed down. Cover floors and entryways with heavy-duty drop cloths or plywood to prevent damage. A clean, sealed space not only keeps your home safer, but it also makes the job easier and faster.
Remove Fixtures and Appliances Methodically
When it’s time to start removing built-ins and appliances, take a slow, methodical approach. Begin from the top of the room and work your way down. In a bathroom, that means starting with lighting fixtures and ceiling fans, then moving to mirrors, cabinets, sinks, toilets, and tubs. Shut off all valves and disconnect plumbing before removing any fixtures. Have buckets or towels on hand to catch any water remaining in the lines. If you’re removing a toilet or sink, remember to plug the drain with a rag to block sewer gases. For heavy items like tubs or vanities, you’ll need additional hands or lifting tools.
Take Care with Drywall and Wall Finishes
Drywall removal requires patience and the right tools. Use a utility knife to score along the edges, then gently pry panels off with a flat bar. Avoid using hammers unless necessary – you’re trying to minimize mess and damage. If the wall has tile, use a chisel and hammer to chip away the grout before removing the tiles one by one. Plaster walls require a different approach, often involving cutting sections out to limit dust. Be mindful of what’s behind the wall. Electrical wires and plumbing lines are commonly hidden just beneath the surface, even in kitchens and bathrooms. Always cut shallow and inspect behind before going deeper.
Salvage What You Can
Selective deconstruction isn’t demolition – it’s removal with intention. Salvaging is a huge benefit here. If cabinets, fixtures, doors, or hardware are still in good condition, you can reuse or donate them. Start by gently removing hardware like knobs, handles, and hinges. Take down mirrors or shelving by unscrewing brackets instead of smashing them. Cabinets can usually be removed by unscrewing them from the wall studs – just be sure to have someone help support the weight. Salvaging isn’t just environmentally friendly – it can also save you hundreds or even thousands of dollars on replacement costs or earn you a tax deduction if donated to a salvage store or charity.

Dispose of Waste Responsibly
Renovation produces debris, and selective deconstruction is no exception. Plan for how you’ll handle the waste. Separate materials as you go – wood, tile, metal, drywall, and trash. Many cities have special disposal guidelines for construction waste, and some materials like treated wood, asbestos, or old pipes may require professional handling. Renting a small dumpster or using heavy-duty contractor bags can keep the site manageable. Don’t forget to check with local recycling centers – some will accept old sinks, tiles, or wood. If possible, donate usable materials. Responsible disposal isn’t just about being eco-conscious – it keeps your workspace clear and reduces your post-project cleanup time.
Final Clean-Up and Preparation for Renovation
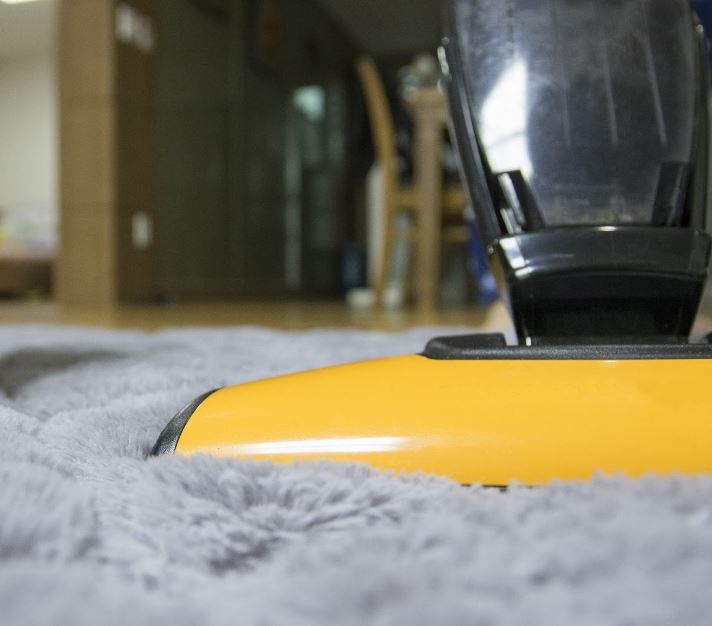
Once everything has been removed, it’s time to prepare the room for renovation. Vacuum and sweep thoroughly, even around corners, studs, and floorboards where nails and dust collect. Inspect exposed surfaces for mold, water damage, or pest issues – these are easier to address now before you build over them. If wiring or plumbing updates are planned, schedule inspections before proceeding. This is also a good time to apply sealant or primer to any exposed wood or framing to prevent future damage.
Selective deconstruction is all about being smart and deliberate with your renovation. By focusing only on the room you need to change and carefully removing materials instead of destroying them, you create a cleaner, safer, and more cost-effective foundation for your project. You don’t have to be a professional to handle selective deconstruction, but you do need to take your time, plan, and respect your home’s structure. With patience and the right approach, you’ll avoid unnecessary damage, reduce waste, and set yourself up for a smoother renovation process. Whether you’re upgrading a bathroom, kitchen, or office space, selective deconstruction is the key to renovating with control and confidence.


